After a couple days and a trip to Ikea we have cabinets!! And Dr. Pepper.
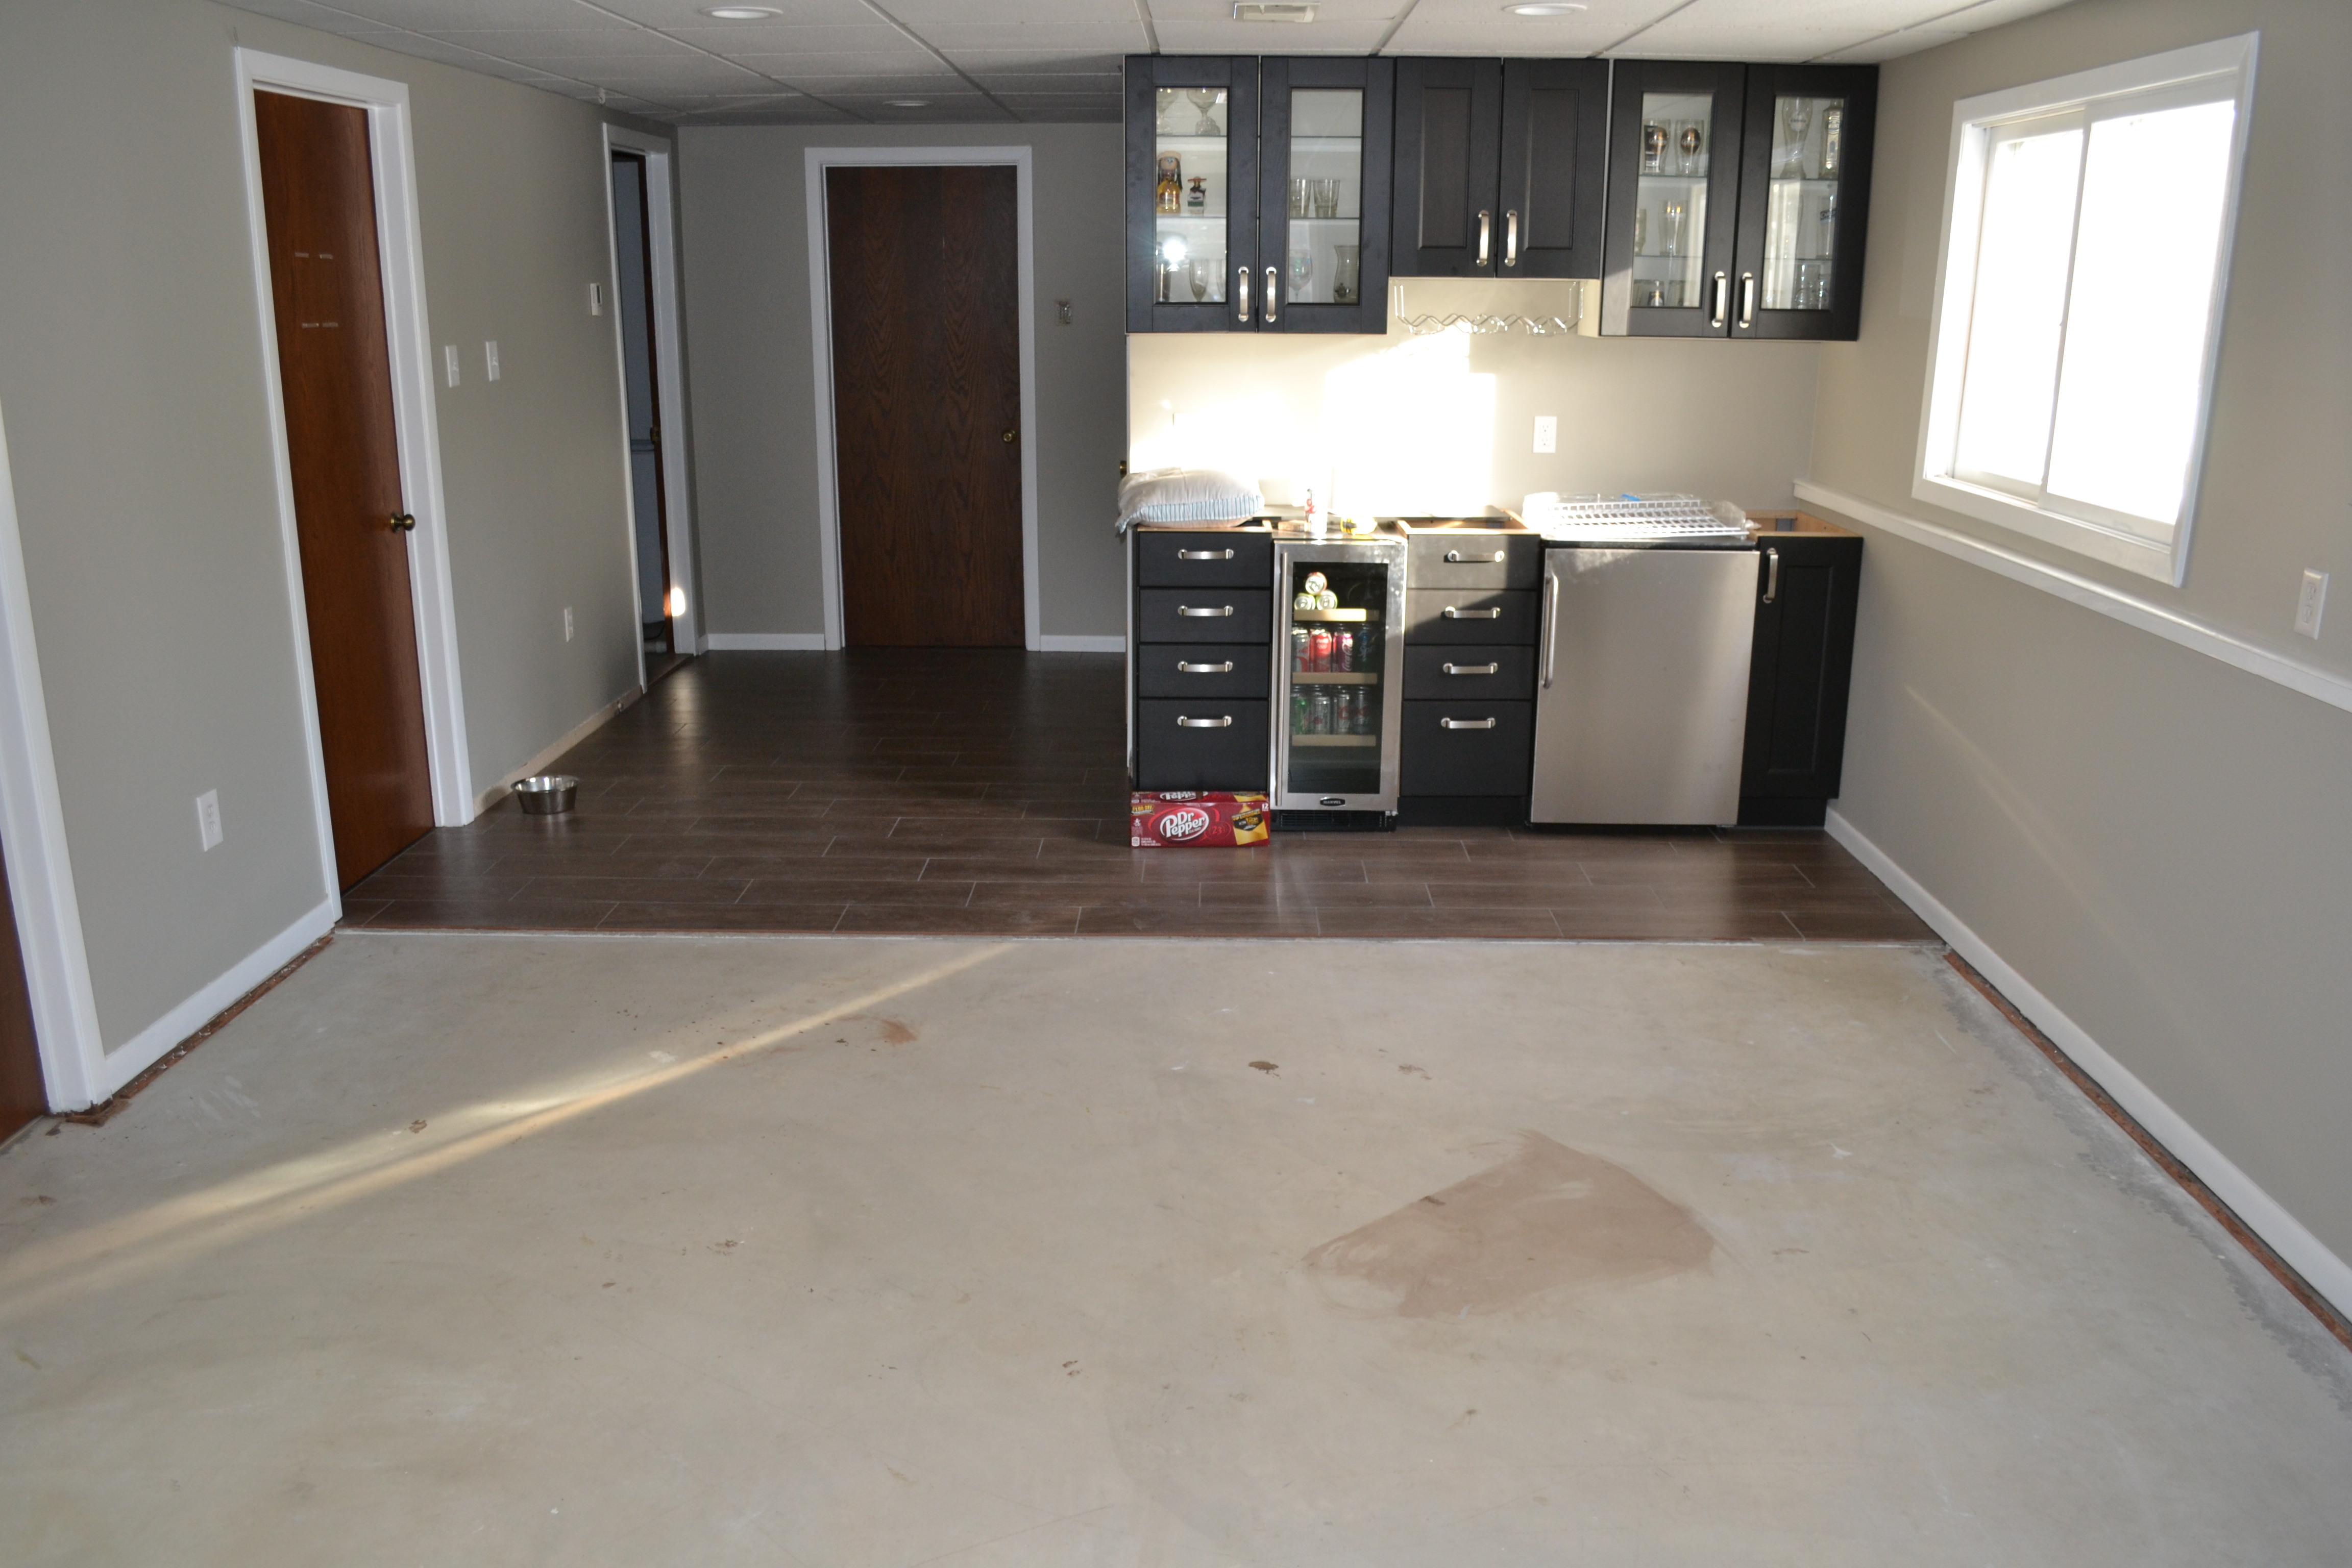
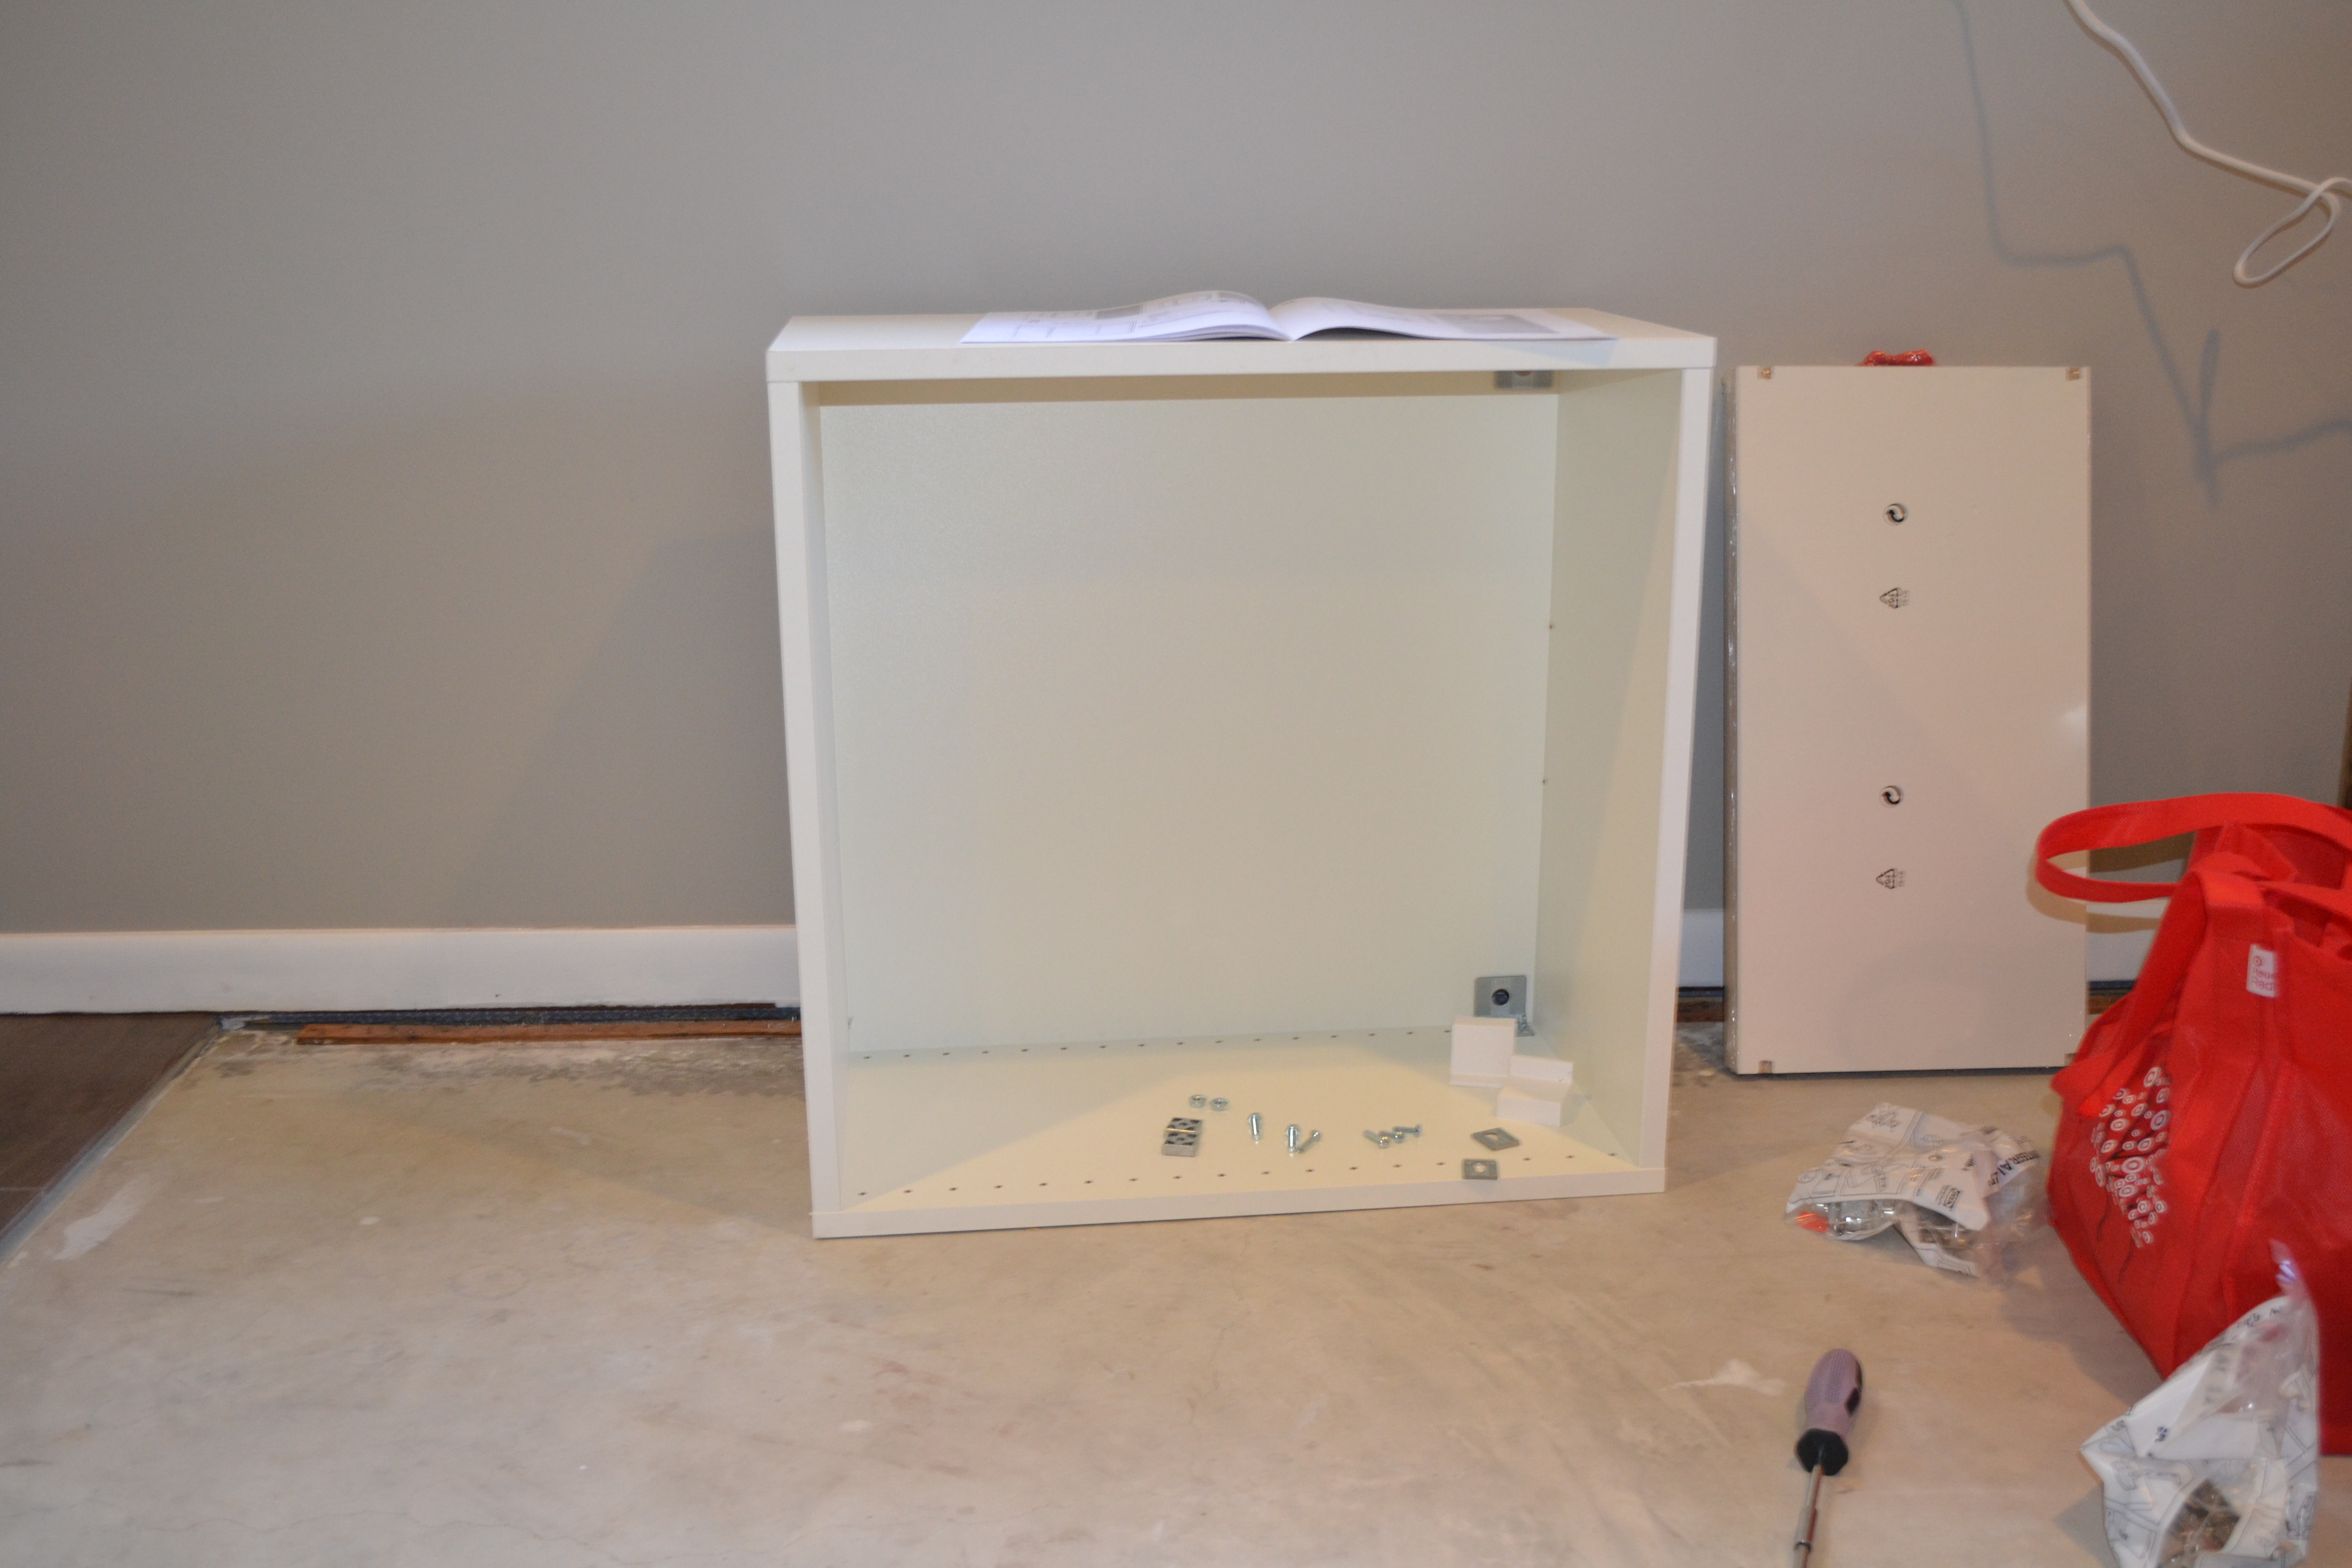 One down, 5 to go.
Lesson #1: Give yourself plenty of time and be patient.
We worked together to get the first one assembled. Check out my purple screwdriver. 🙂 If anyone wants to buy me a small electric one I won’t mind. Hello carpel tunnel!
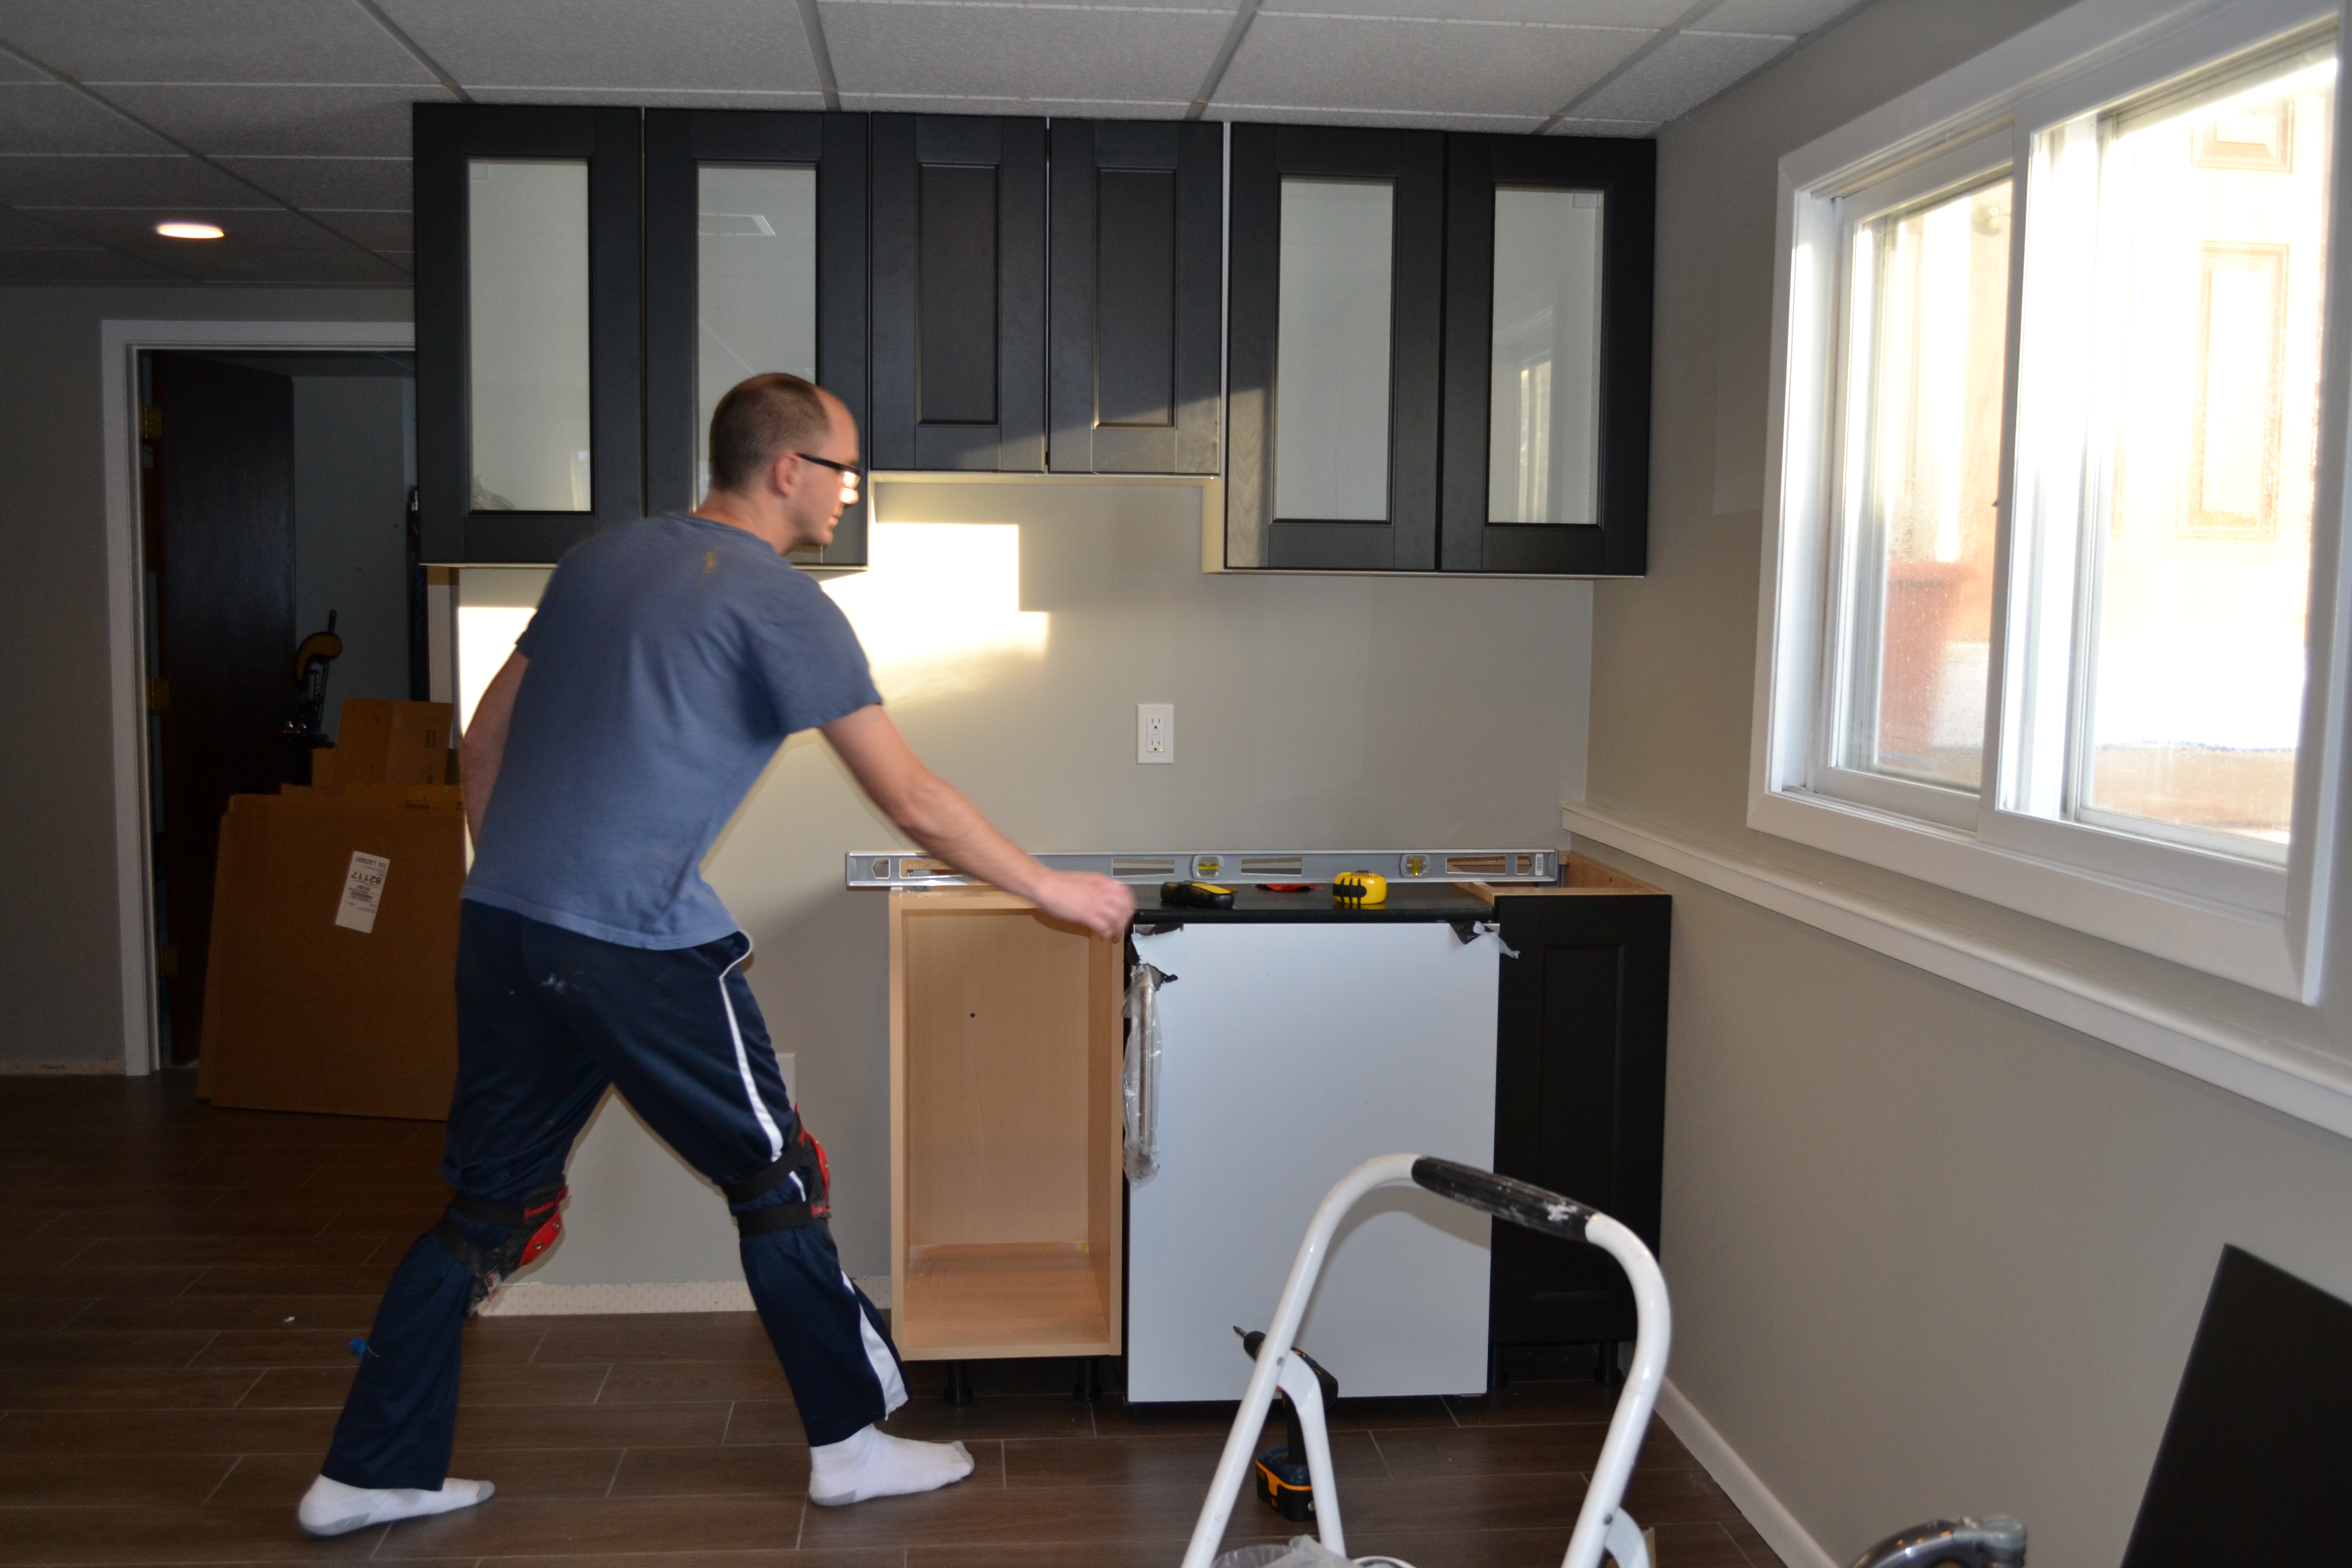
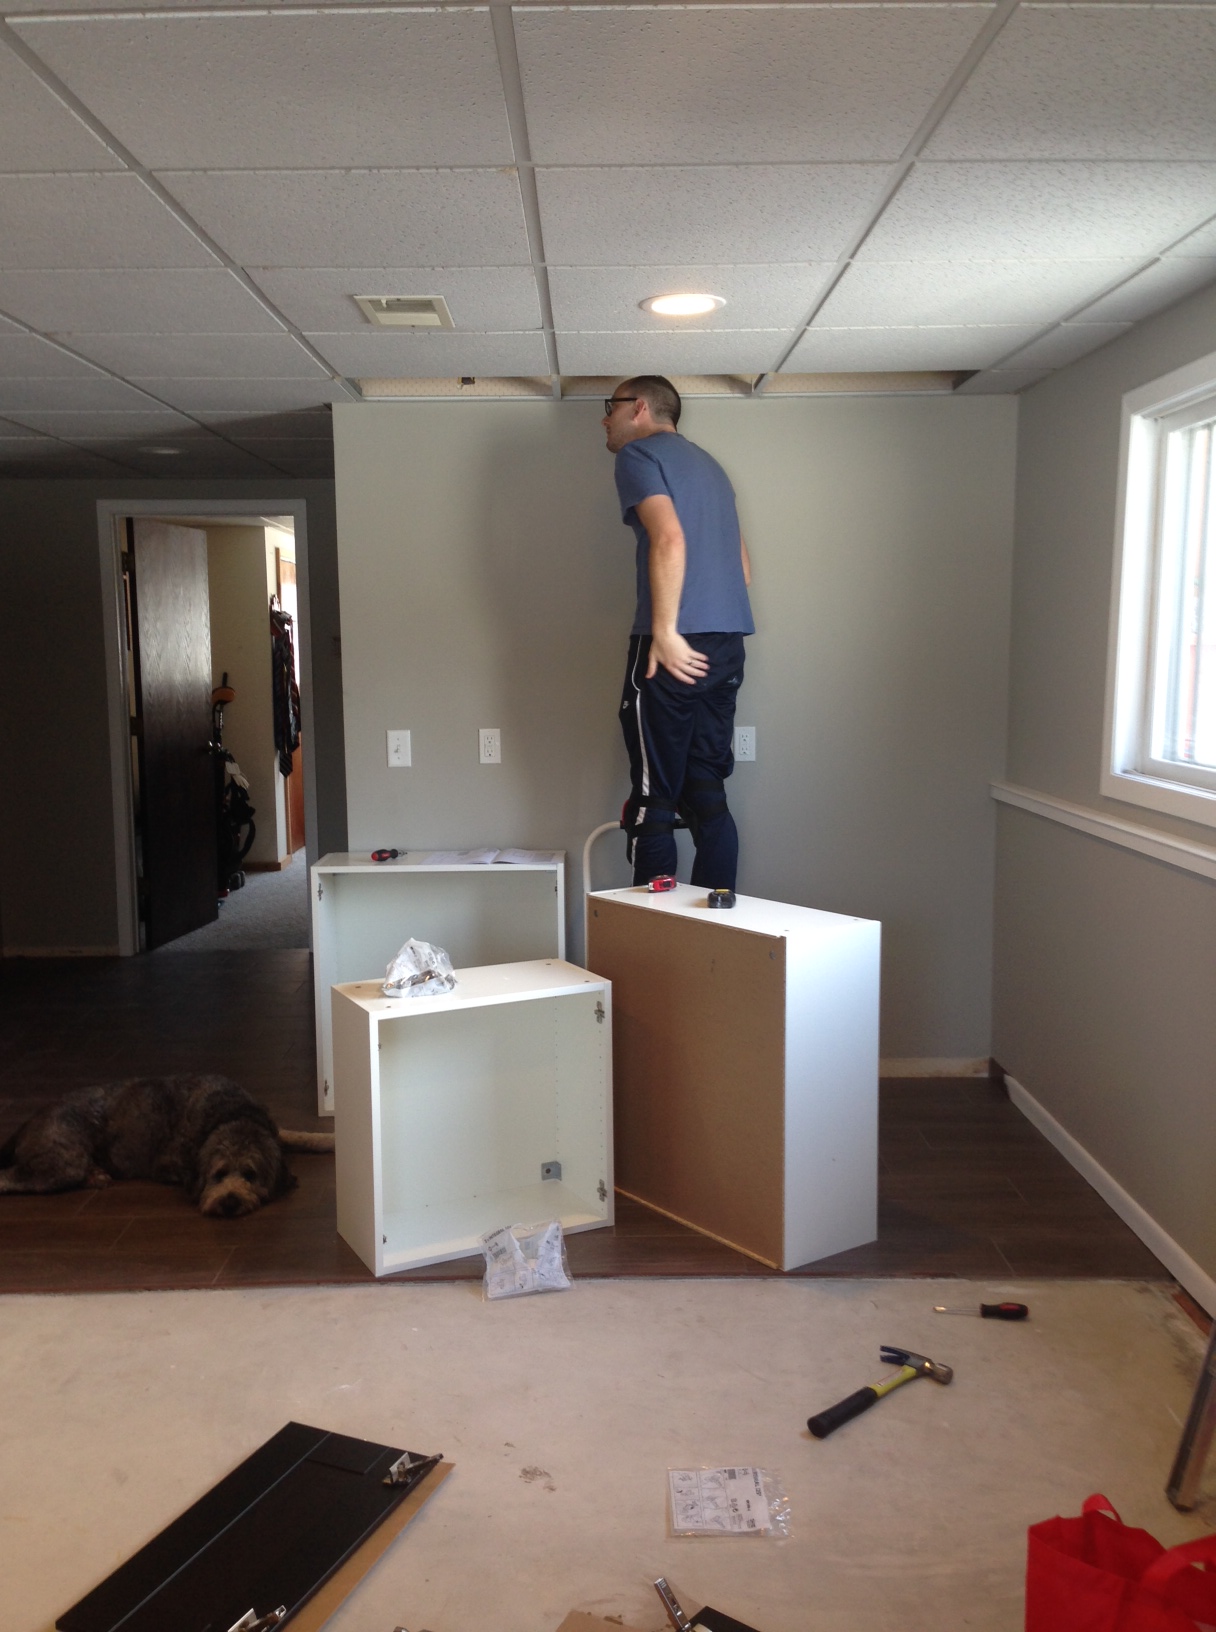 I put together the rest of the cabinets while Nolan put together the doors and started looking at how to install the uppers. Sophie kept a close watch.
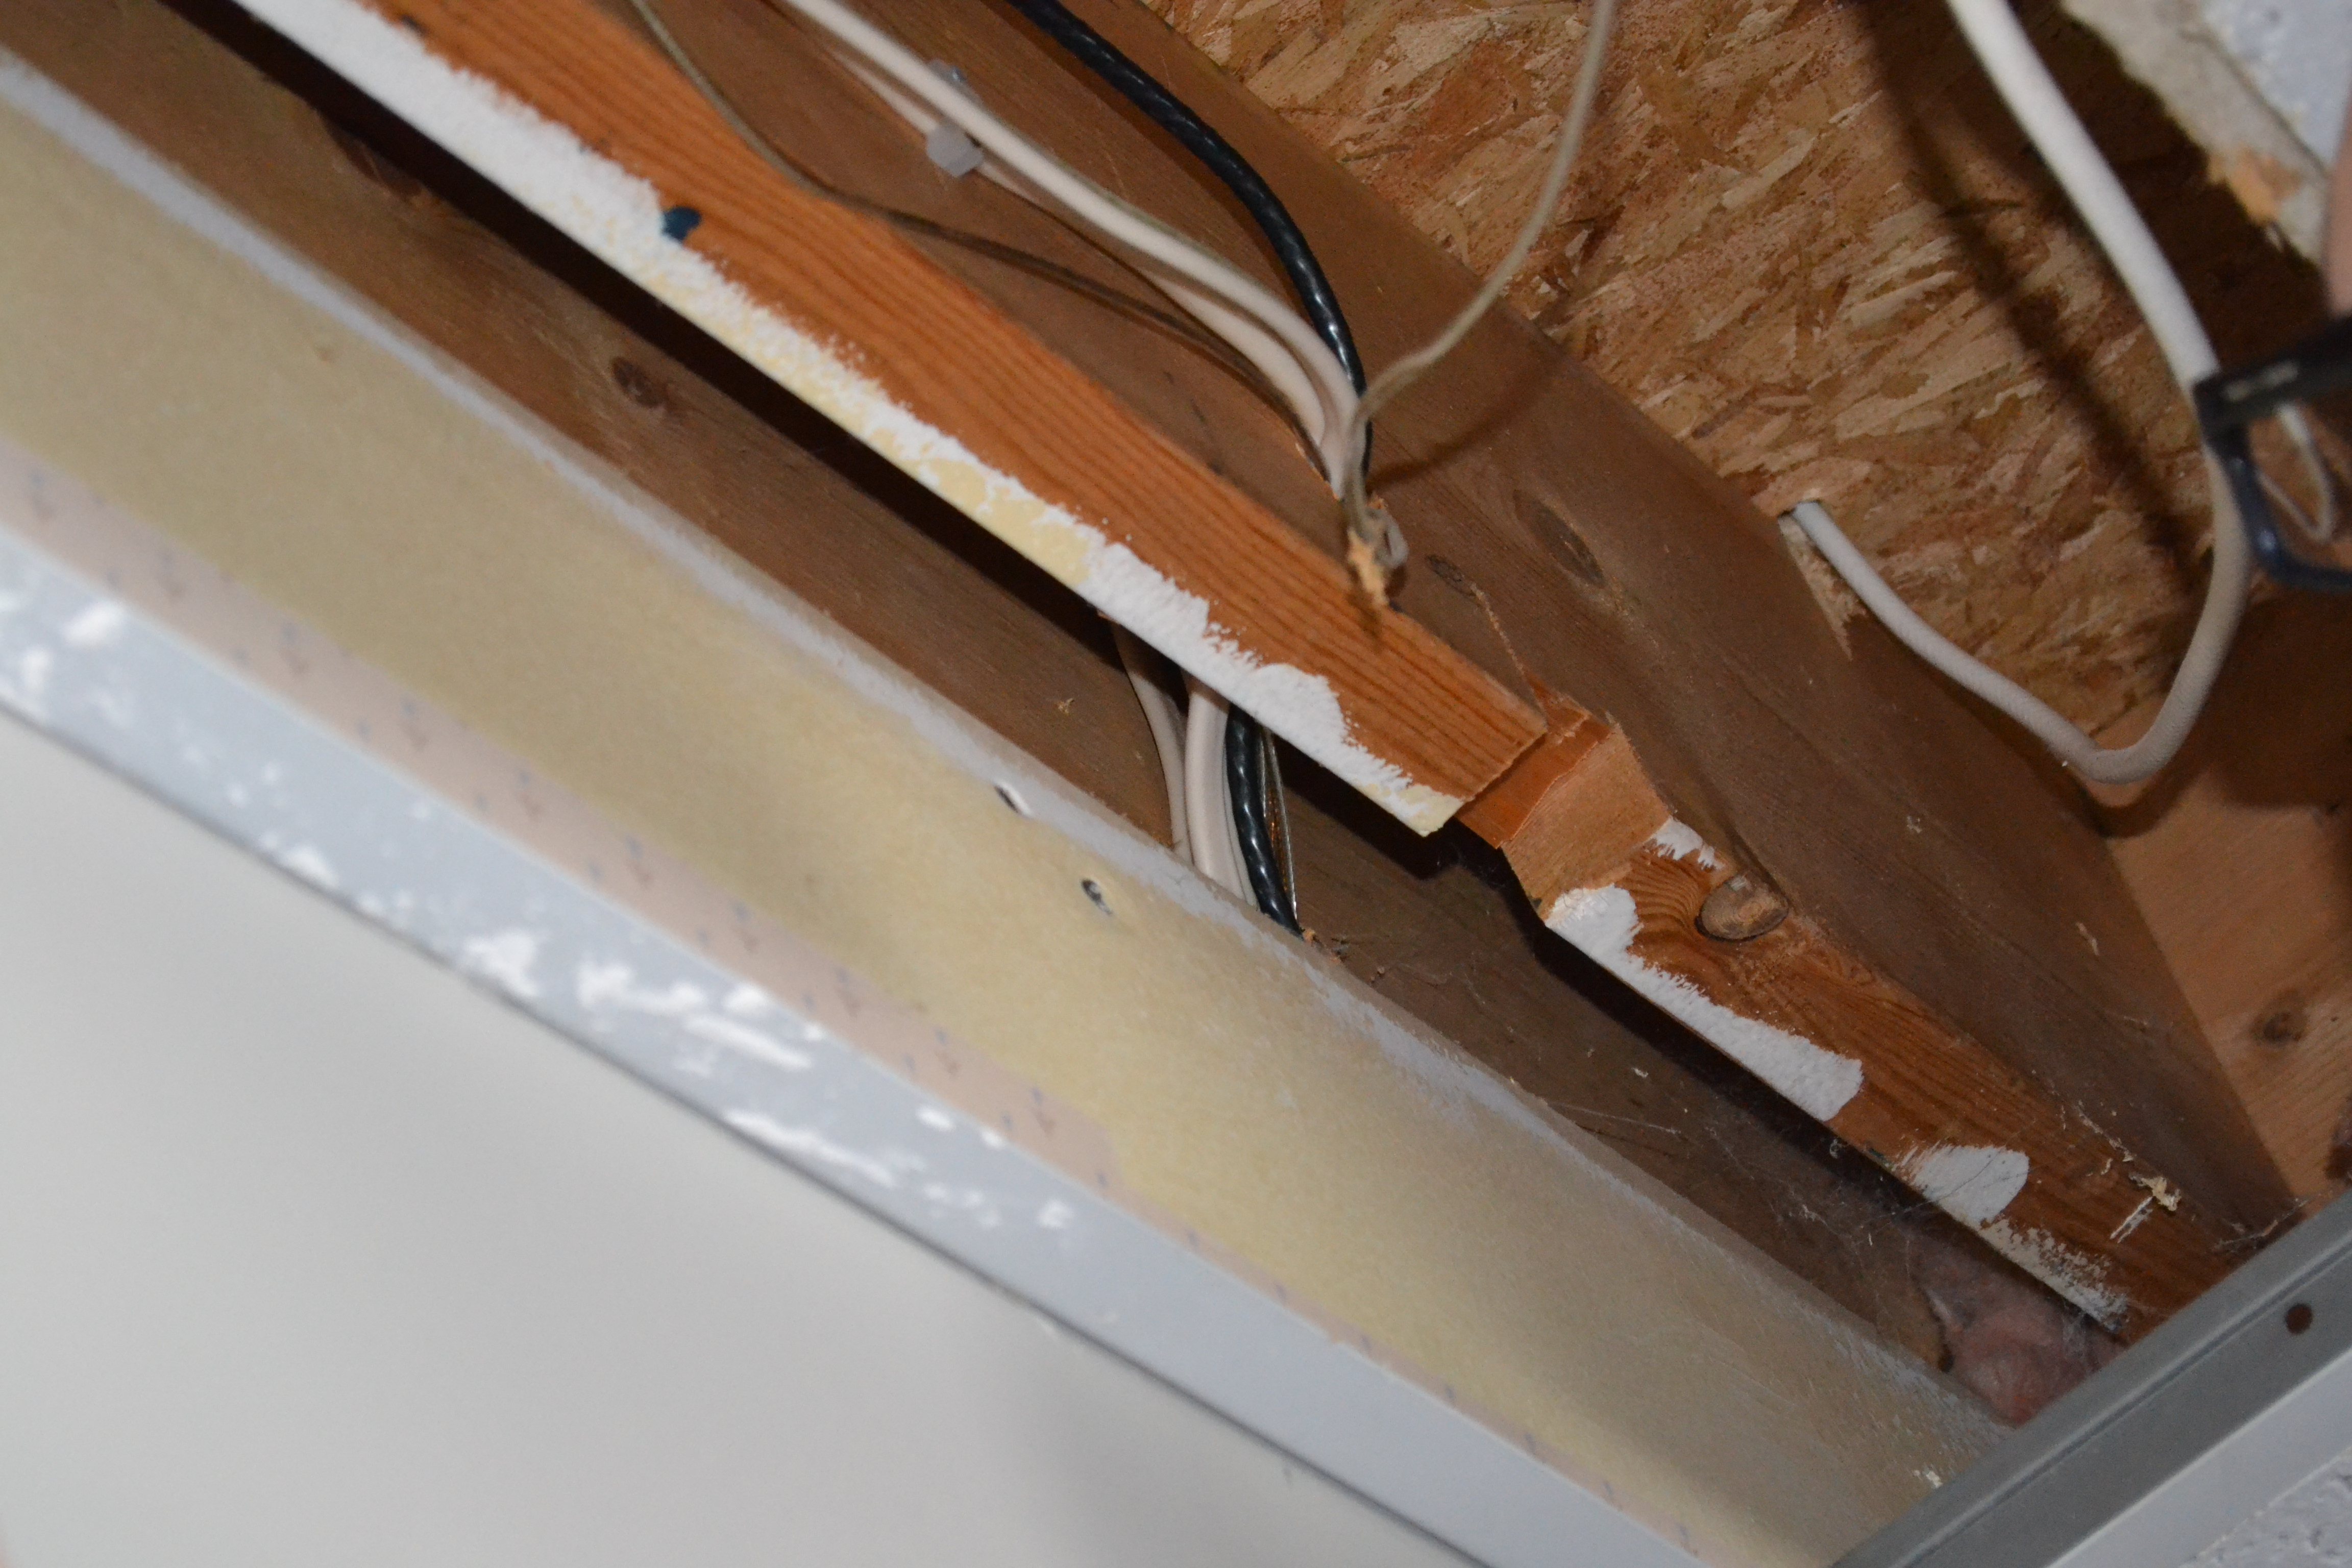 His little electric finder thing was buzzing all over the wall, leaving us not knowing where to drill the suspension rail. I hate the drop ceiling but I have to admit it was nice to just remove a piece to take a peek.
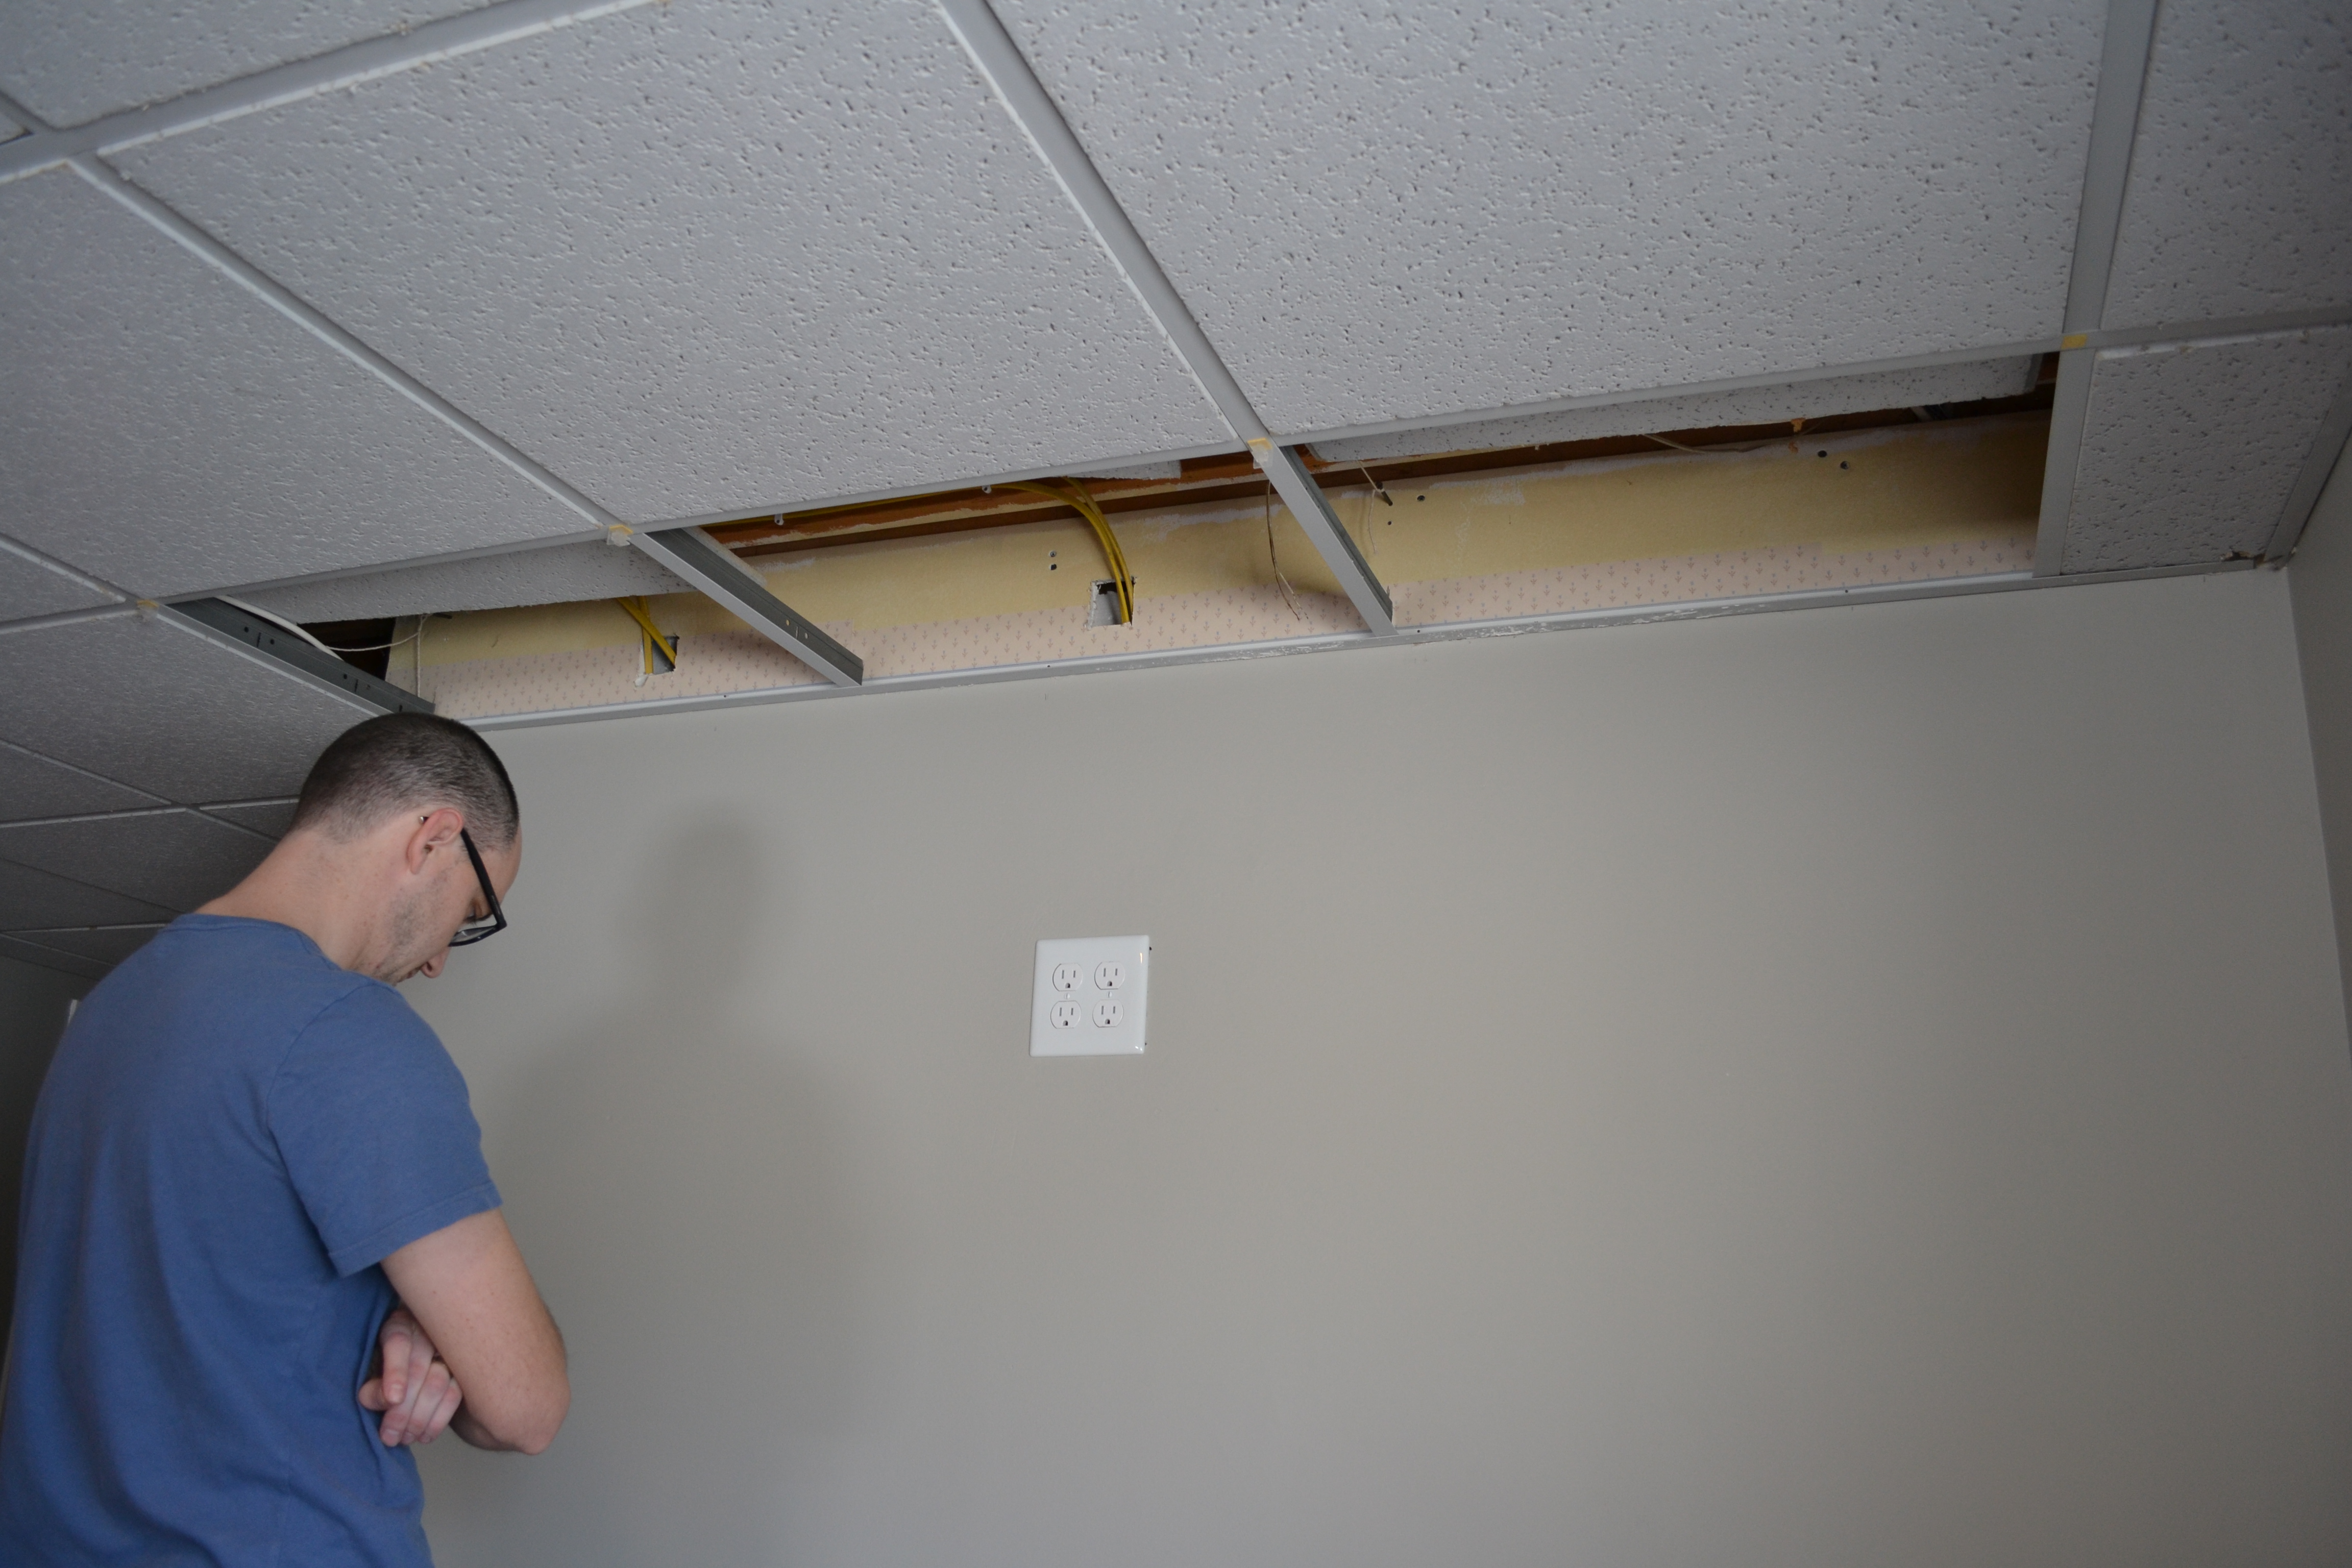 Of course there were a billion wires and all right around where the studs are. Again, the previous owners went cray cray with all the wiring they put in the house. At this point Nolan wanted to quit.
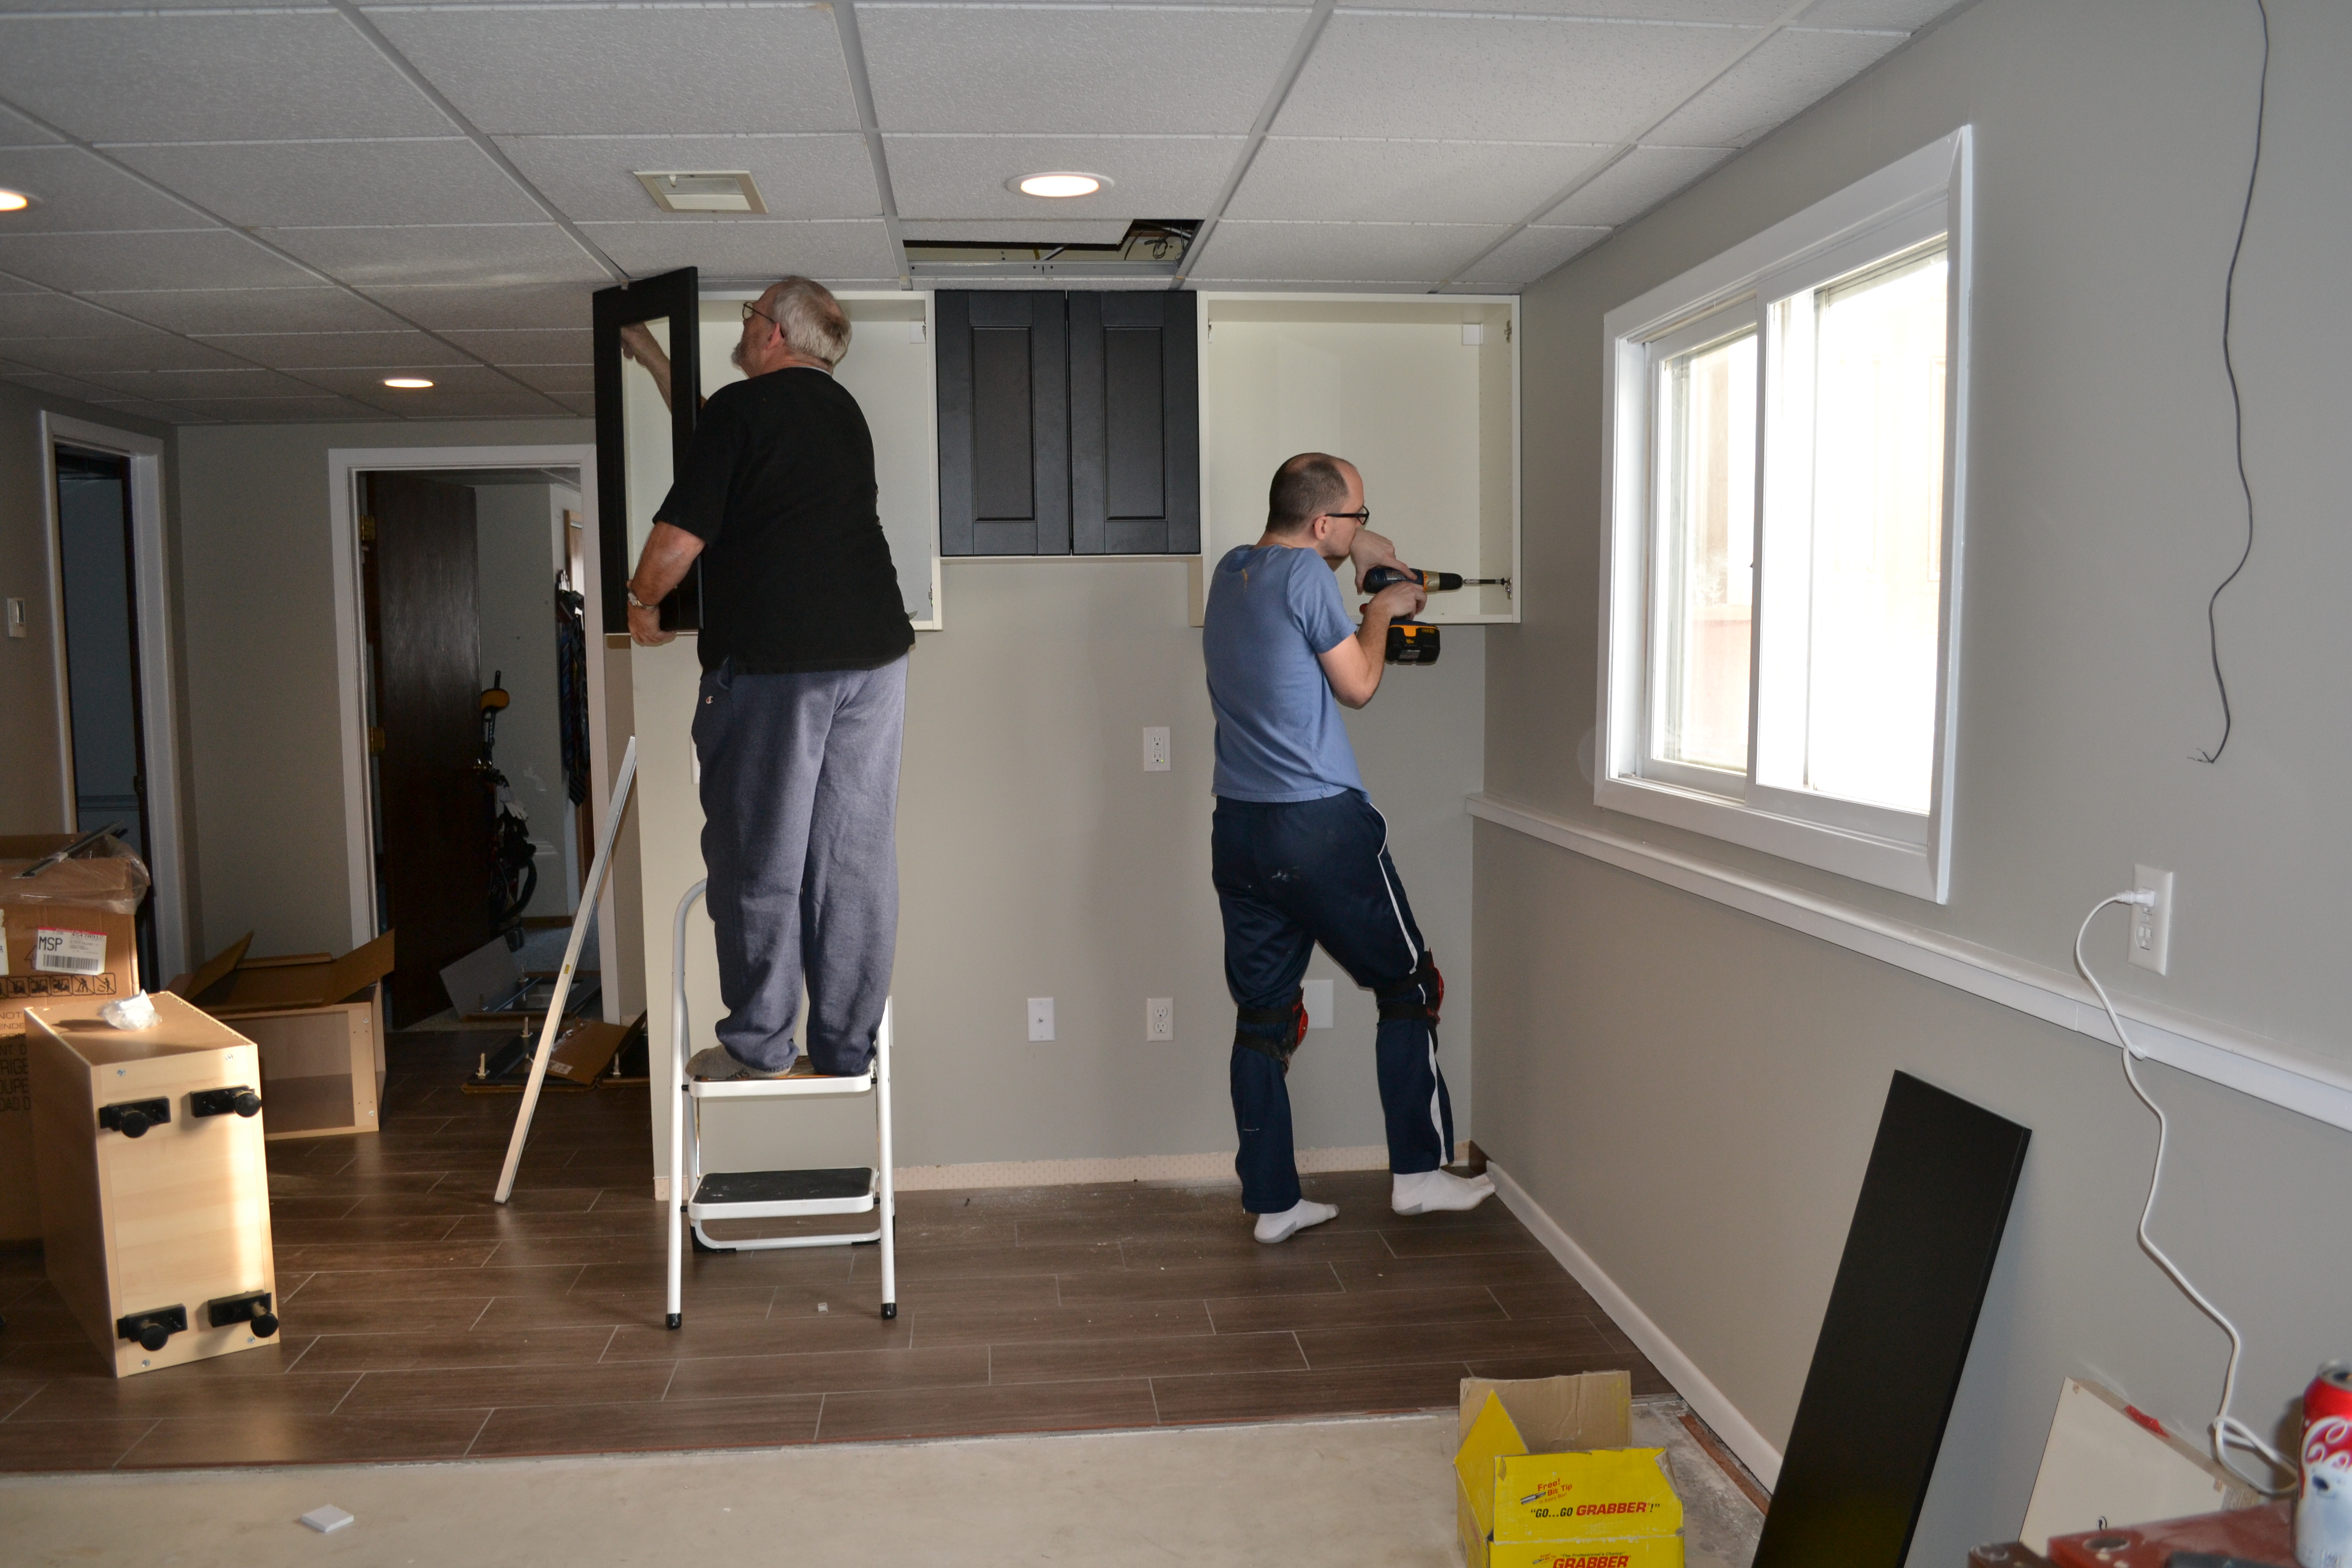 We debated calling his 9-lives uncle I mentioned here and here, but instead we called Jeff.
 We They got the suspension rail installed and slowly the rest of the uppers.
Lesson #2: Don’t put the door hinges on backwards, it’s REALLY hard to install them that way.
 Lesson #3: Drawer units take a lot longer to assemble than door units.
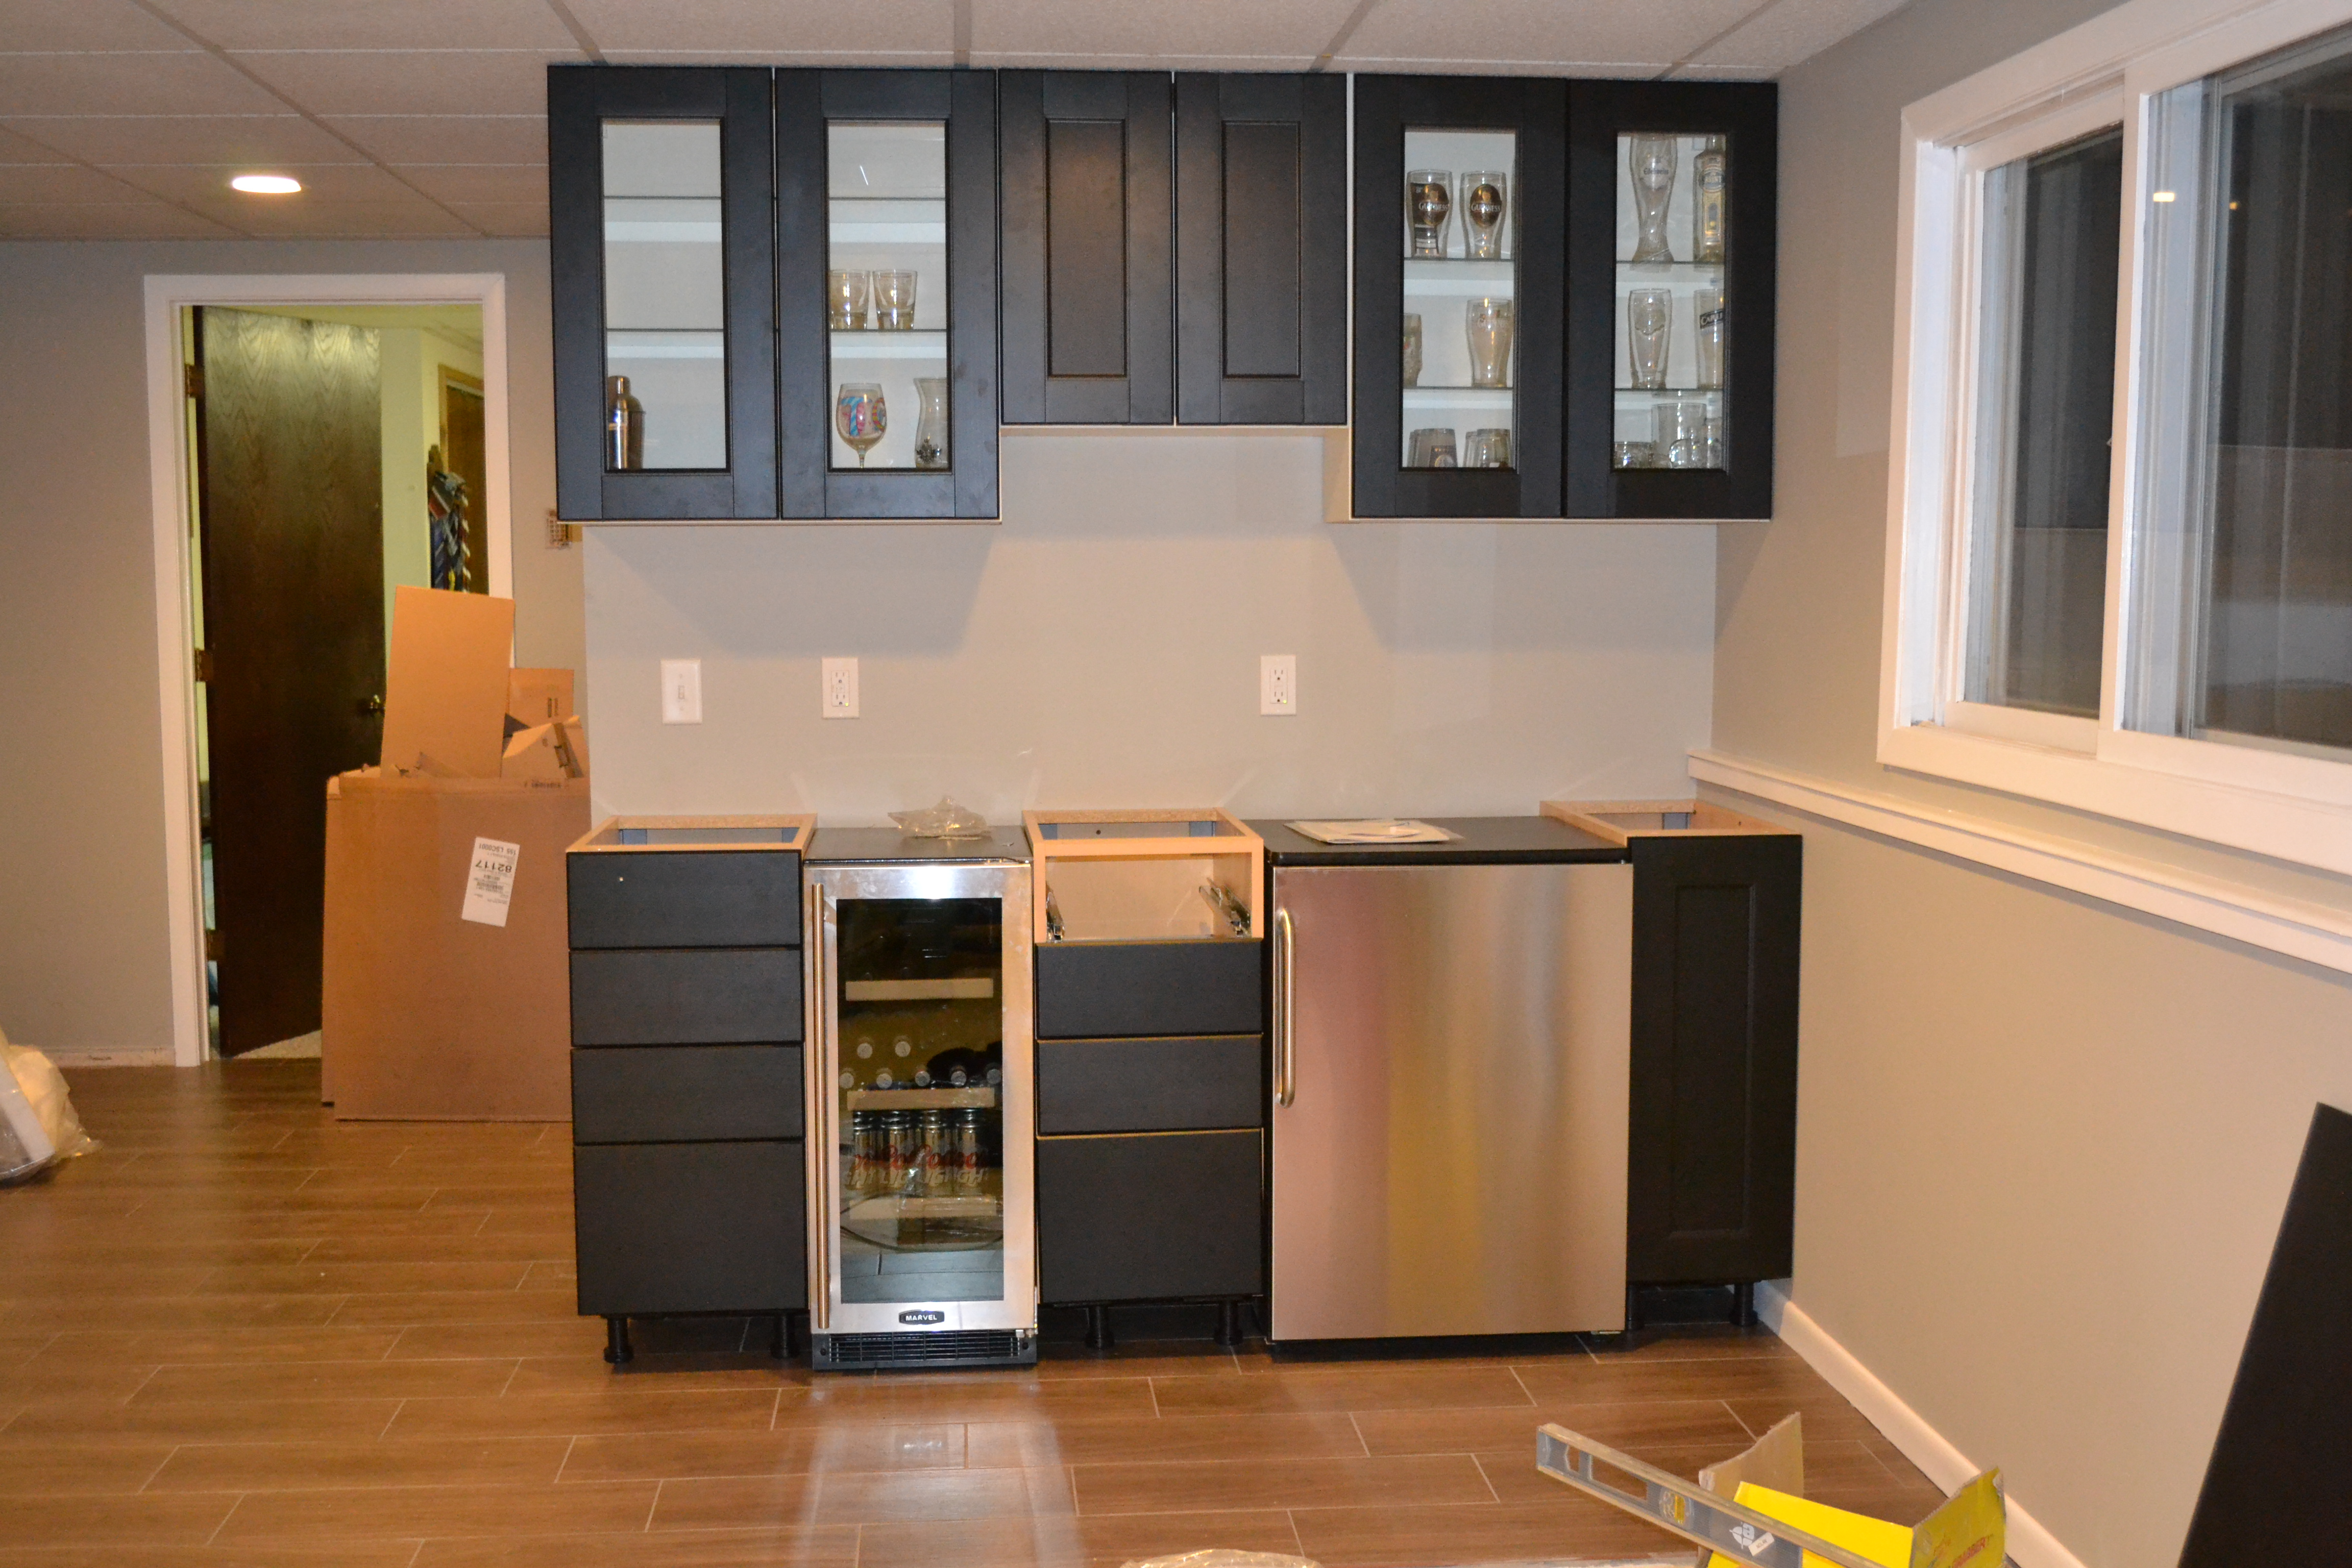
We thought we ordered all the frames in white, but obviously the bottom ones came in birch. All the fronts came in Ramsjo black-brown, which is the part that really matters.
 Lesson #4: If something is going smoothly, don’t force it, Google it.
I had a slight problem with one of the drawers. I had put it on upside down and then I almost broke it trying to remove it. Then low-and-behold there was a great You Tube video on the easy way to remove drawer fronts.
See how the drawers are level? You have to be patient (Lesson #1) and adjust them until they are.
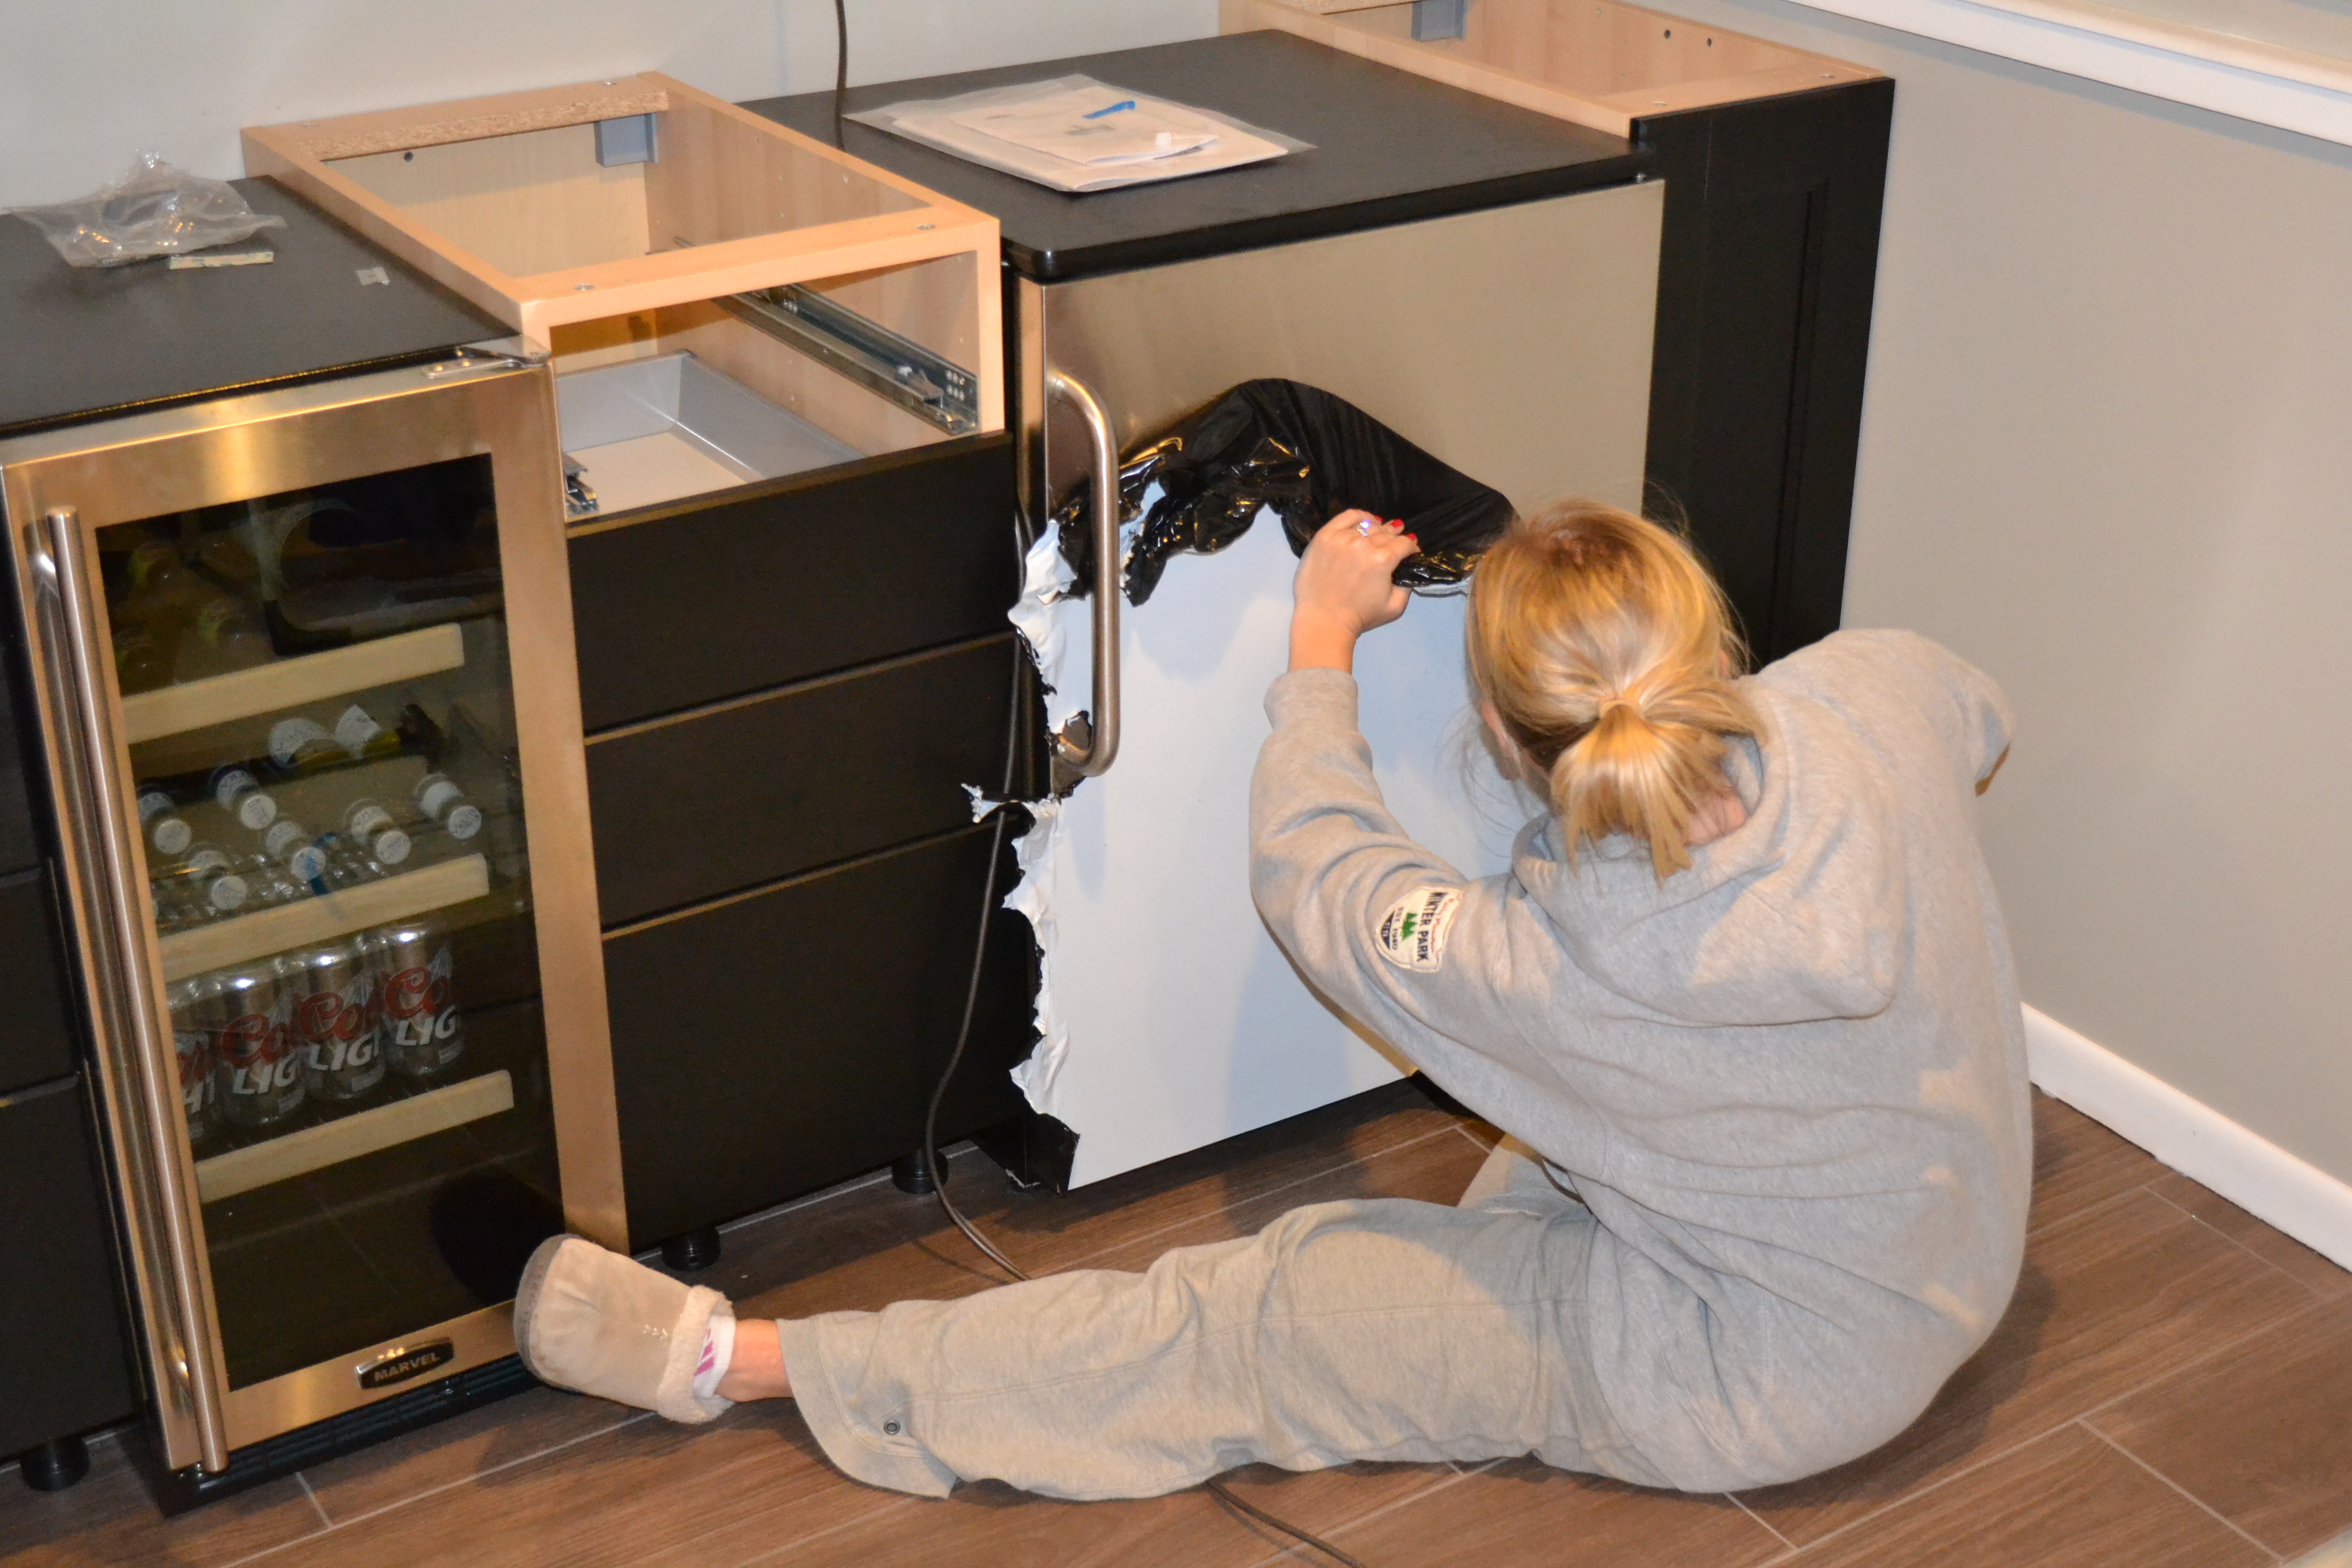 Now that I’m a brunette I doubt I would have as much trouble getting the plastic wrap off the kegerator. We got both the kegerator and wine fridge from The Beverage Factory. I think of kegerators as something from college, but this is a bit fancier since it’s built-in and has two taps. The kegerator is Summit and the wine fridge is Marvel. The taps of the kegerator can’t be installed until the counter is installed so in the meantime we’re using the wine fridge to store some beer. In this picture you can also see the feet on the bottom of the cabinets, that’s where the plinth comes in. We had to cut four pieces, it make it look more built-in. You can buy fancier legs if you want to leave it open for a more floating kitchen. My Dyson wouldn’t fit under there so plinth it was.
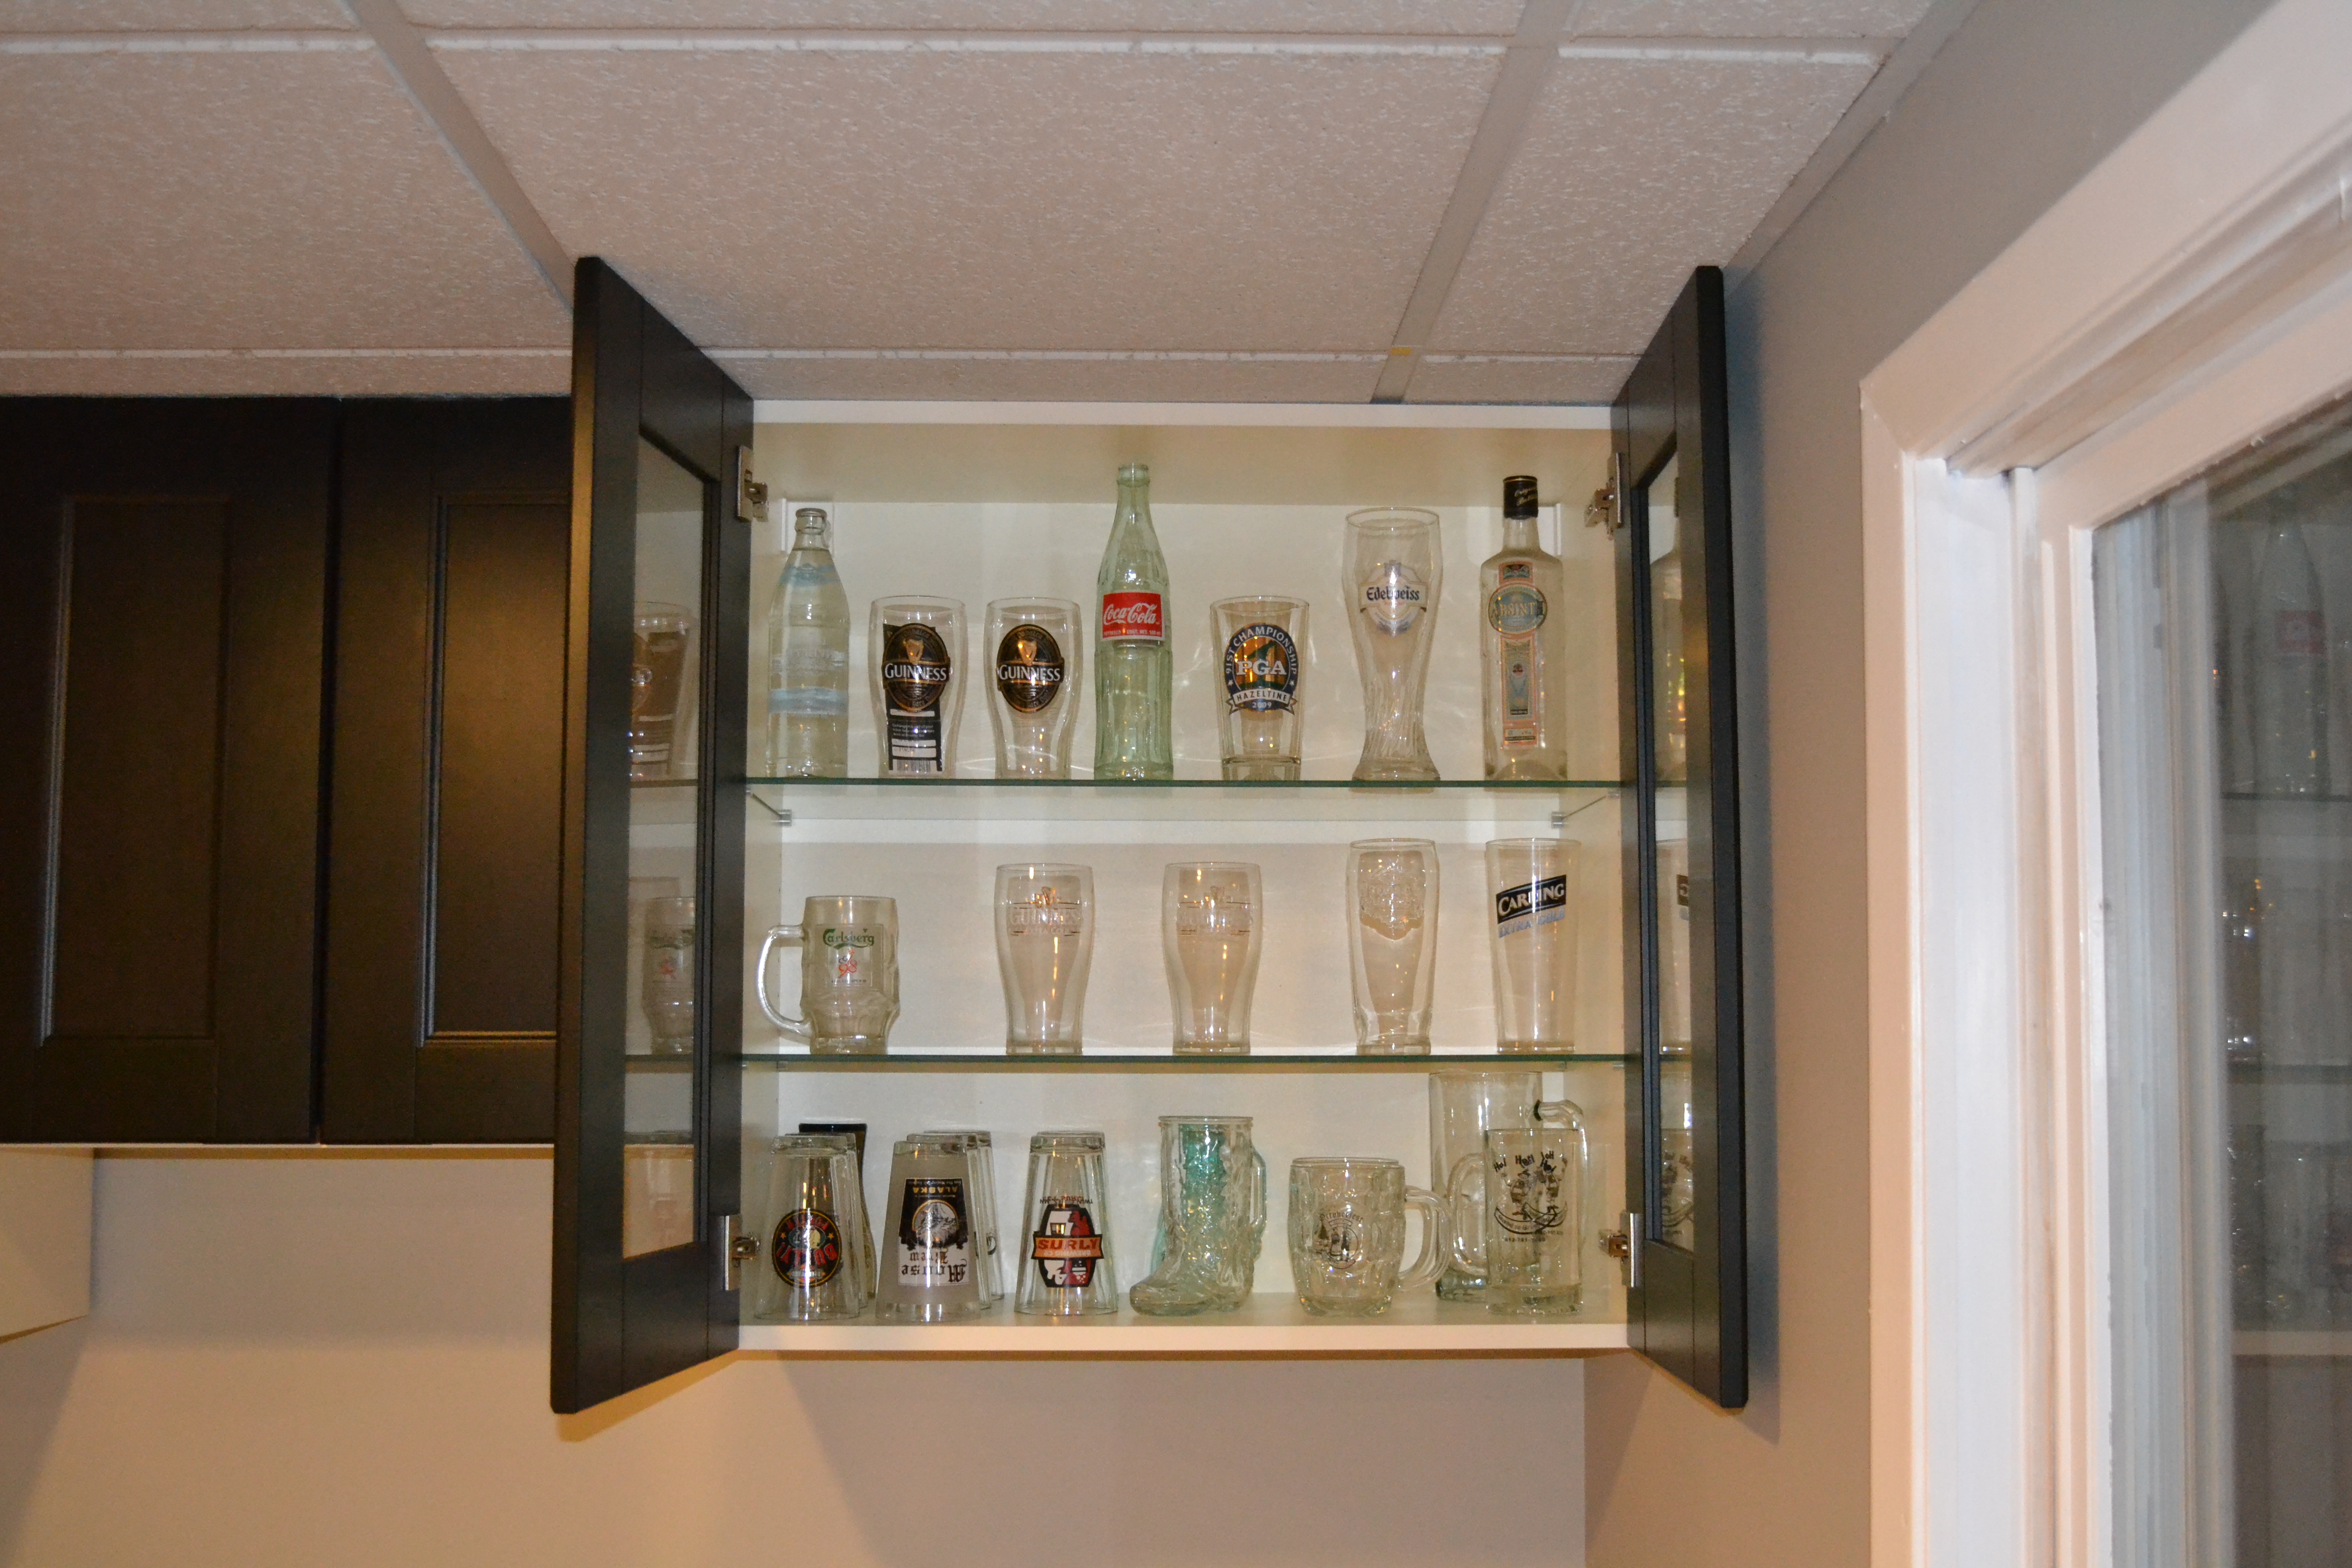 Nolan
Nolan stole took a bunch of glasses when he was in Europe and Thailand. Finally a spot to display them all! The boot mug in the bottom middle is from our good friends wedding. I mentioned Tab here. We also installed this under counter wine rack in the middle of the top cabinets. You can see it in the first picture.
Shopping List
We Nolan used the Ikea Home Planner 3D Tool to design and select the cabinets and appliances. We ordered most of the items online and had them delivered. One piece (I believe it was the over-the-fridge unit) wasn’t available to order but was in stock at the Bloomington Ikea. So we picked that up, along with the handles and drill template. They were delivered sometime in January and that day we moved all the boxes into the basement, the wood took a 60-70 degree jump so we let the boxes sit in our basement for over a week.
- Plinth to cover up cabinet legs
- Two drawer base cabinet
- One door base cabinet
- One over-fridge cabinet
- Two wall cabinet with glass doors
- 1 or 2 suspension rails to hang wall cabinets
- A couple of cabinet covers for the ends
- Handles
- Drill template
- Legs

One thought on “Akurum Cabinets”
Comments are closed.