
The entire hallway project is the biggest, most advanced DIY project we’ve undertaken, and rightfully so, the one we are most proud of. We aren’t 100% done with it yet (when am I ever?), but there were a few time-consuming snags so I need to divide the doors and the board and batten into several posts. Here is the long play-by-play.
- First, we measured the existing doors and ordered the doors, knobs and hinges. More on that here.
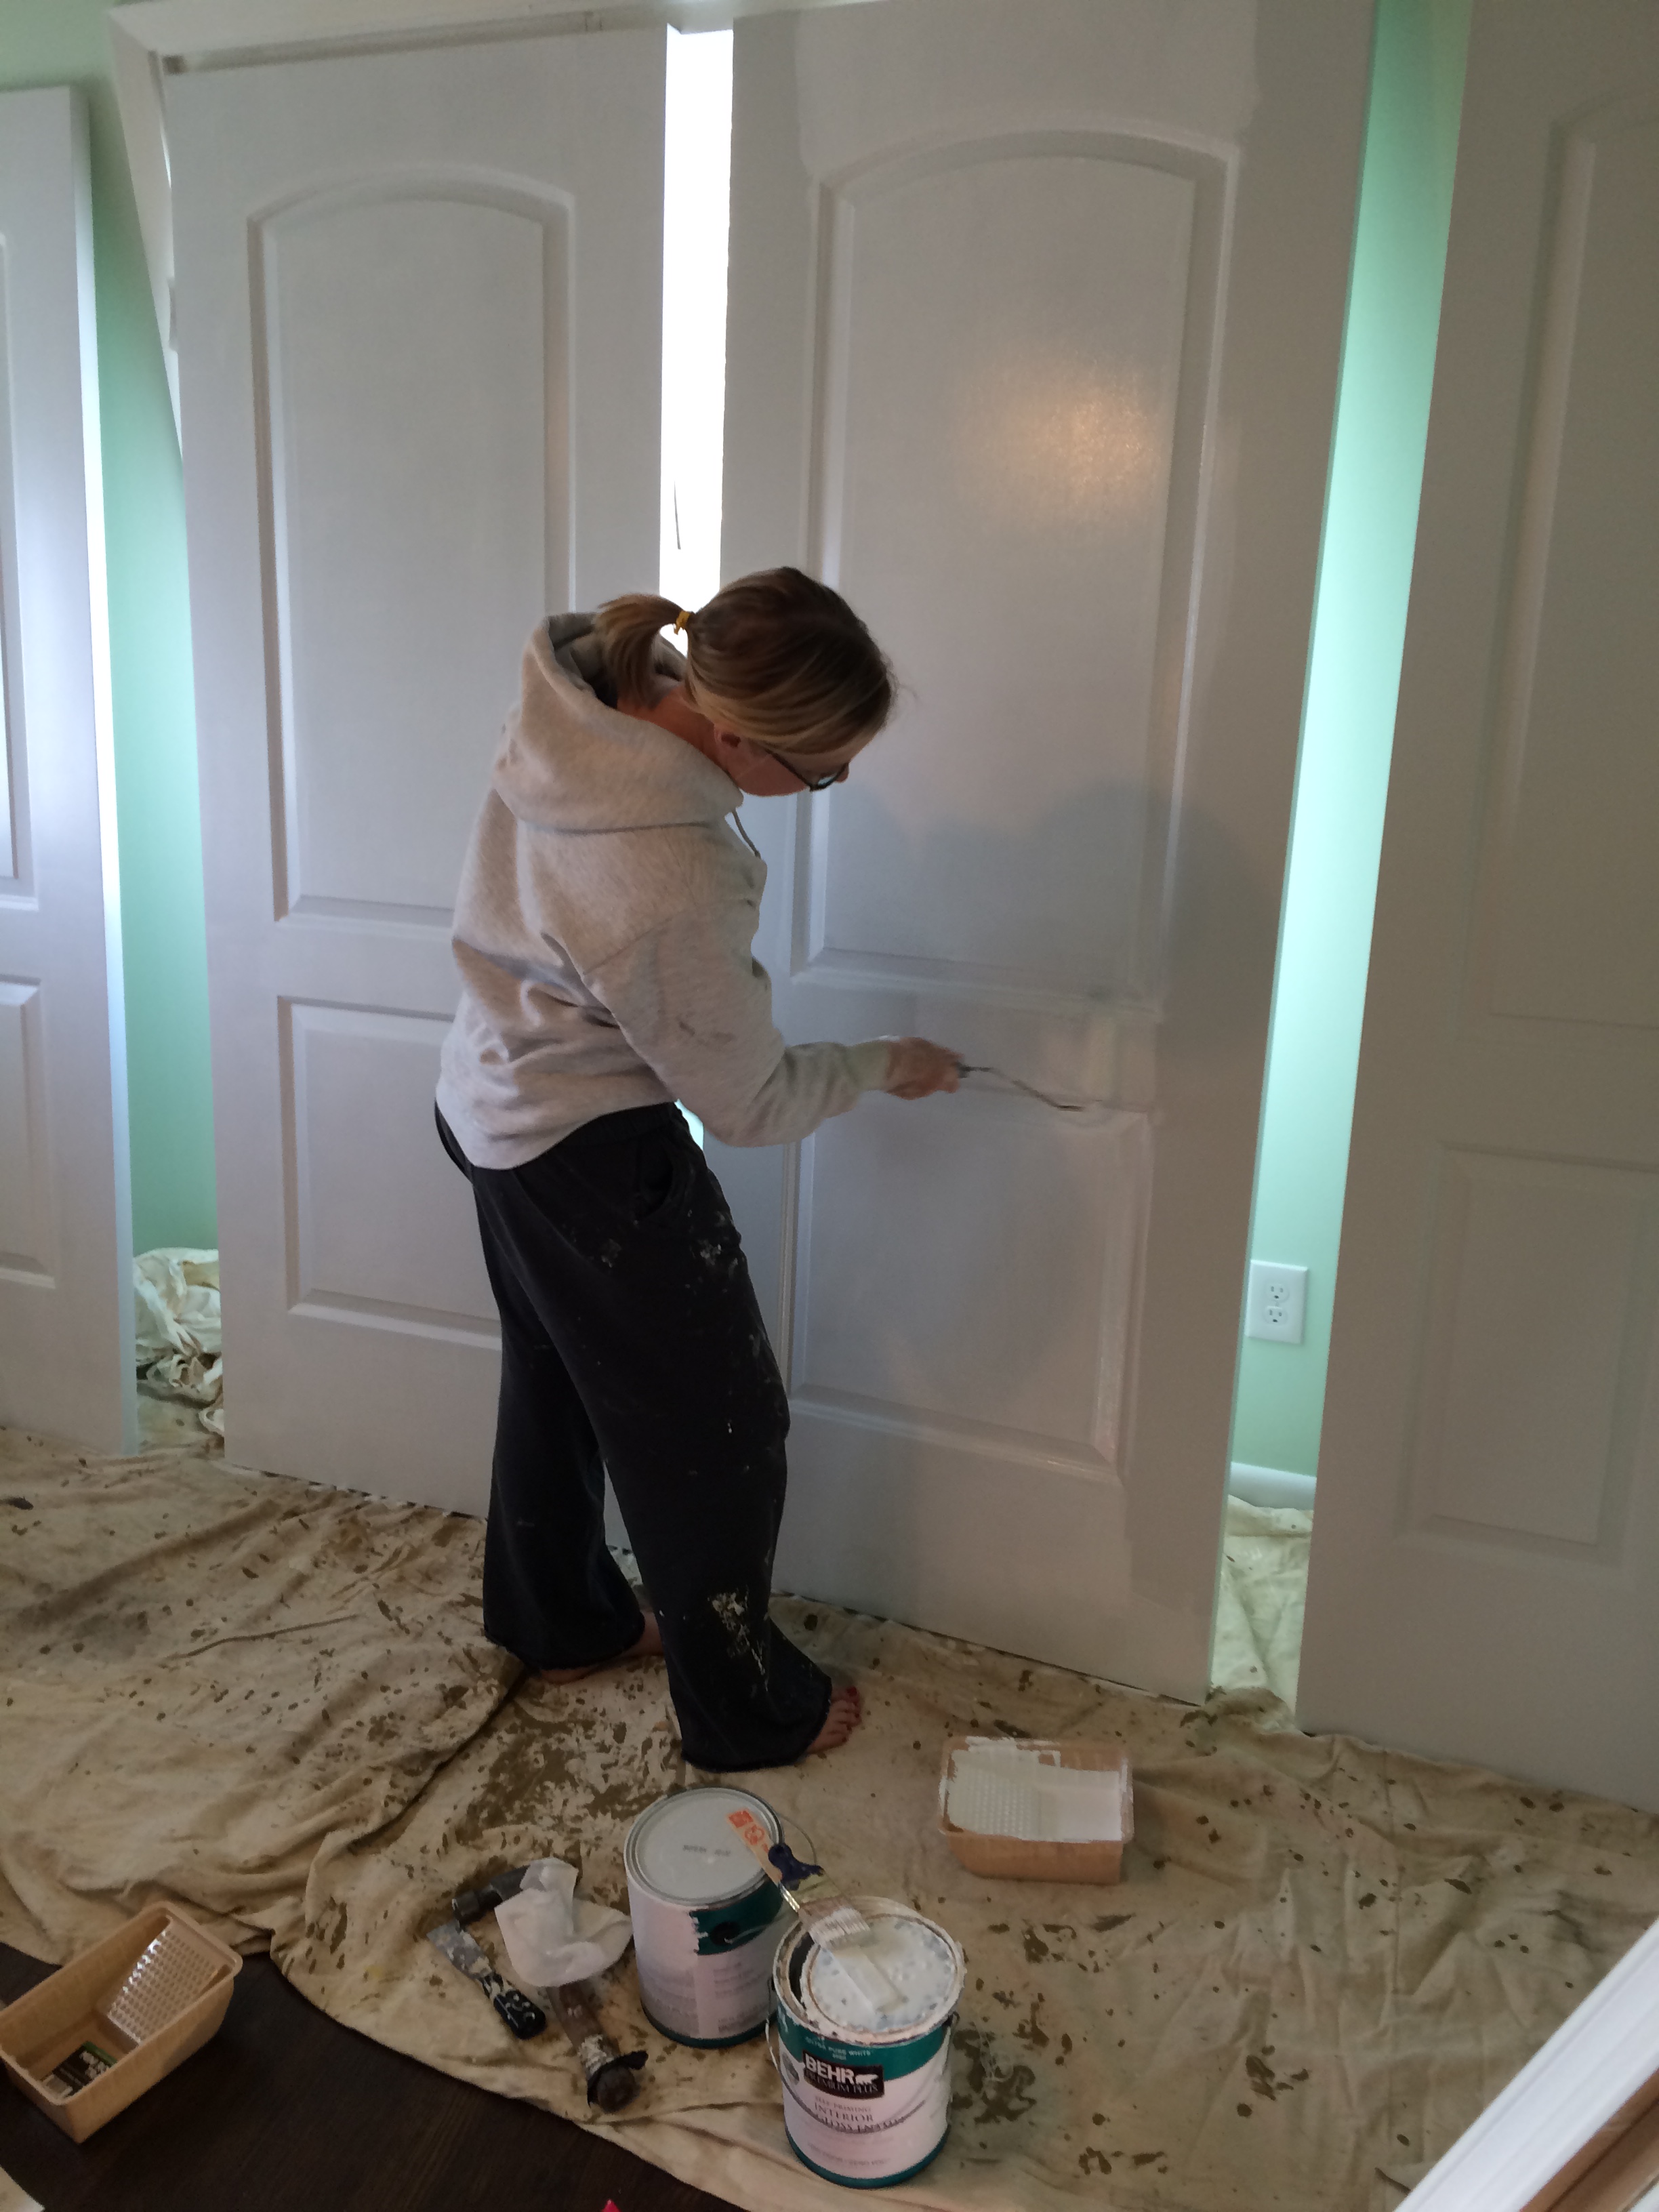
- Then we took all the doors off, caulked around all the seems and painted all the trim and door jams. This step took a long time, there are 6 doors and there is drying time between each coat of paint, you do the math.
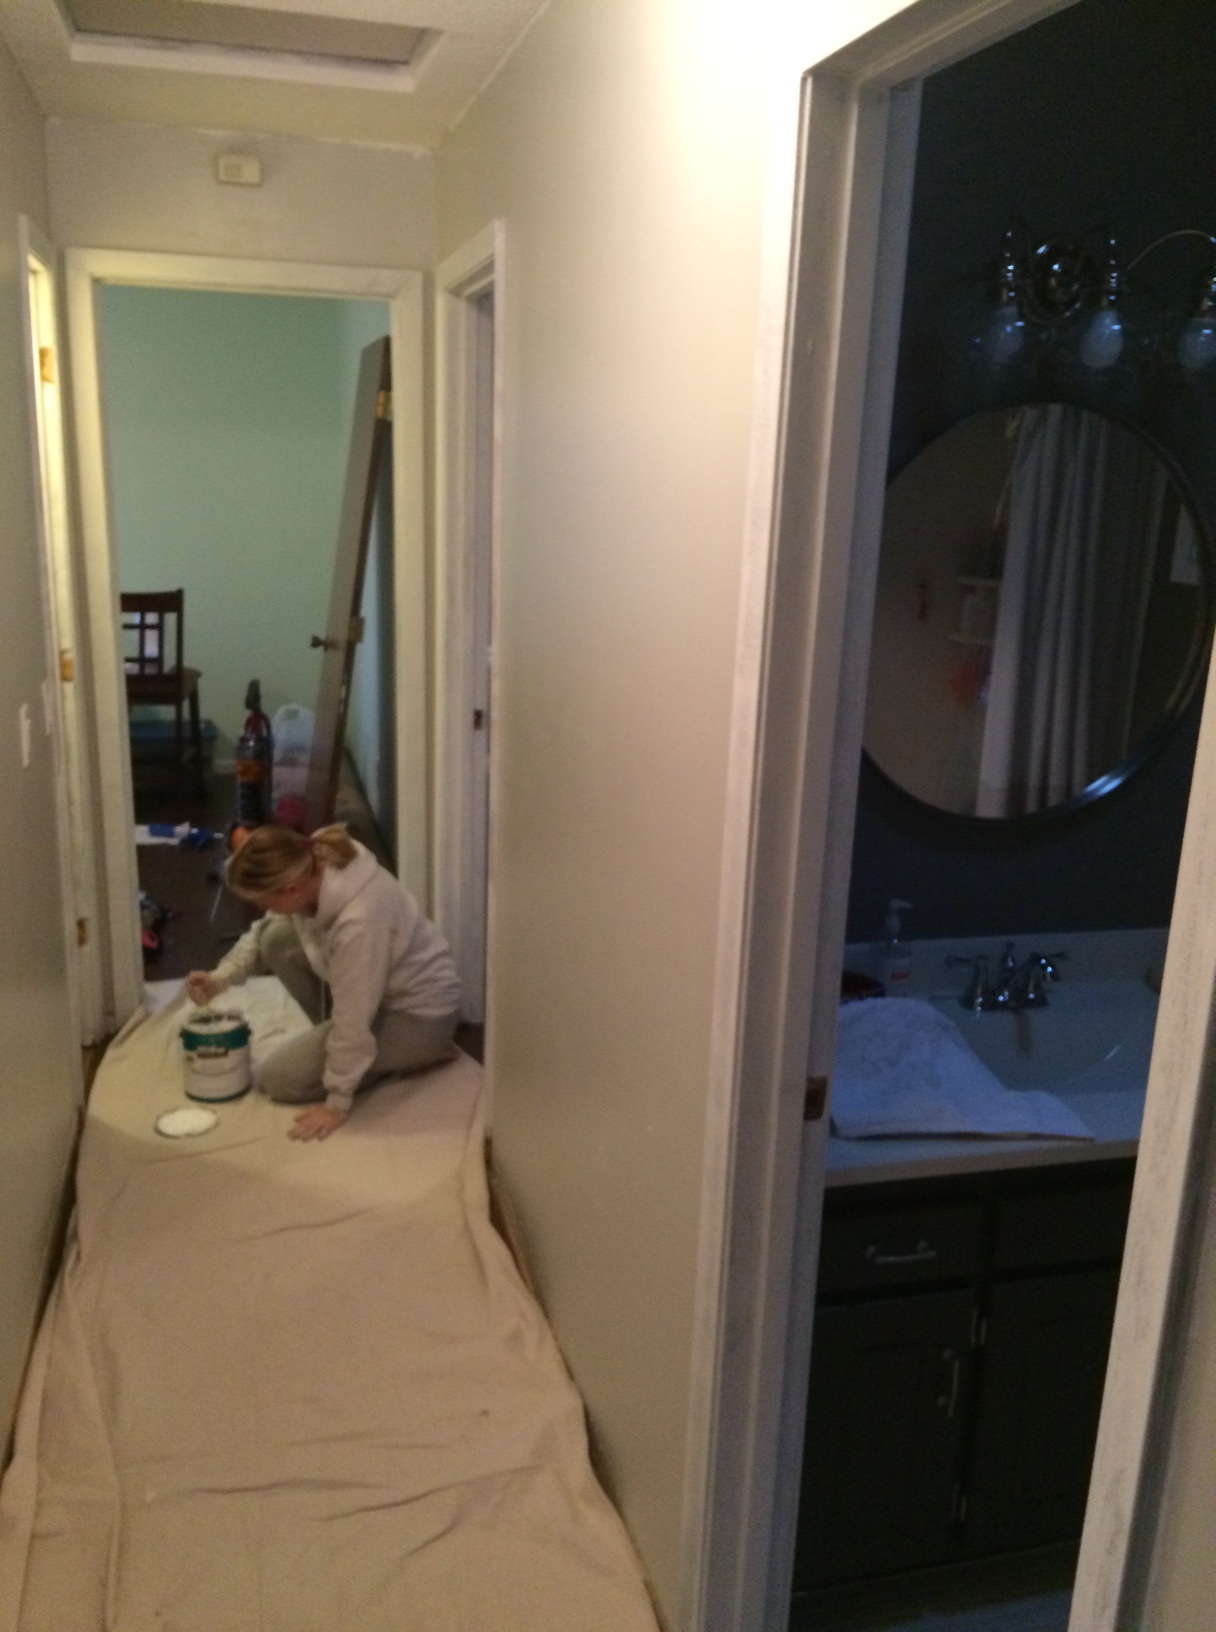
- I set up painting shops in the front bedroom, basement and basement bedroom. 6 doors x 2 coats x 2 sides, YDTM.
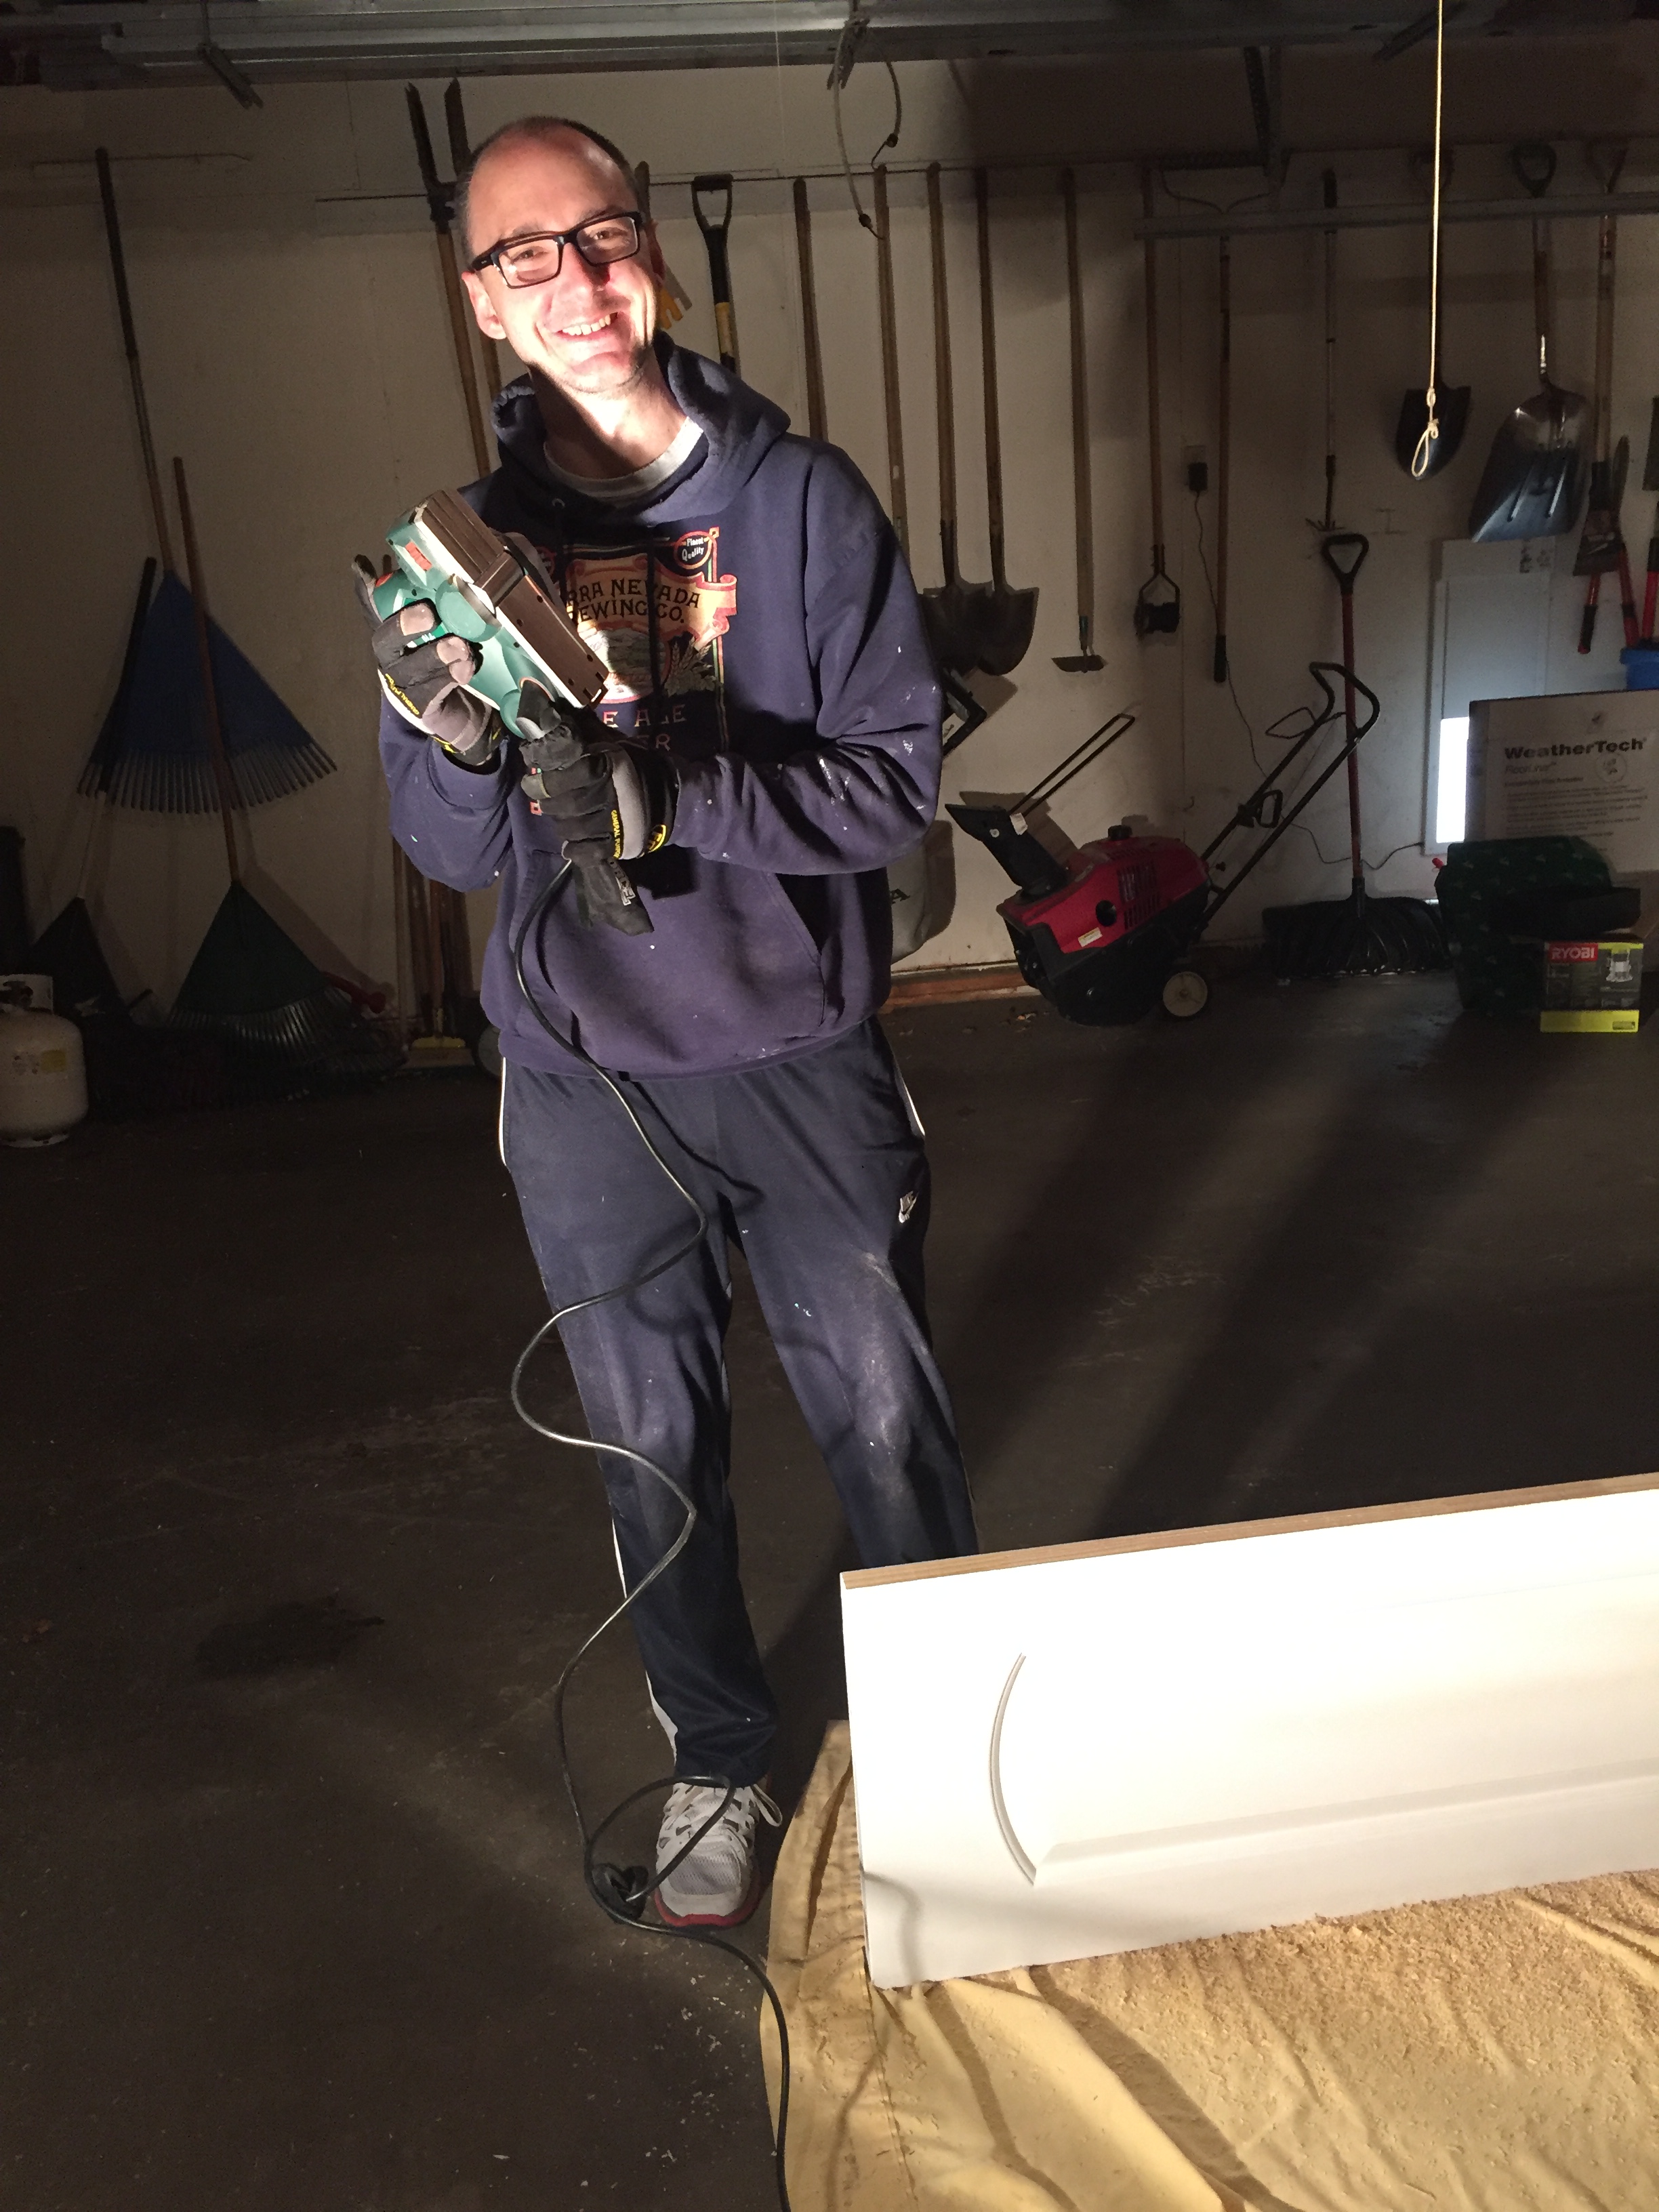
- Then we carried the doors into the garage and routed out the hinges. 6 doors x 3 hinges/door, YDTM. Nolan did this when it was around 20° outside, thus no images. But here is the stuff he used. The router will come in handy for a lot of other projects and the hinge template will come in handy when we do the doors downstairs-hahahahaha.


- Then we brought the doors back inside, again 6 doors x 12 steps, YDTM. Once inside we installed the hinges and fit the door to the frame. But of course, none of the frames are square. They were 1/16″ to 3/16+” too big. Some were 1/16″ off at the top and 3/16″ off at the bottom. I think it was at this point we realized the main bathroom door is not the same size as the other doors.
- We cursed.
- We called Jeff.
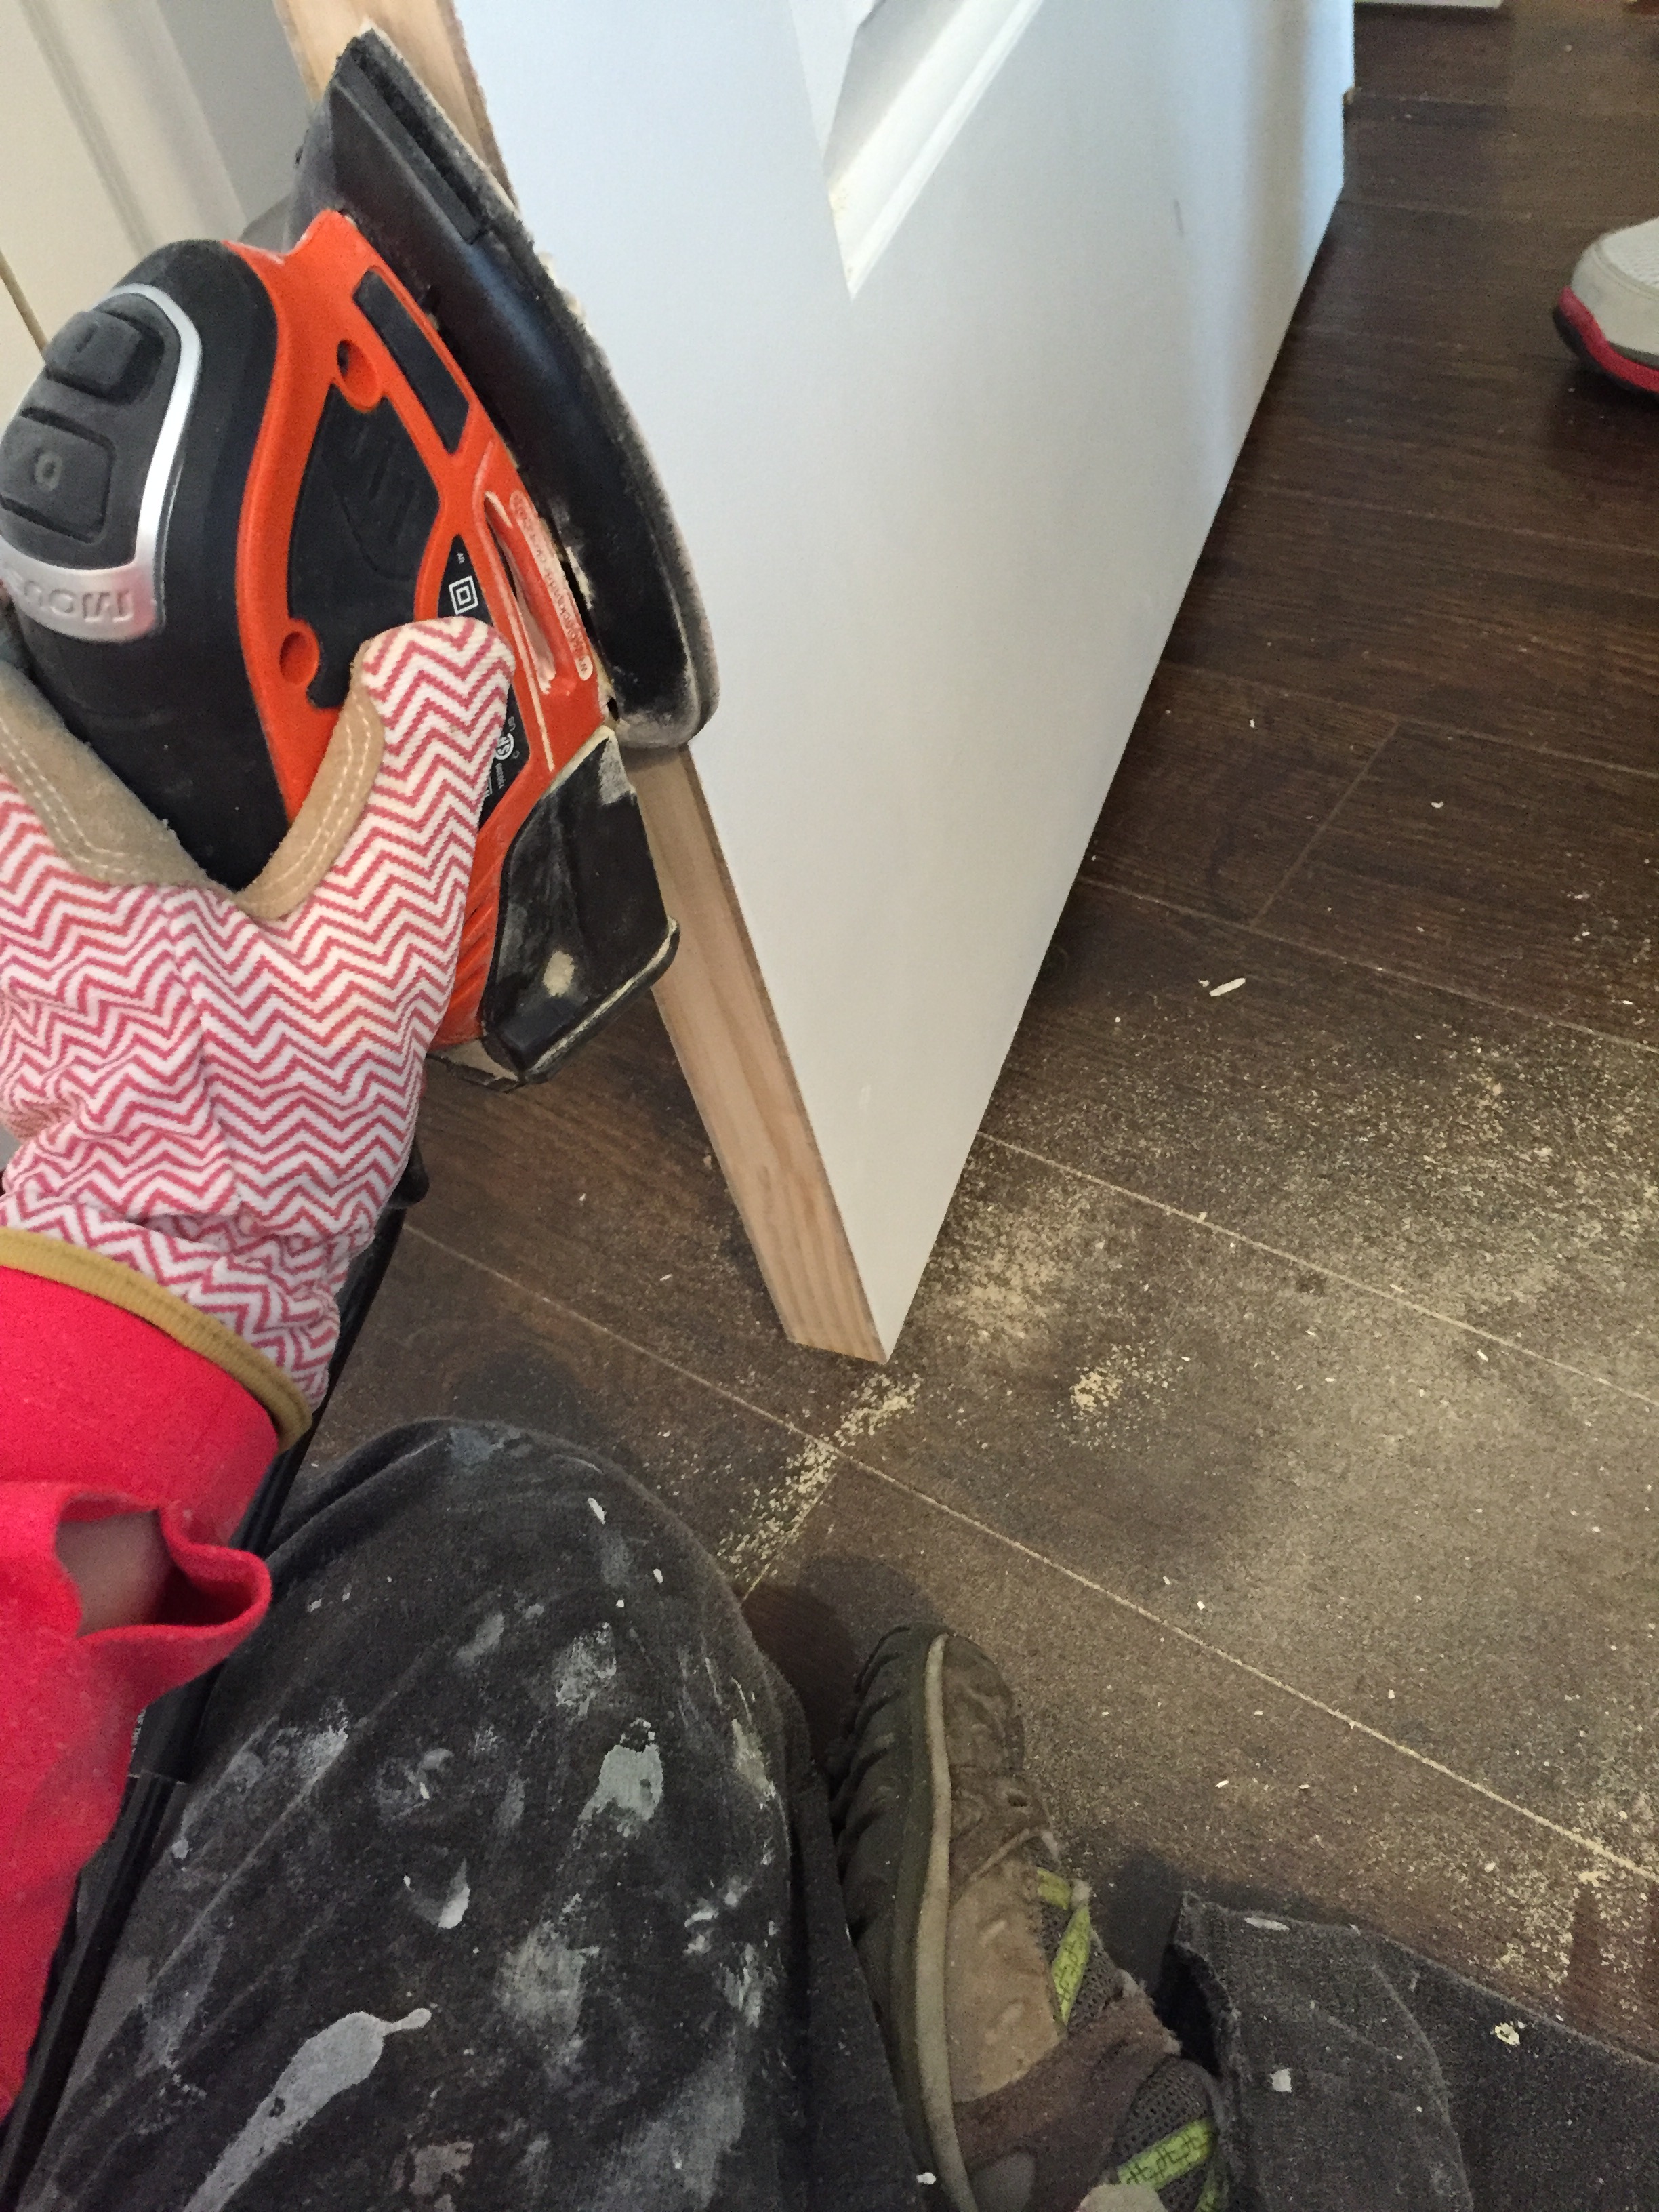
- We drew a line on the door before taking it off the frame and back into the garage, again 5 doors x 12 steps, YDTM. We borrowed Jeff’s hand planer, similar to this guy, to trim the doors. Jeff and Nolan did the first one. After that I would hold the door and Nolan would cut.
- Then we’d rehang the door with the hinges and inevitably they would still not fit. At this point we’d find where it wasn’t fitting and either remove that part of the door jam (only had to do this on the front and master bedroom) or sand the door down.
 Even though it’s not done yet every time I walk down the hallway I say “OOOooooo, new hallway!” Can’t wait to finish and show some pictures!


 Even though it’s not done yet every time I walk down the hallway I say “OOOooooo, new hallway!” Can’t wait to finish and show some pictures!
This project is going to make that hallway shine!