Technically this project should be named ‘walls and battens’ because we didn’t install the boards. And if it wasn’t for Jeff letting us borrow a ton of tools it would just be ‘walls’. See Hallway Part 1 here.
Here’s how it all went down.
- I fell in love with the board and batten look and added it to my big list two years ago.
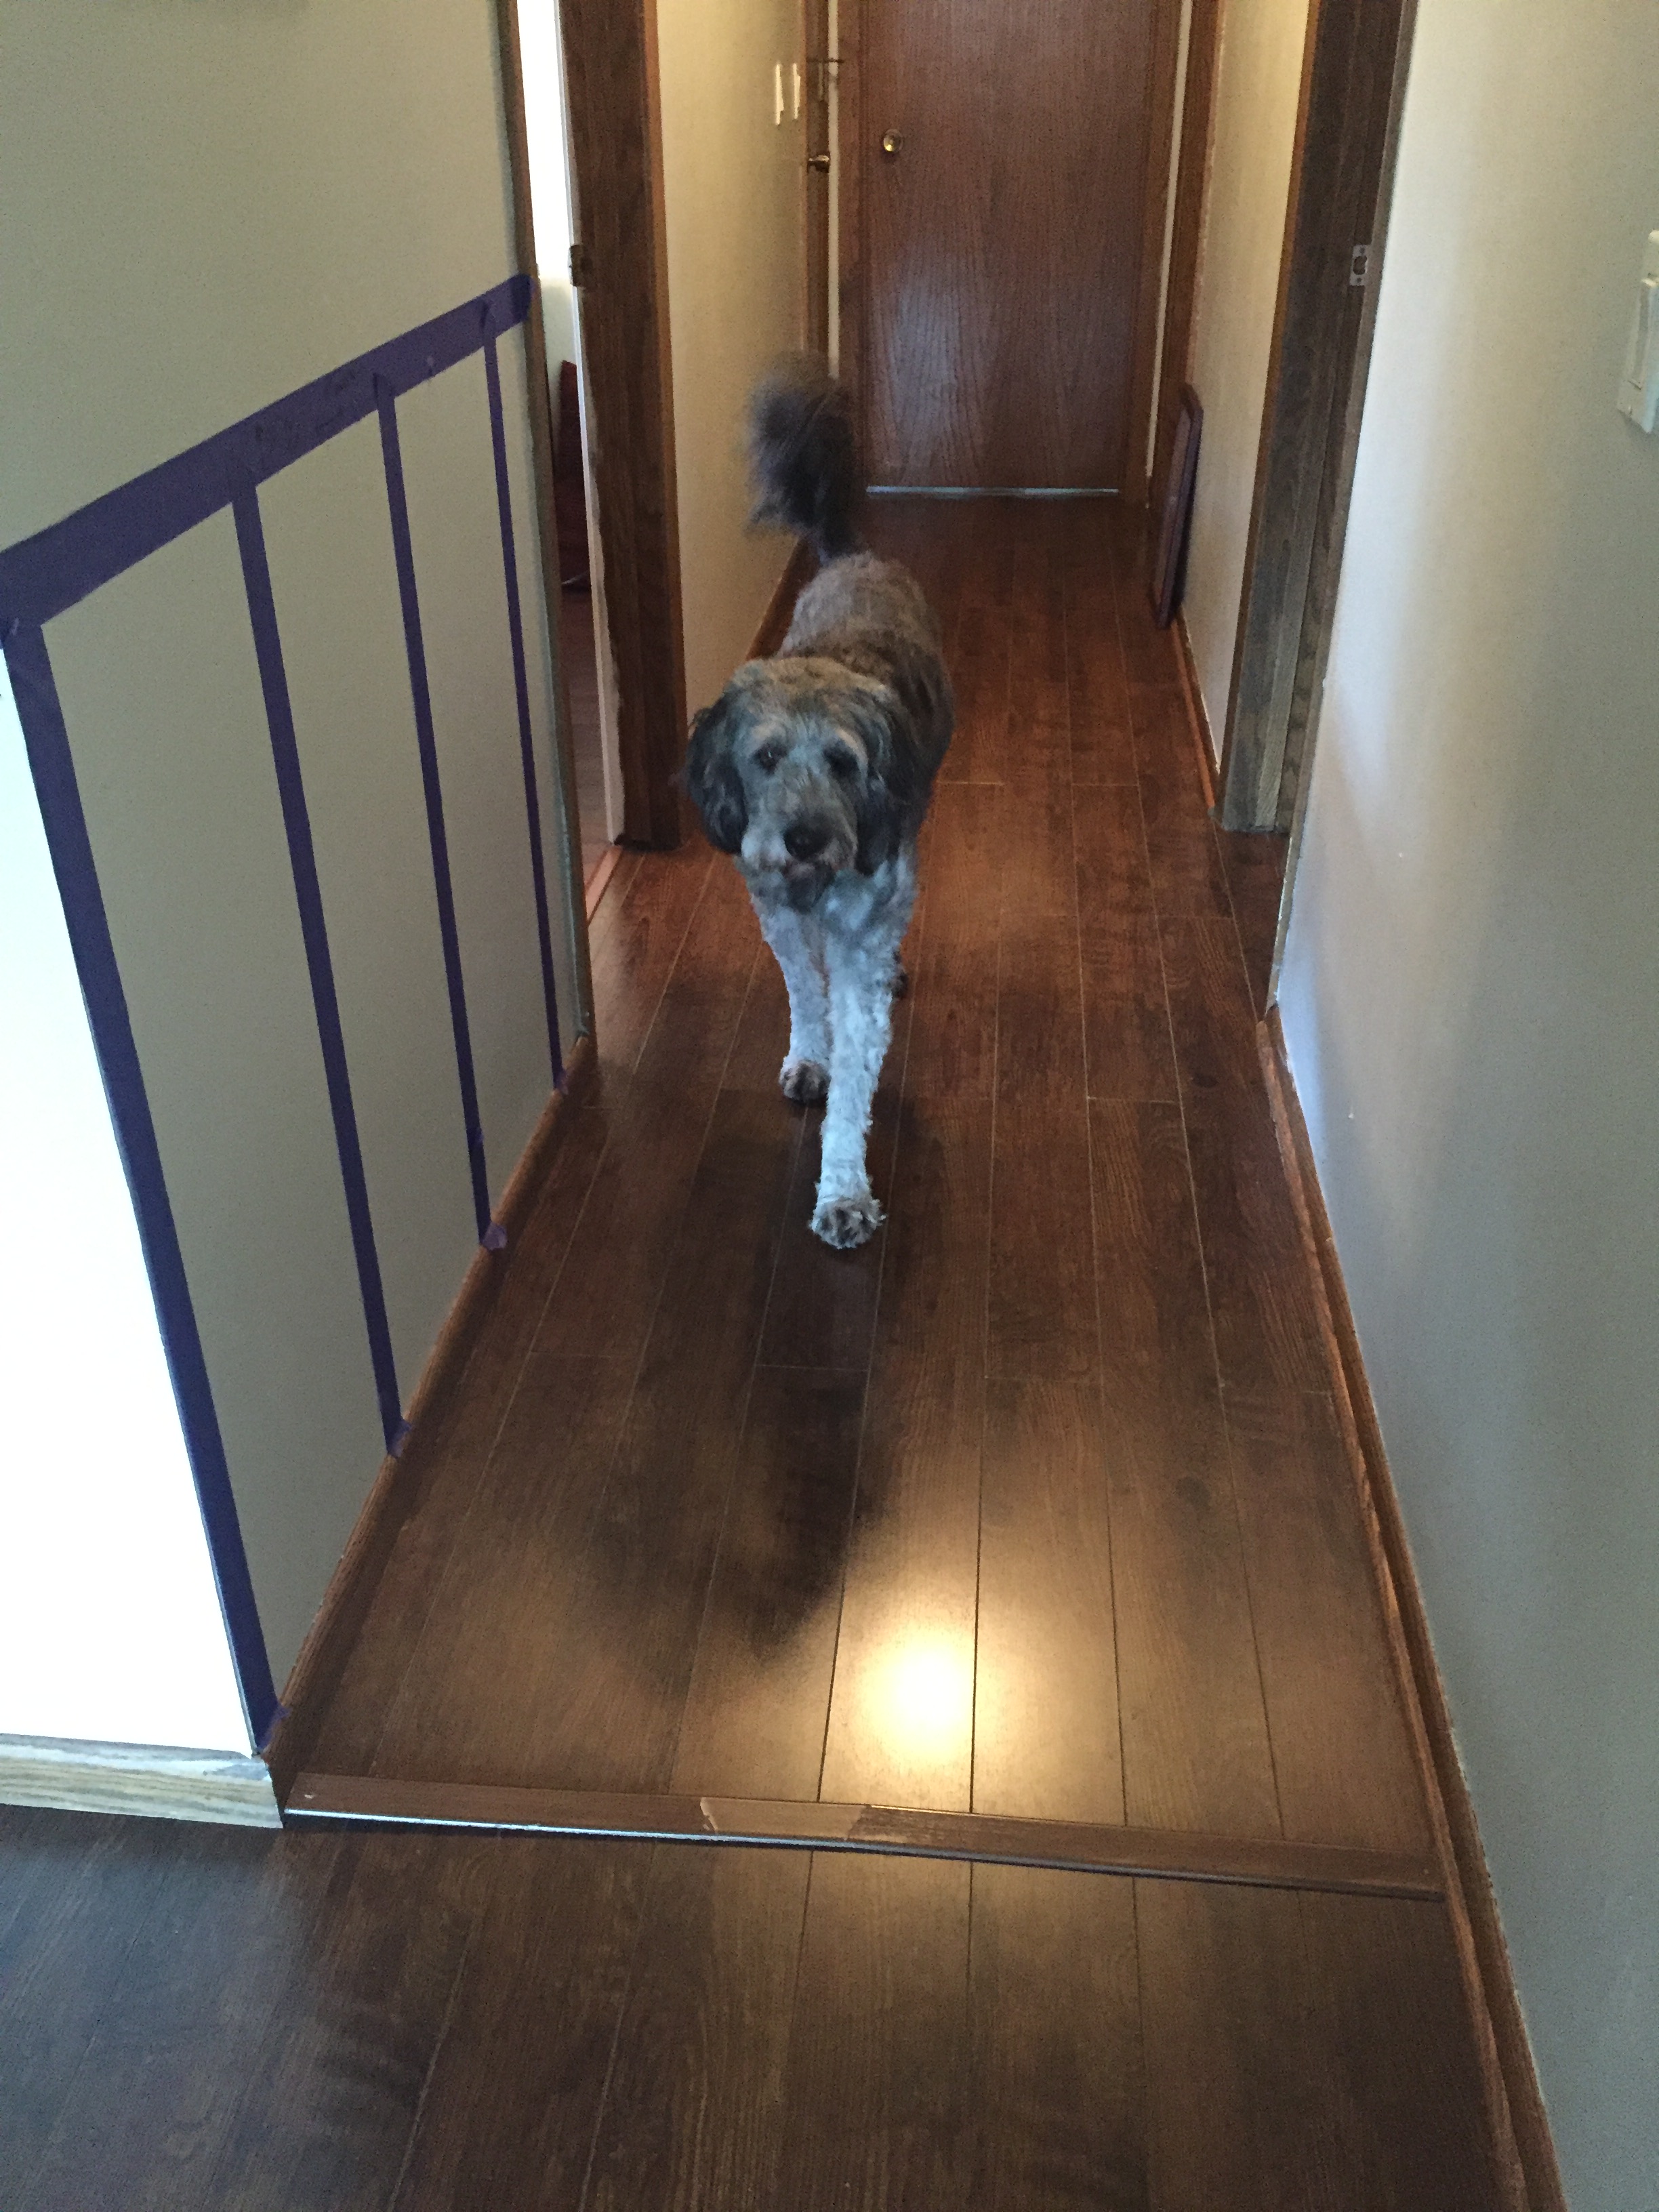
- With a week and a half off of work we started planning. We mostly followed this tutorial from Young House Love. They’ve since upped the ante. See the broken transition strip? Sophie did that.
- We bought all the wood and it came primed so we just put a few coats of white to match the rest of the trim.
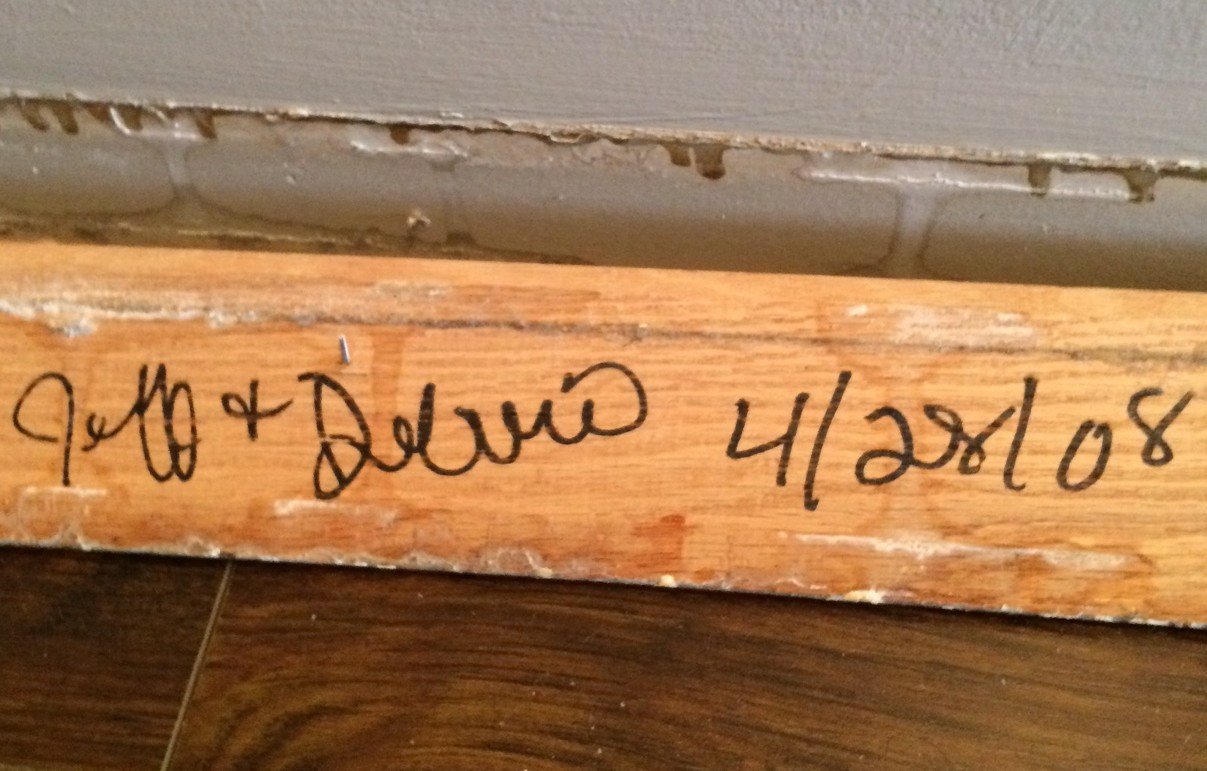
- Nolan took the old trim off.
- We painted the trim and door jams in the hallway.
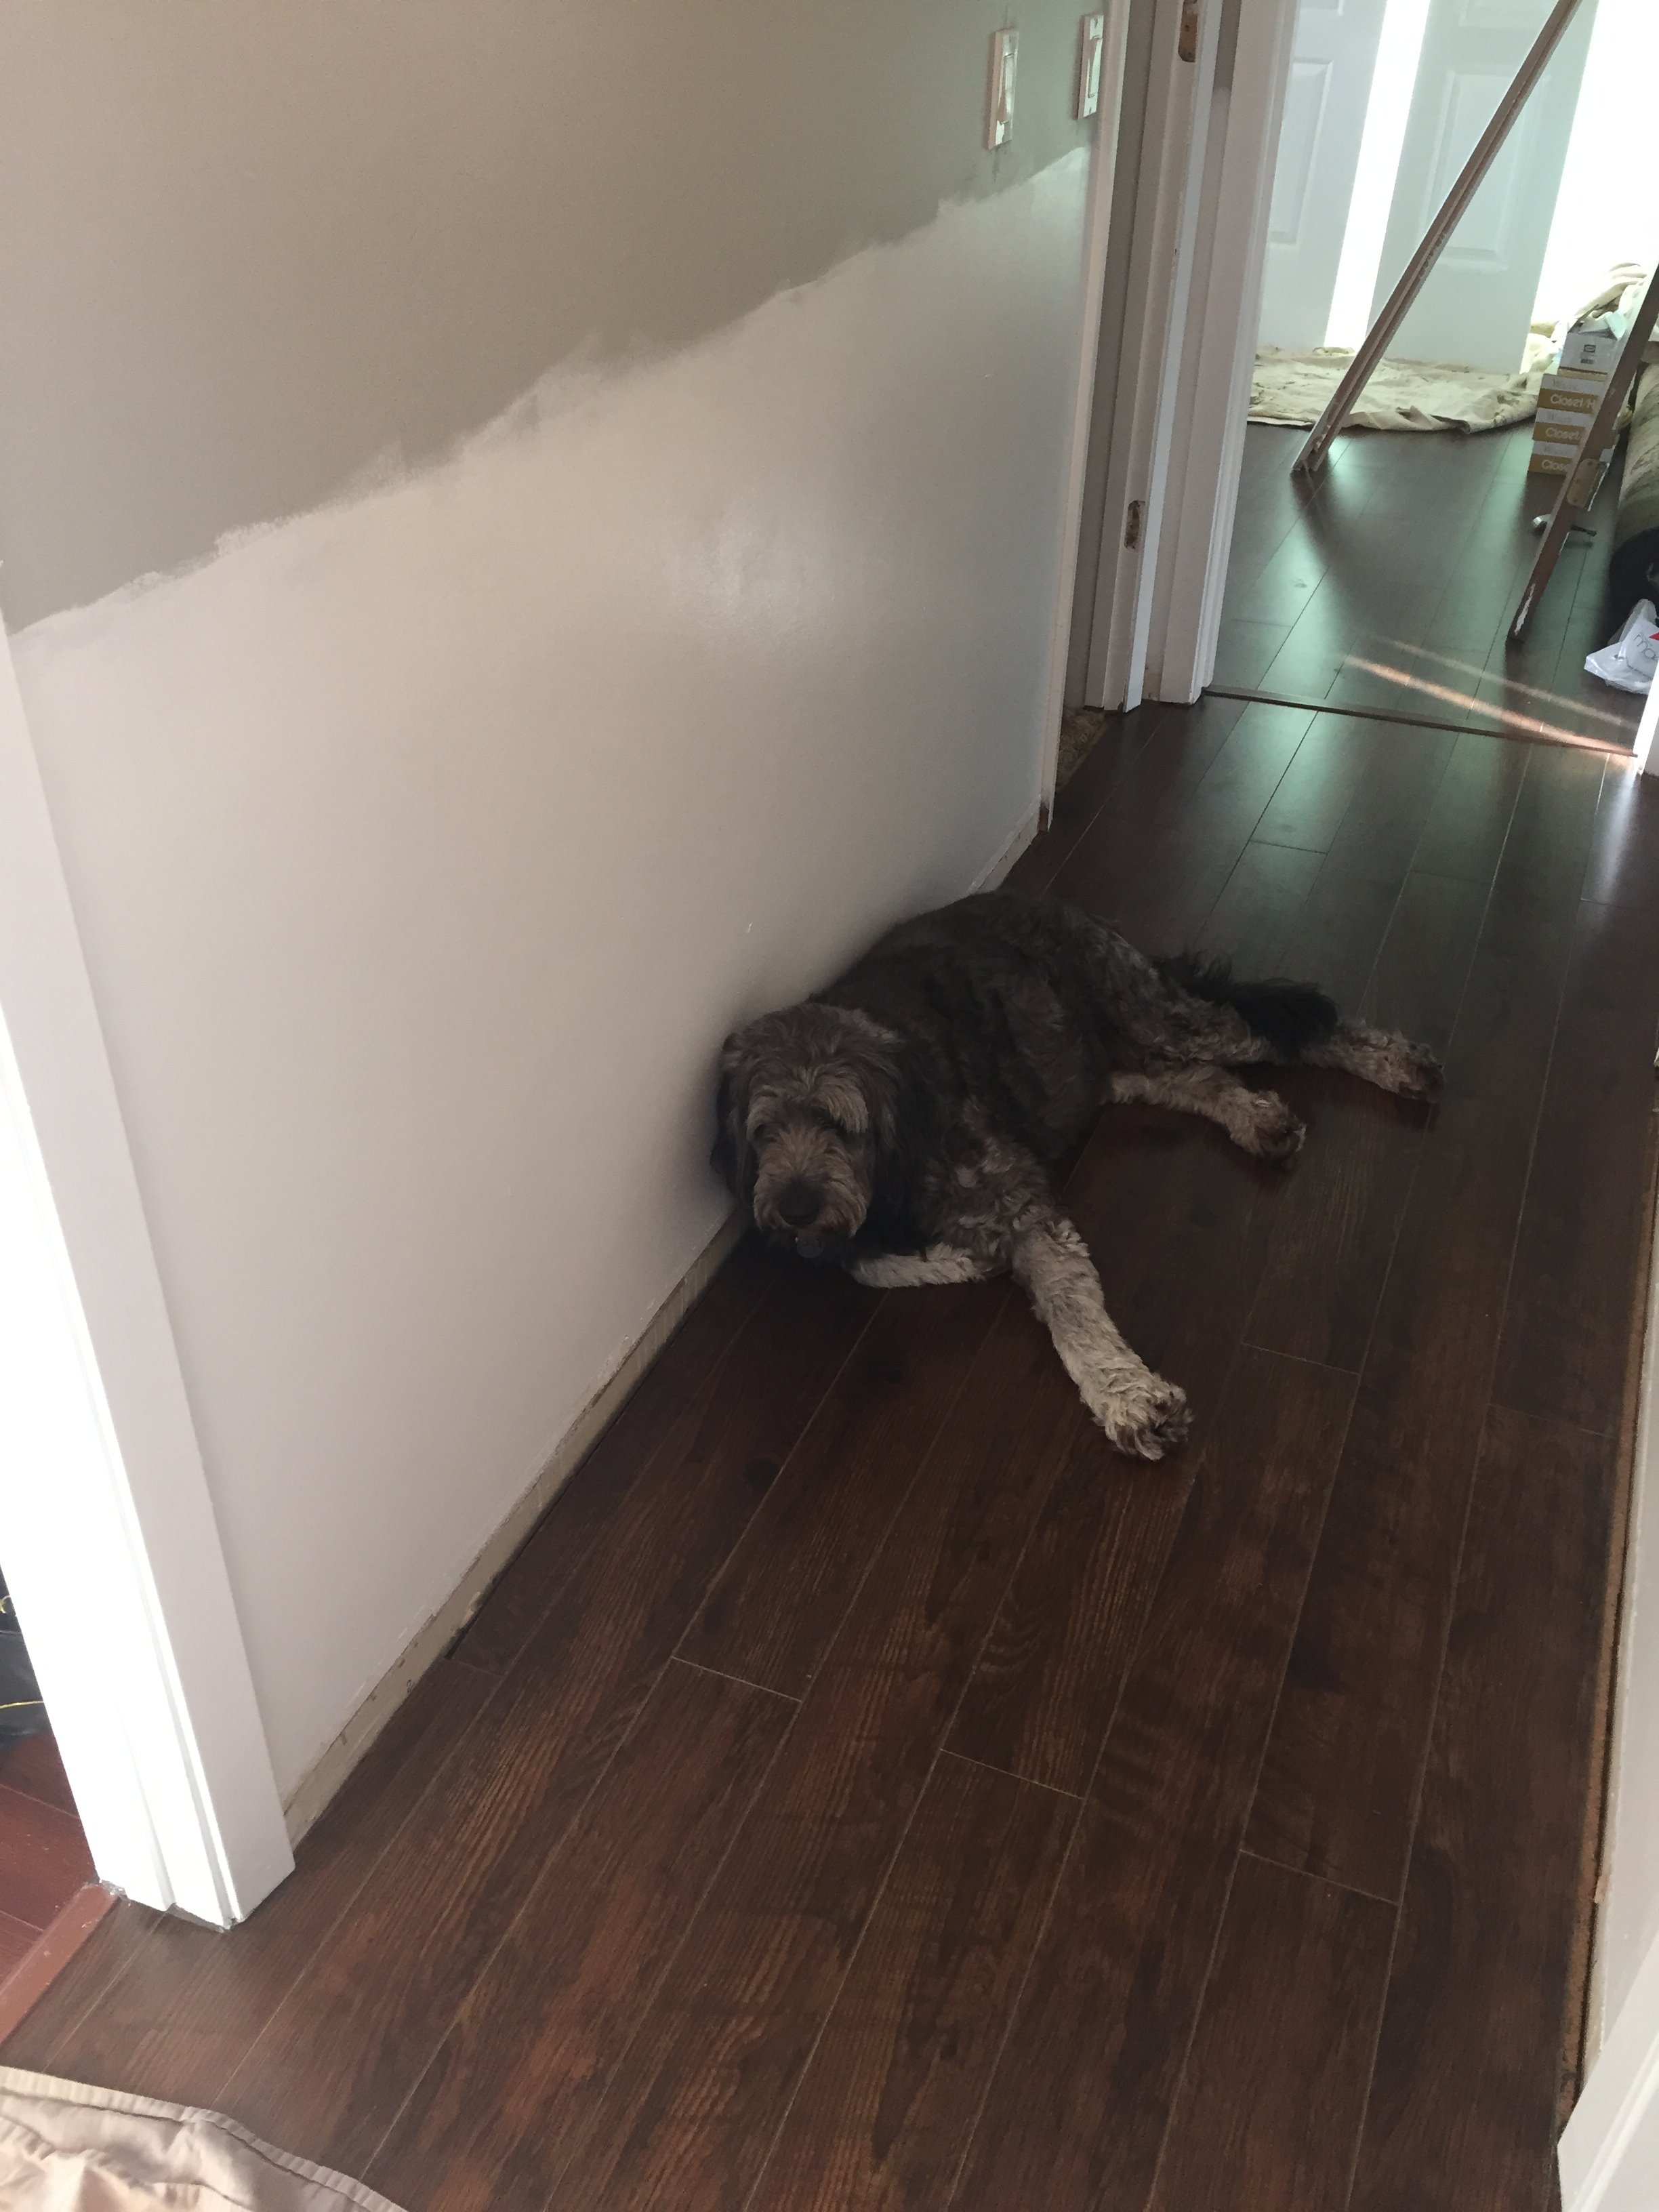
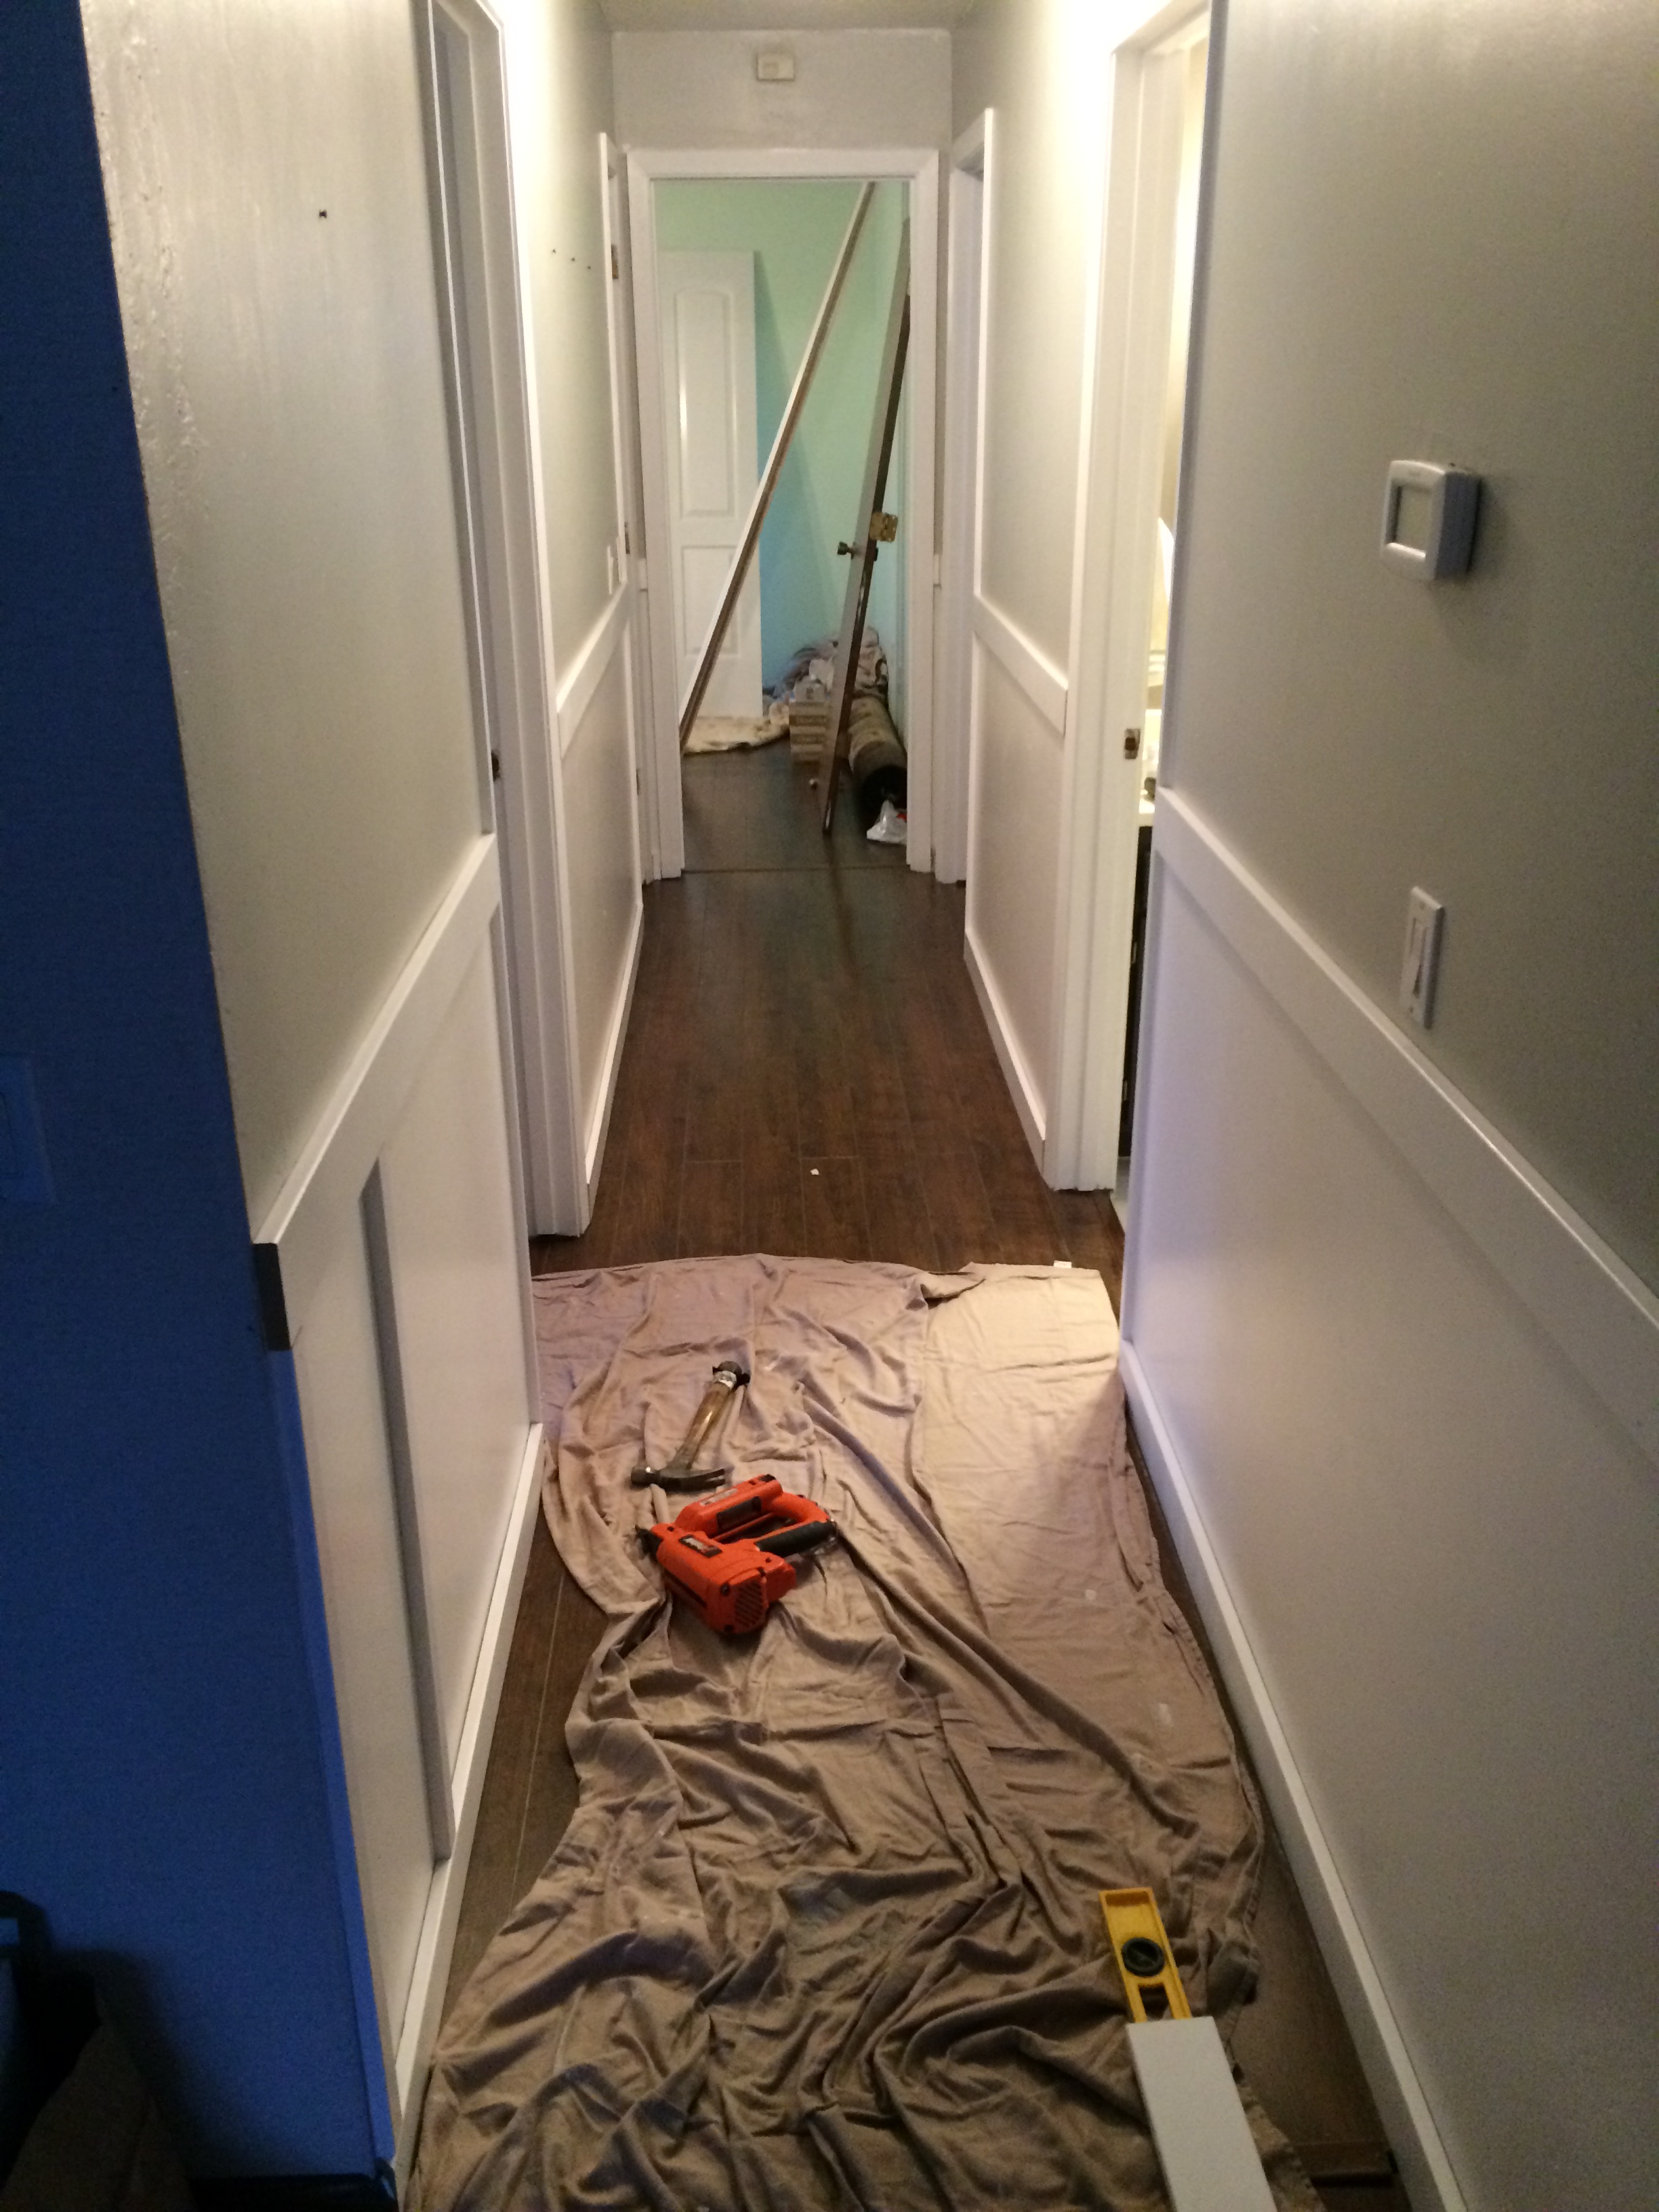
- We set up Jeff’s laser level on a tripod, and marked the walls. Then we painted the walls.
- With Jeff’s nail gun we installed the baseboard and top trim. At this point I knew I’d love it.
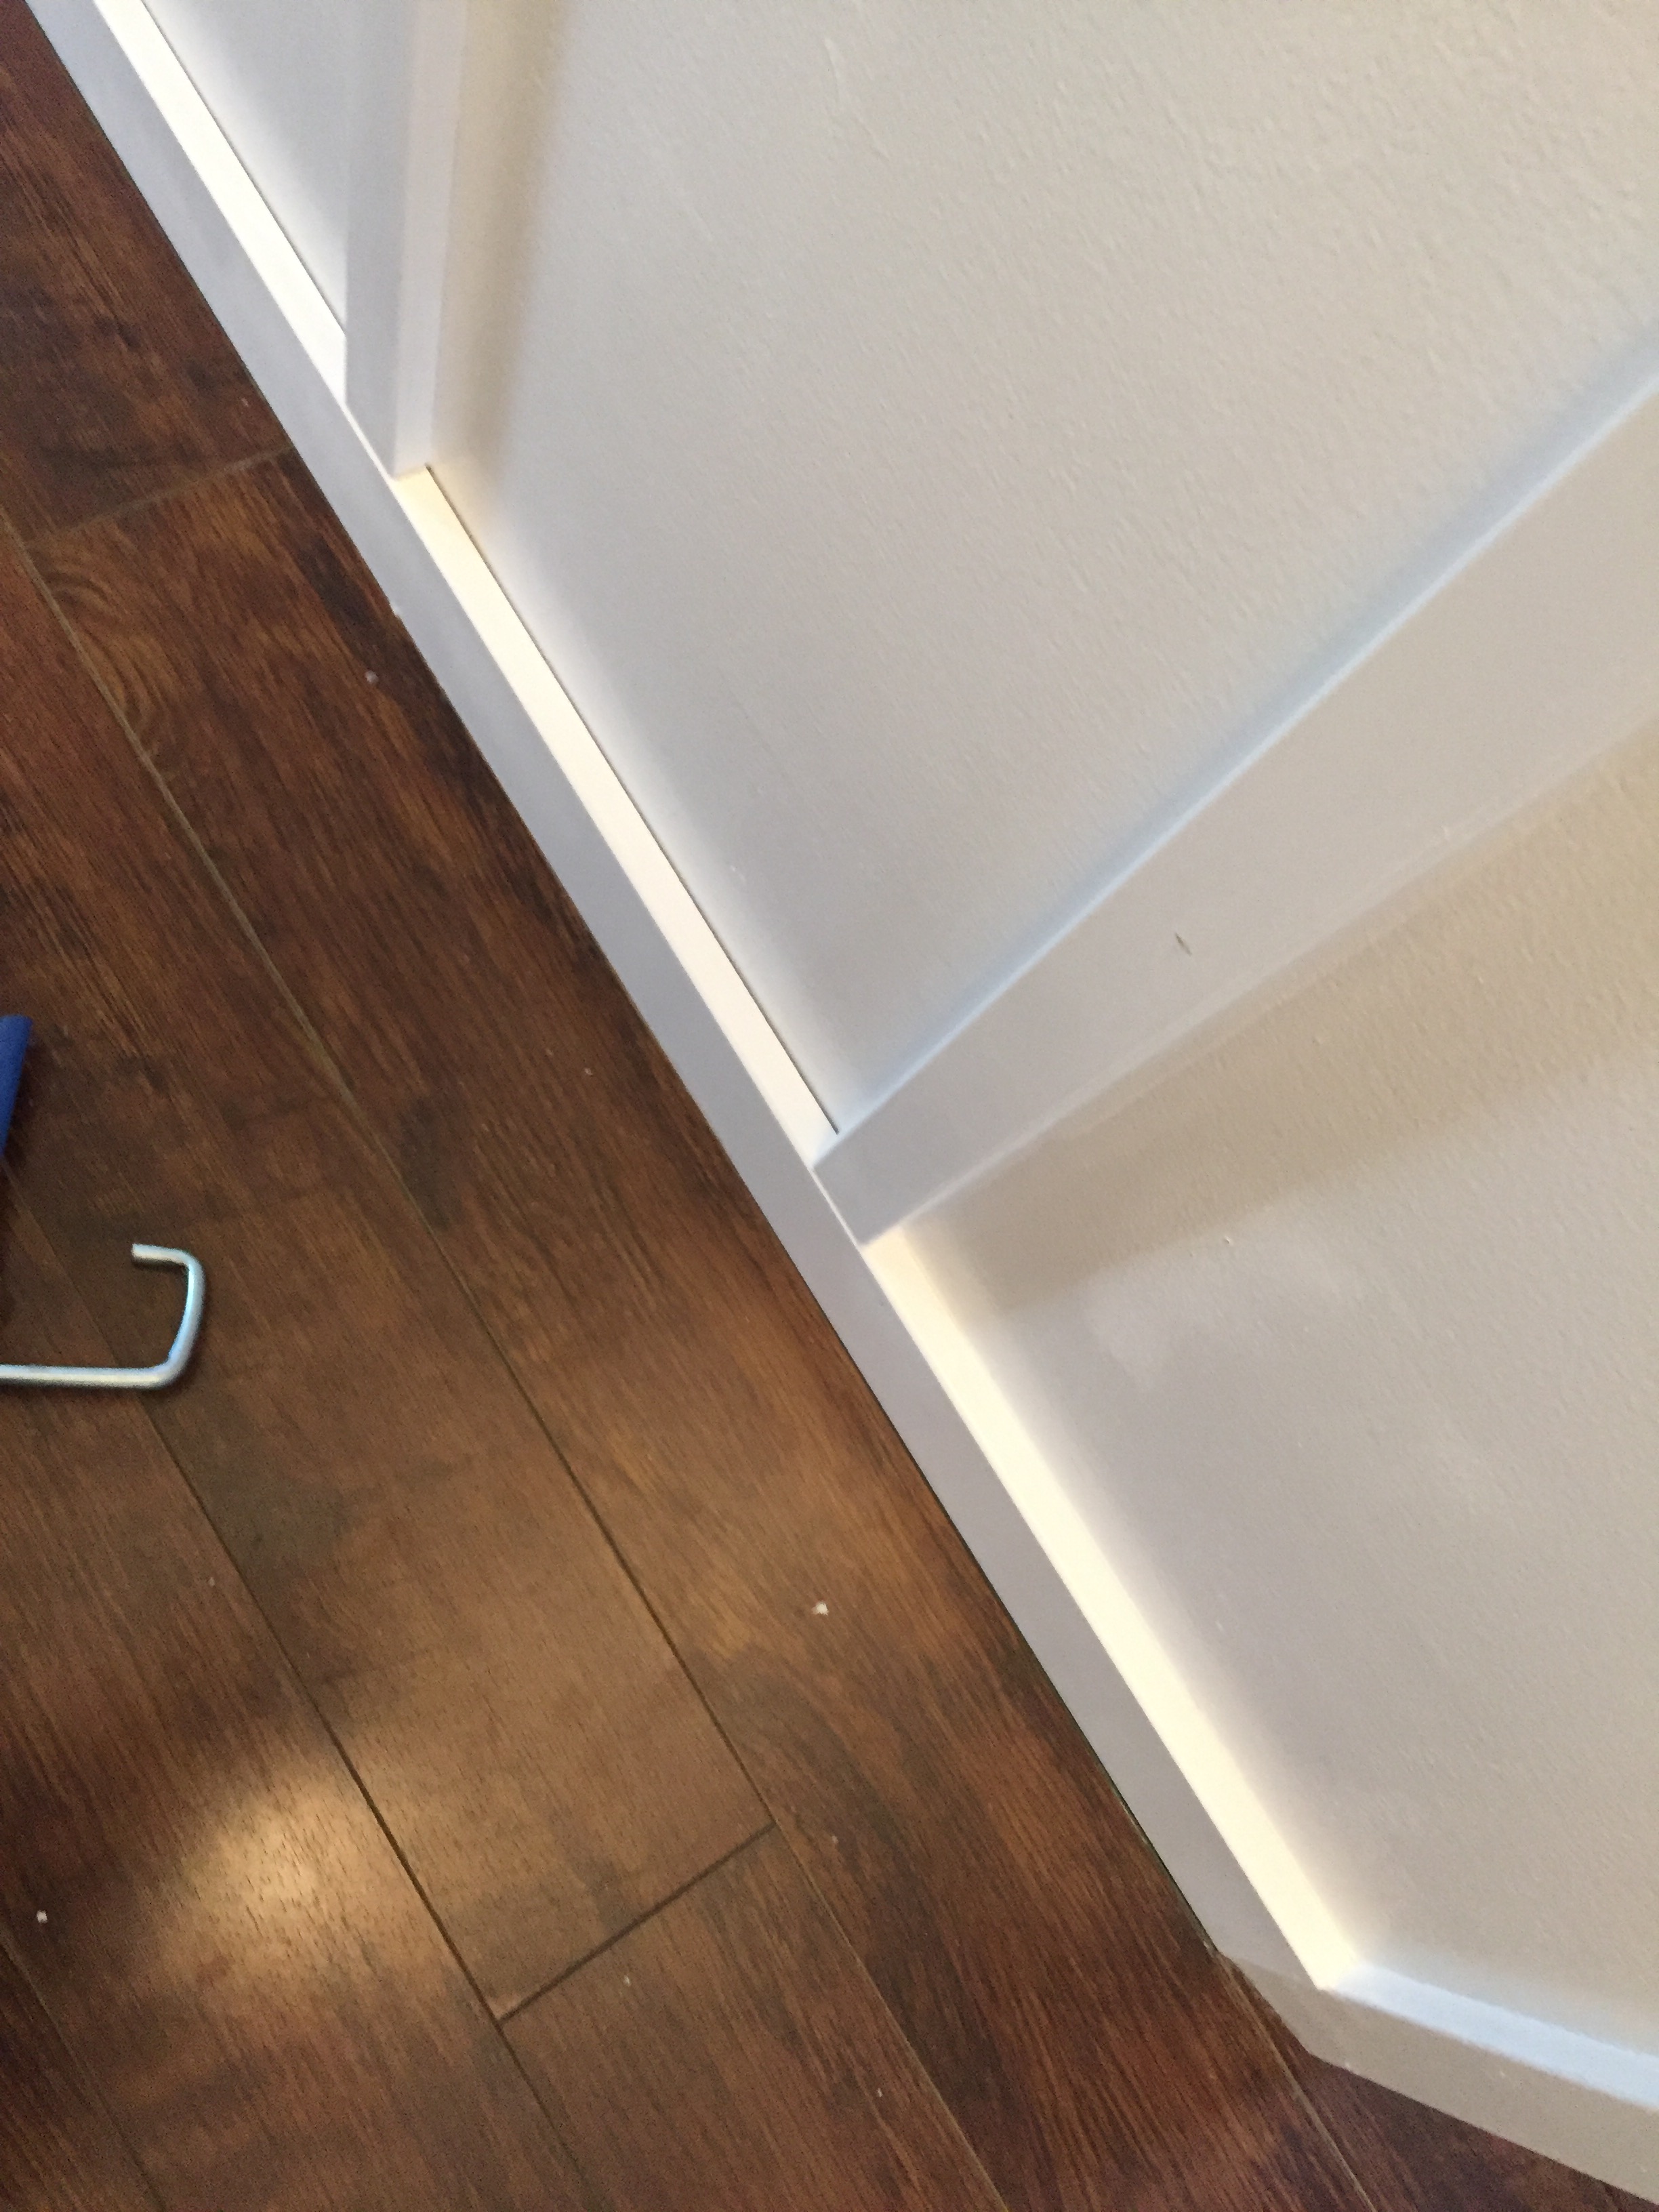
 The two corners at the end of the hallway were a bit tricky, but that’s what caulk is for.
- Putting up the rest of the battens was the easy part. See the wall around the corner on the left with the wallpaper and dark trim? That’s the the gallery wall and we ended up replacing that trim, because, you know, “while we’re at it”.
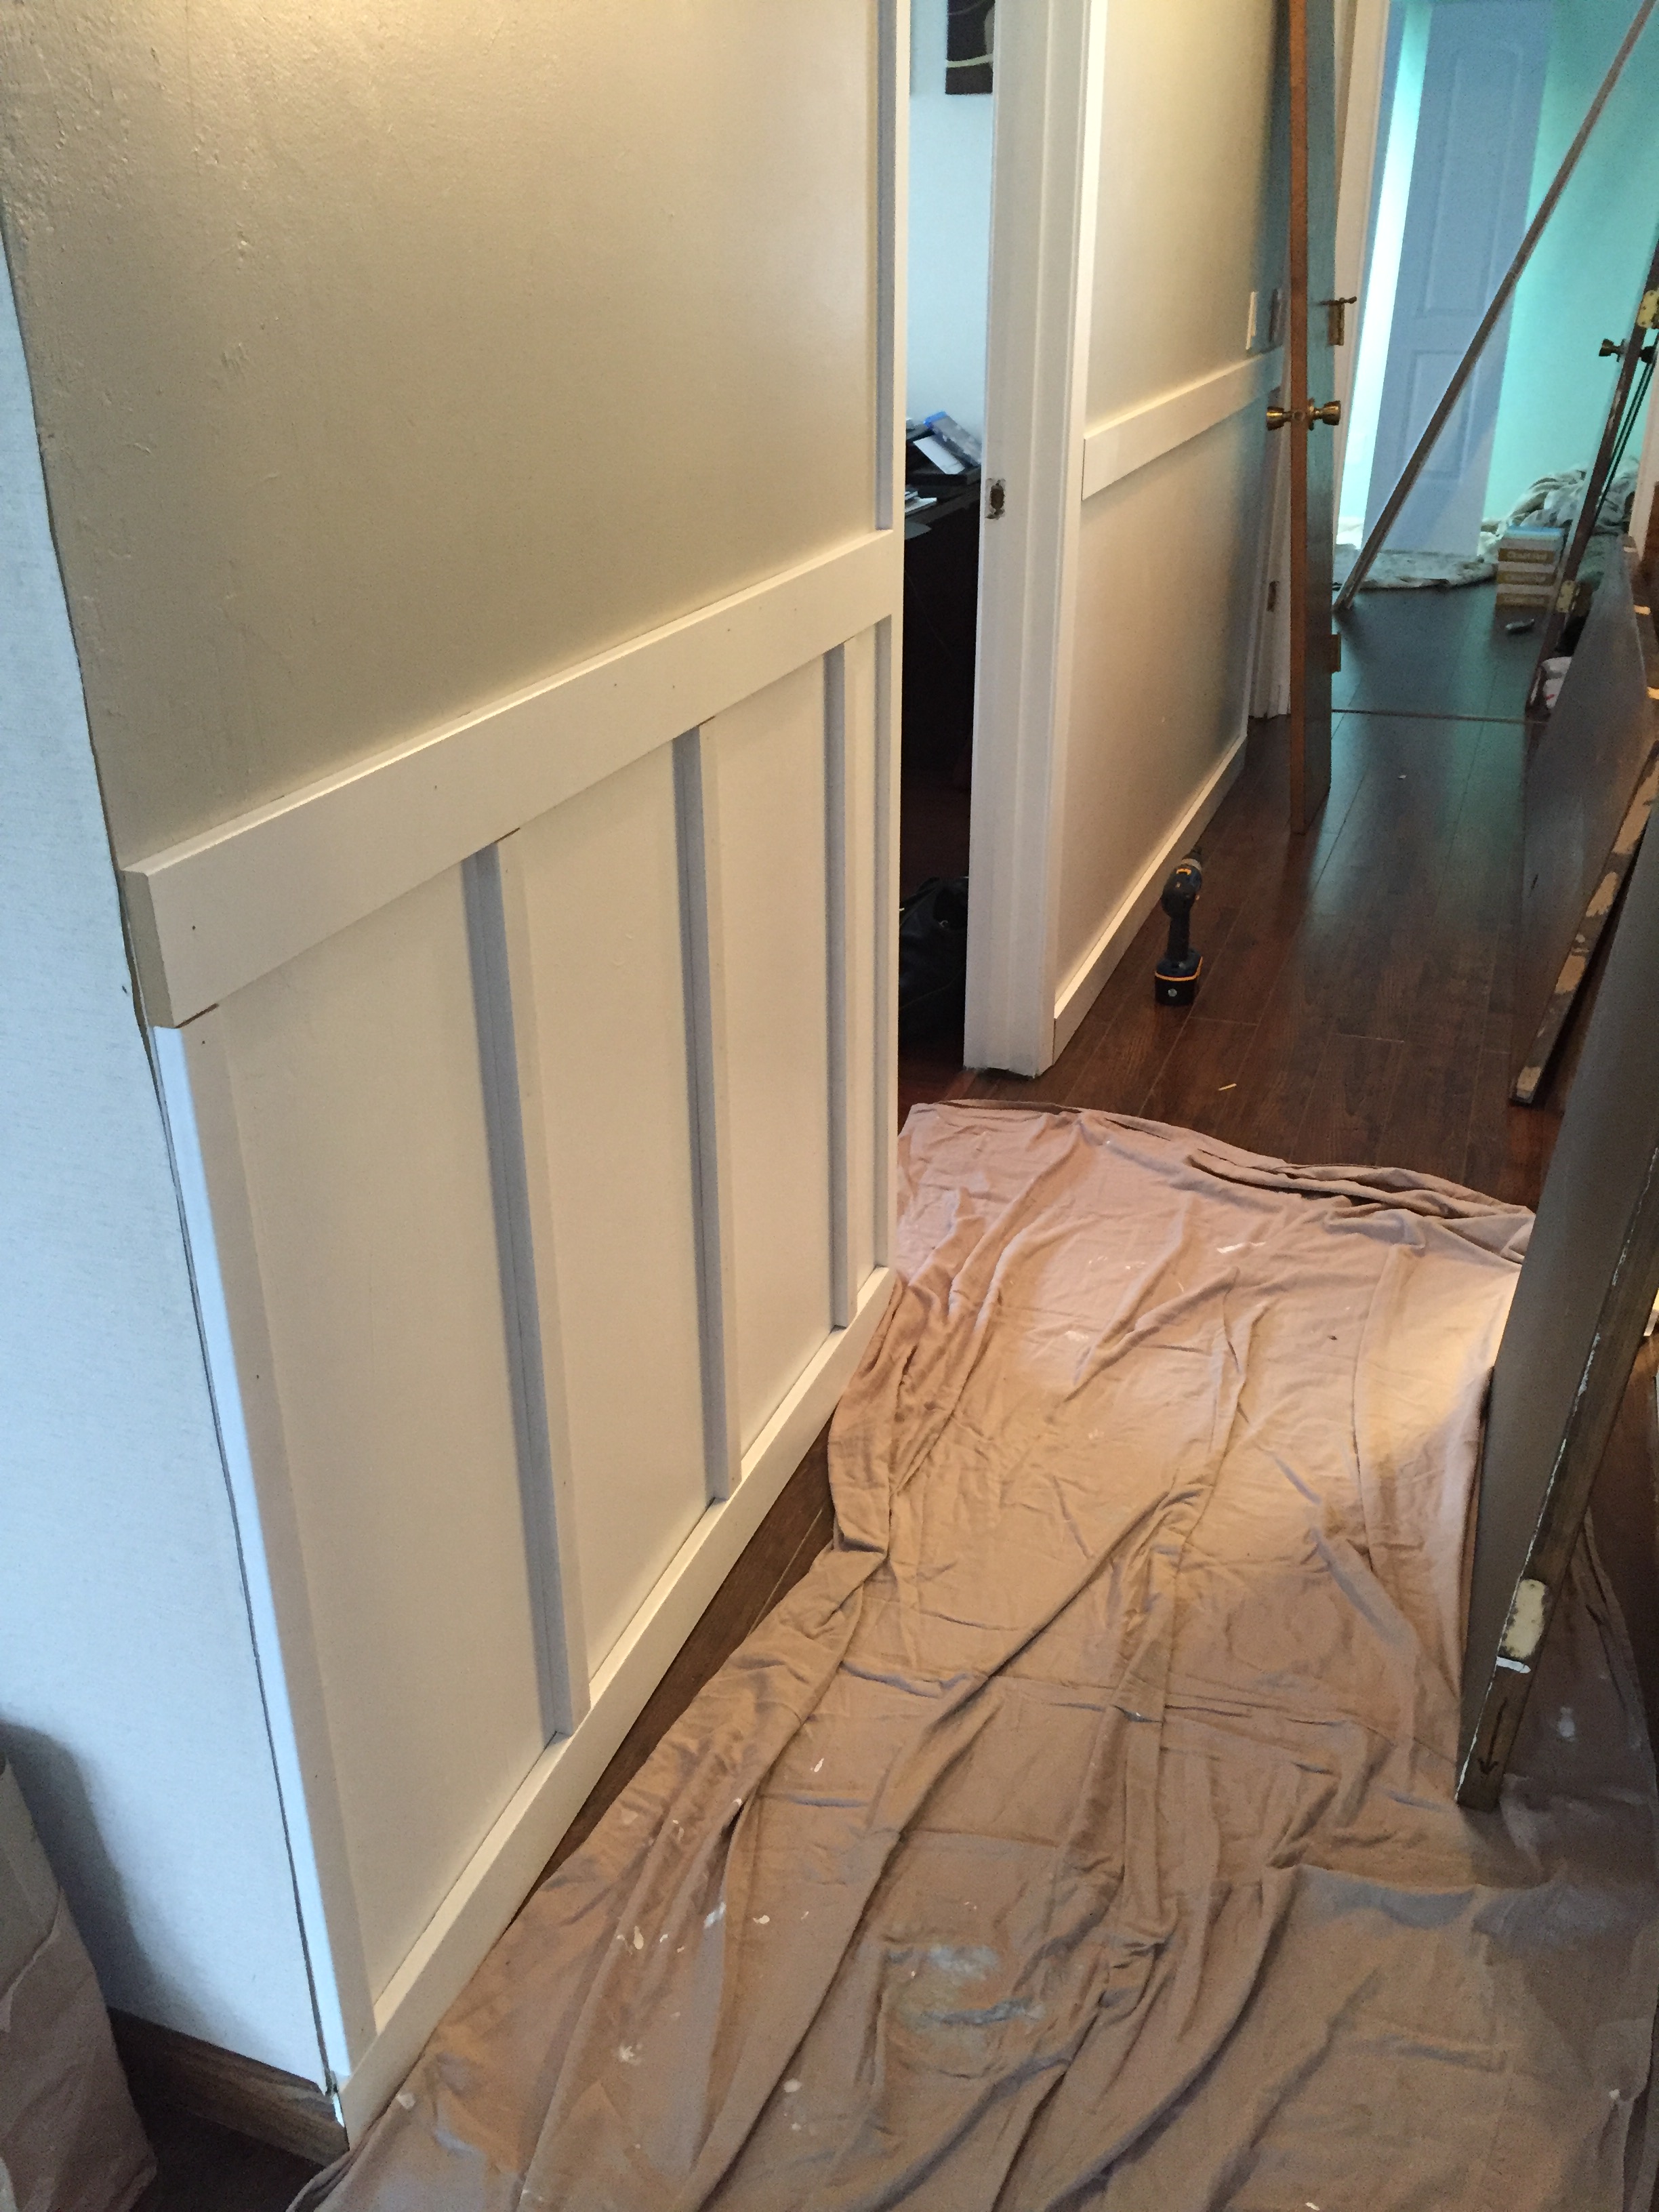
- My good friend Gina came over one night and helped fill all the nail holes, among other things.
- Then we sanded and caulked. You can really see the difference that caulk makes below.
- I touched up all the spots with a few coats of paint.


 The two corners at the end of the hallway were a bit tricky, but that’s what caulk is for.


We still need to install a few more knobs, re-paint the walls and install a new light fixture and I’ll post a complete hallway reveal.
The before and after will be worlds apart. Thanks for the shout out link!
Beautiful! What a lovely touch for a huge statement! 🙂
Thank you! I love how it turned out and I’d do it again in a heartbeat.
I bet! Gorgeous!