
Wallpaper is all the rage right now, and by rage, I mean the raging soreness I had after I spent 10+ hours of my weekend time removing textured wallpaper in our entry and living room.
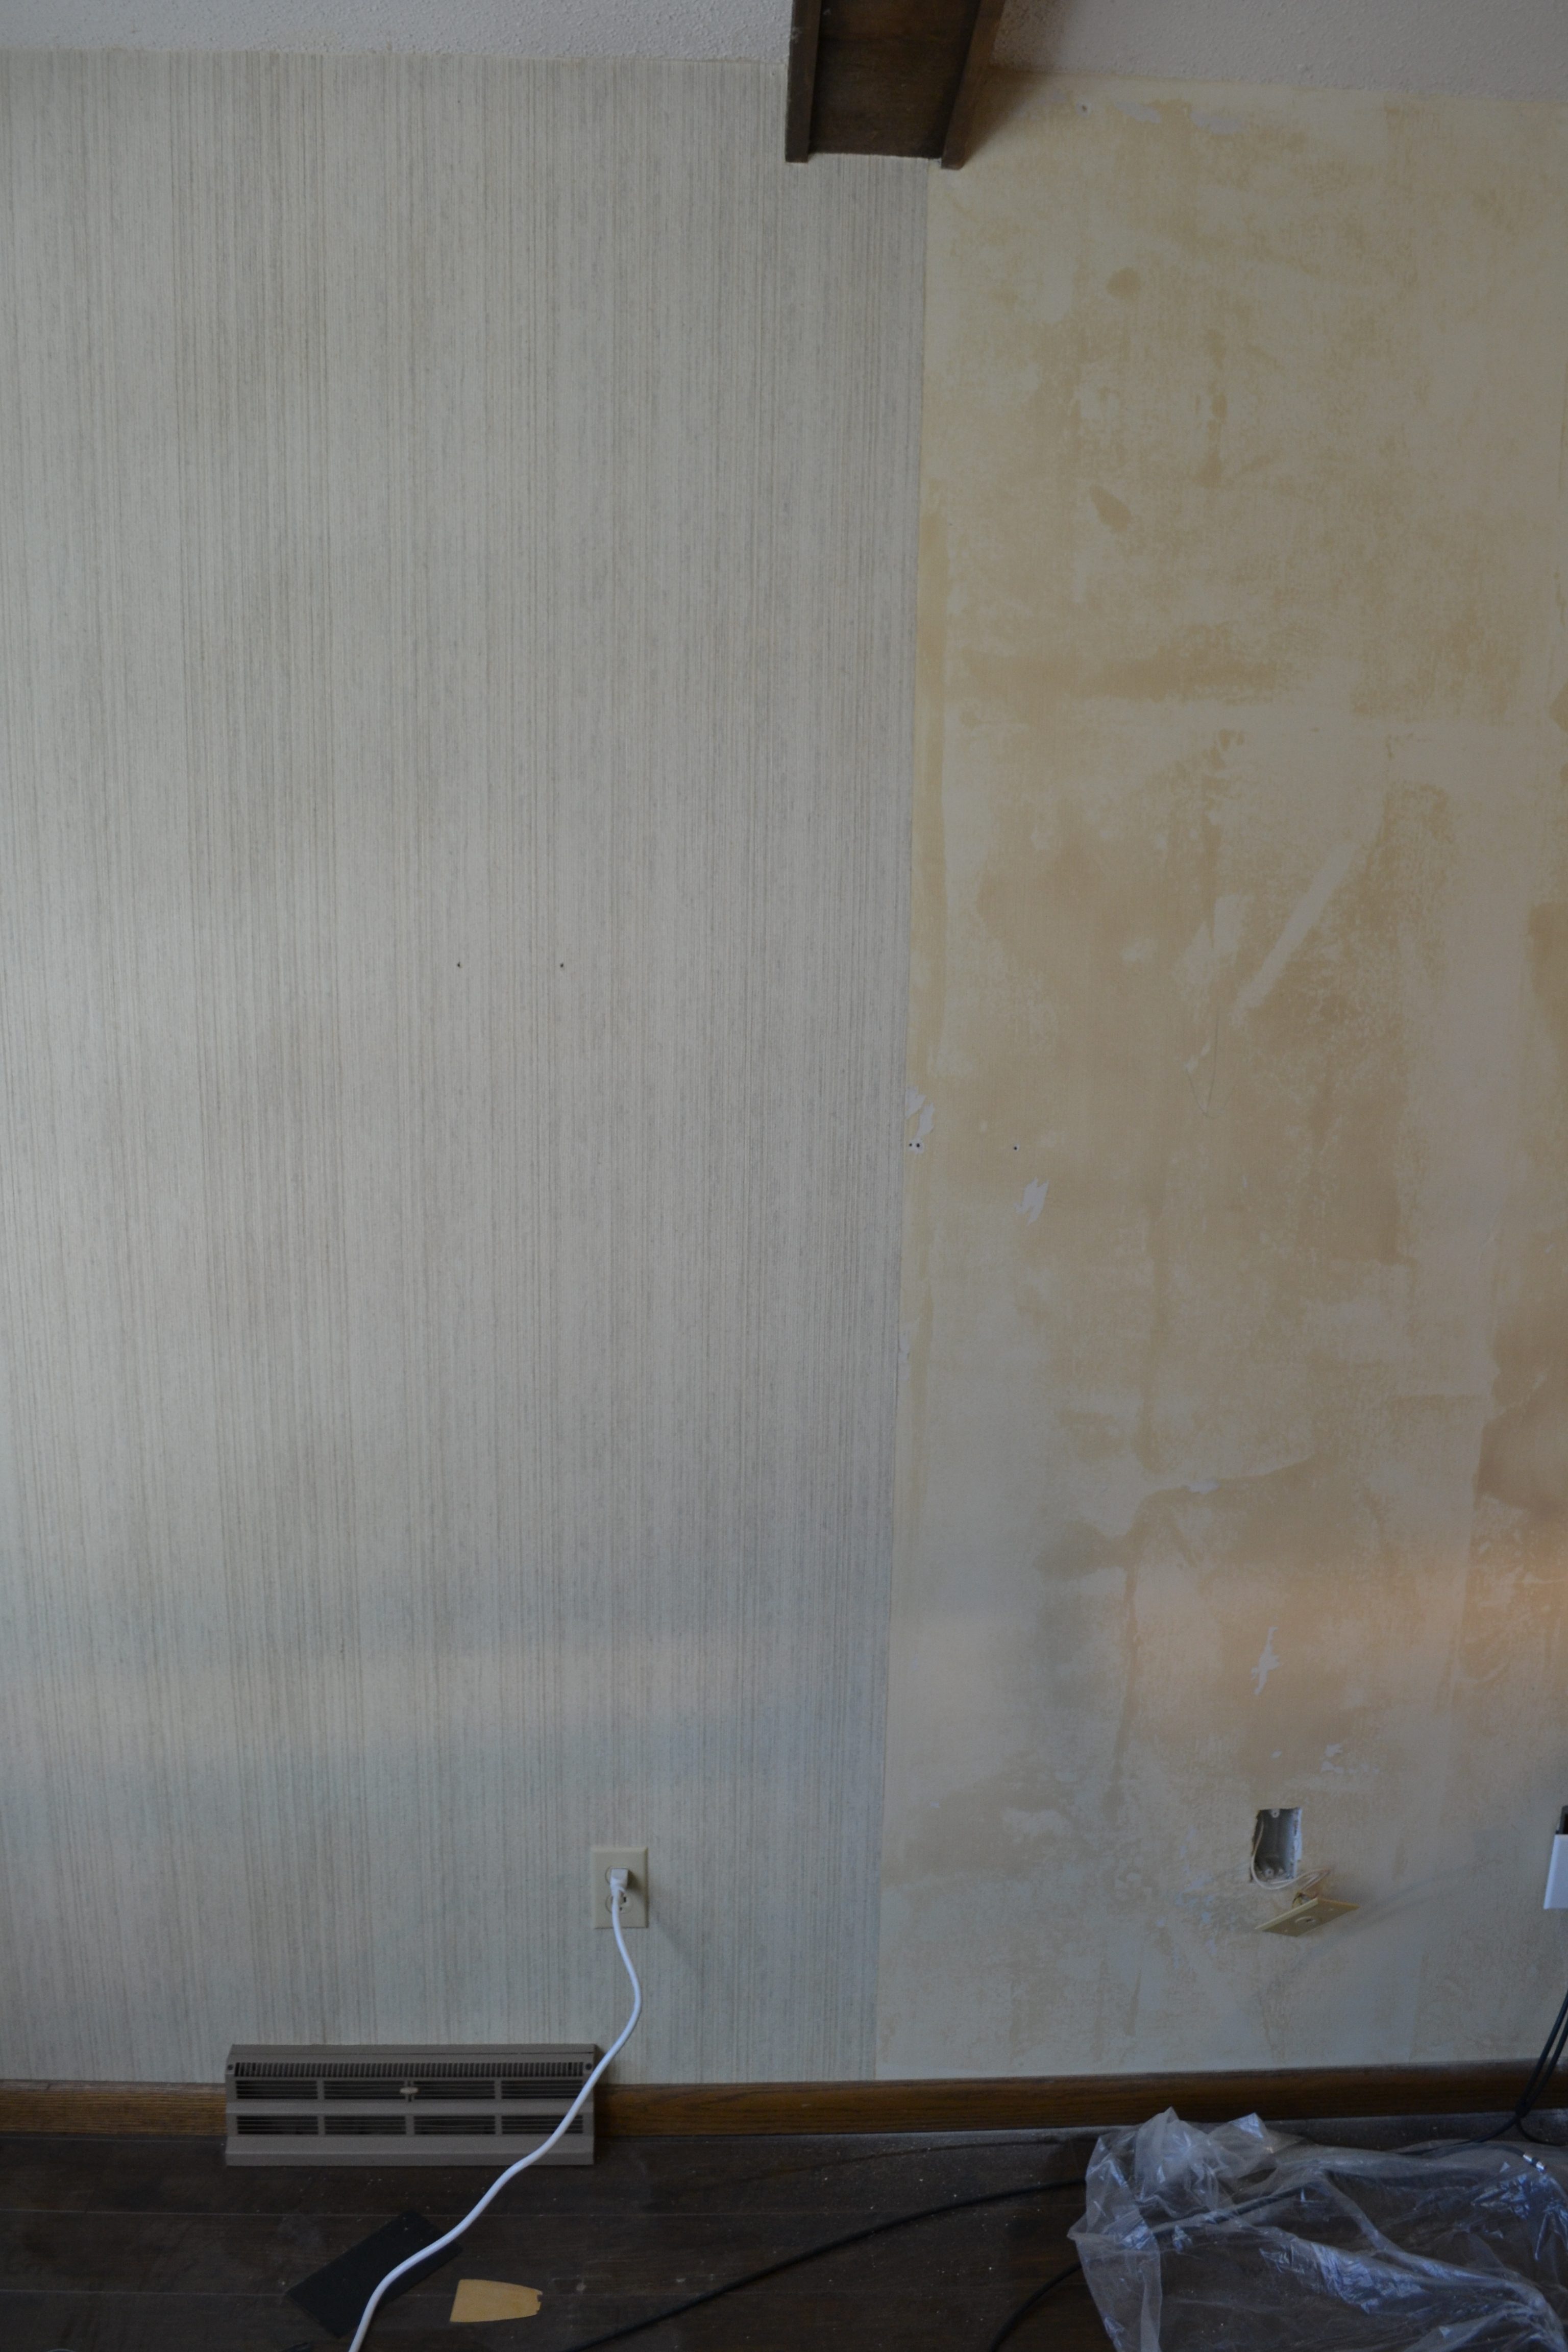
The wallpaper steamer has proven effective in the basement, office, and kitchen but those walls had smooth wallpaper with normal solid backing. The entry and living room had a textured wallpaper with a weave-like backing. (Keyword: had.) The glue used on it was terribly strong and the installers put extra glue around the edges to prevent it from peeling.
Instead of using the steamer we opted for Chomp Wallpaper Remover. We knew we had a lot of wall space so we purchased the cheaper concentrate that could be mixed at home. I wasn’t shy with it and we easily burned through the entire bottle.
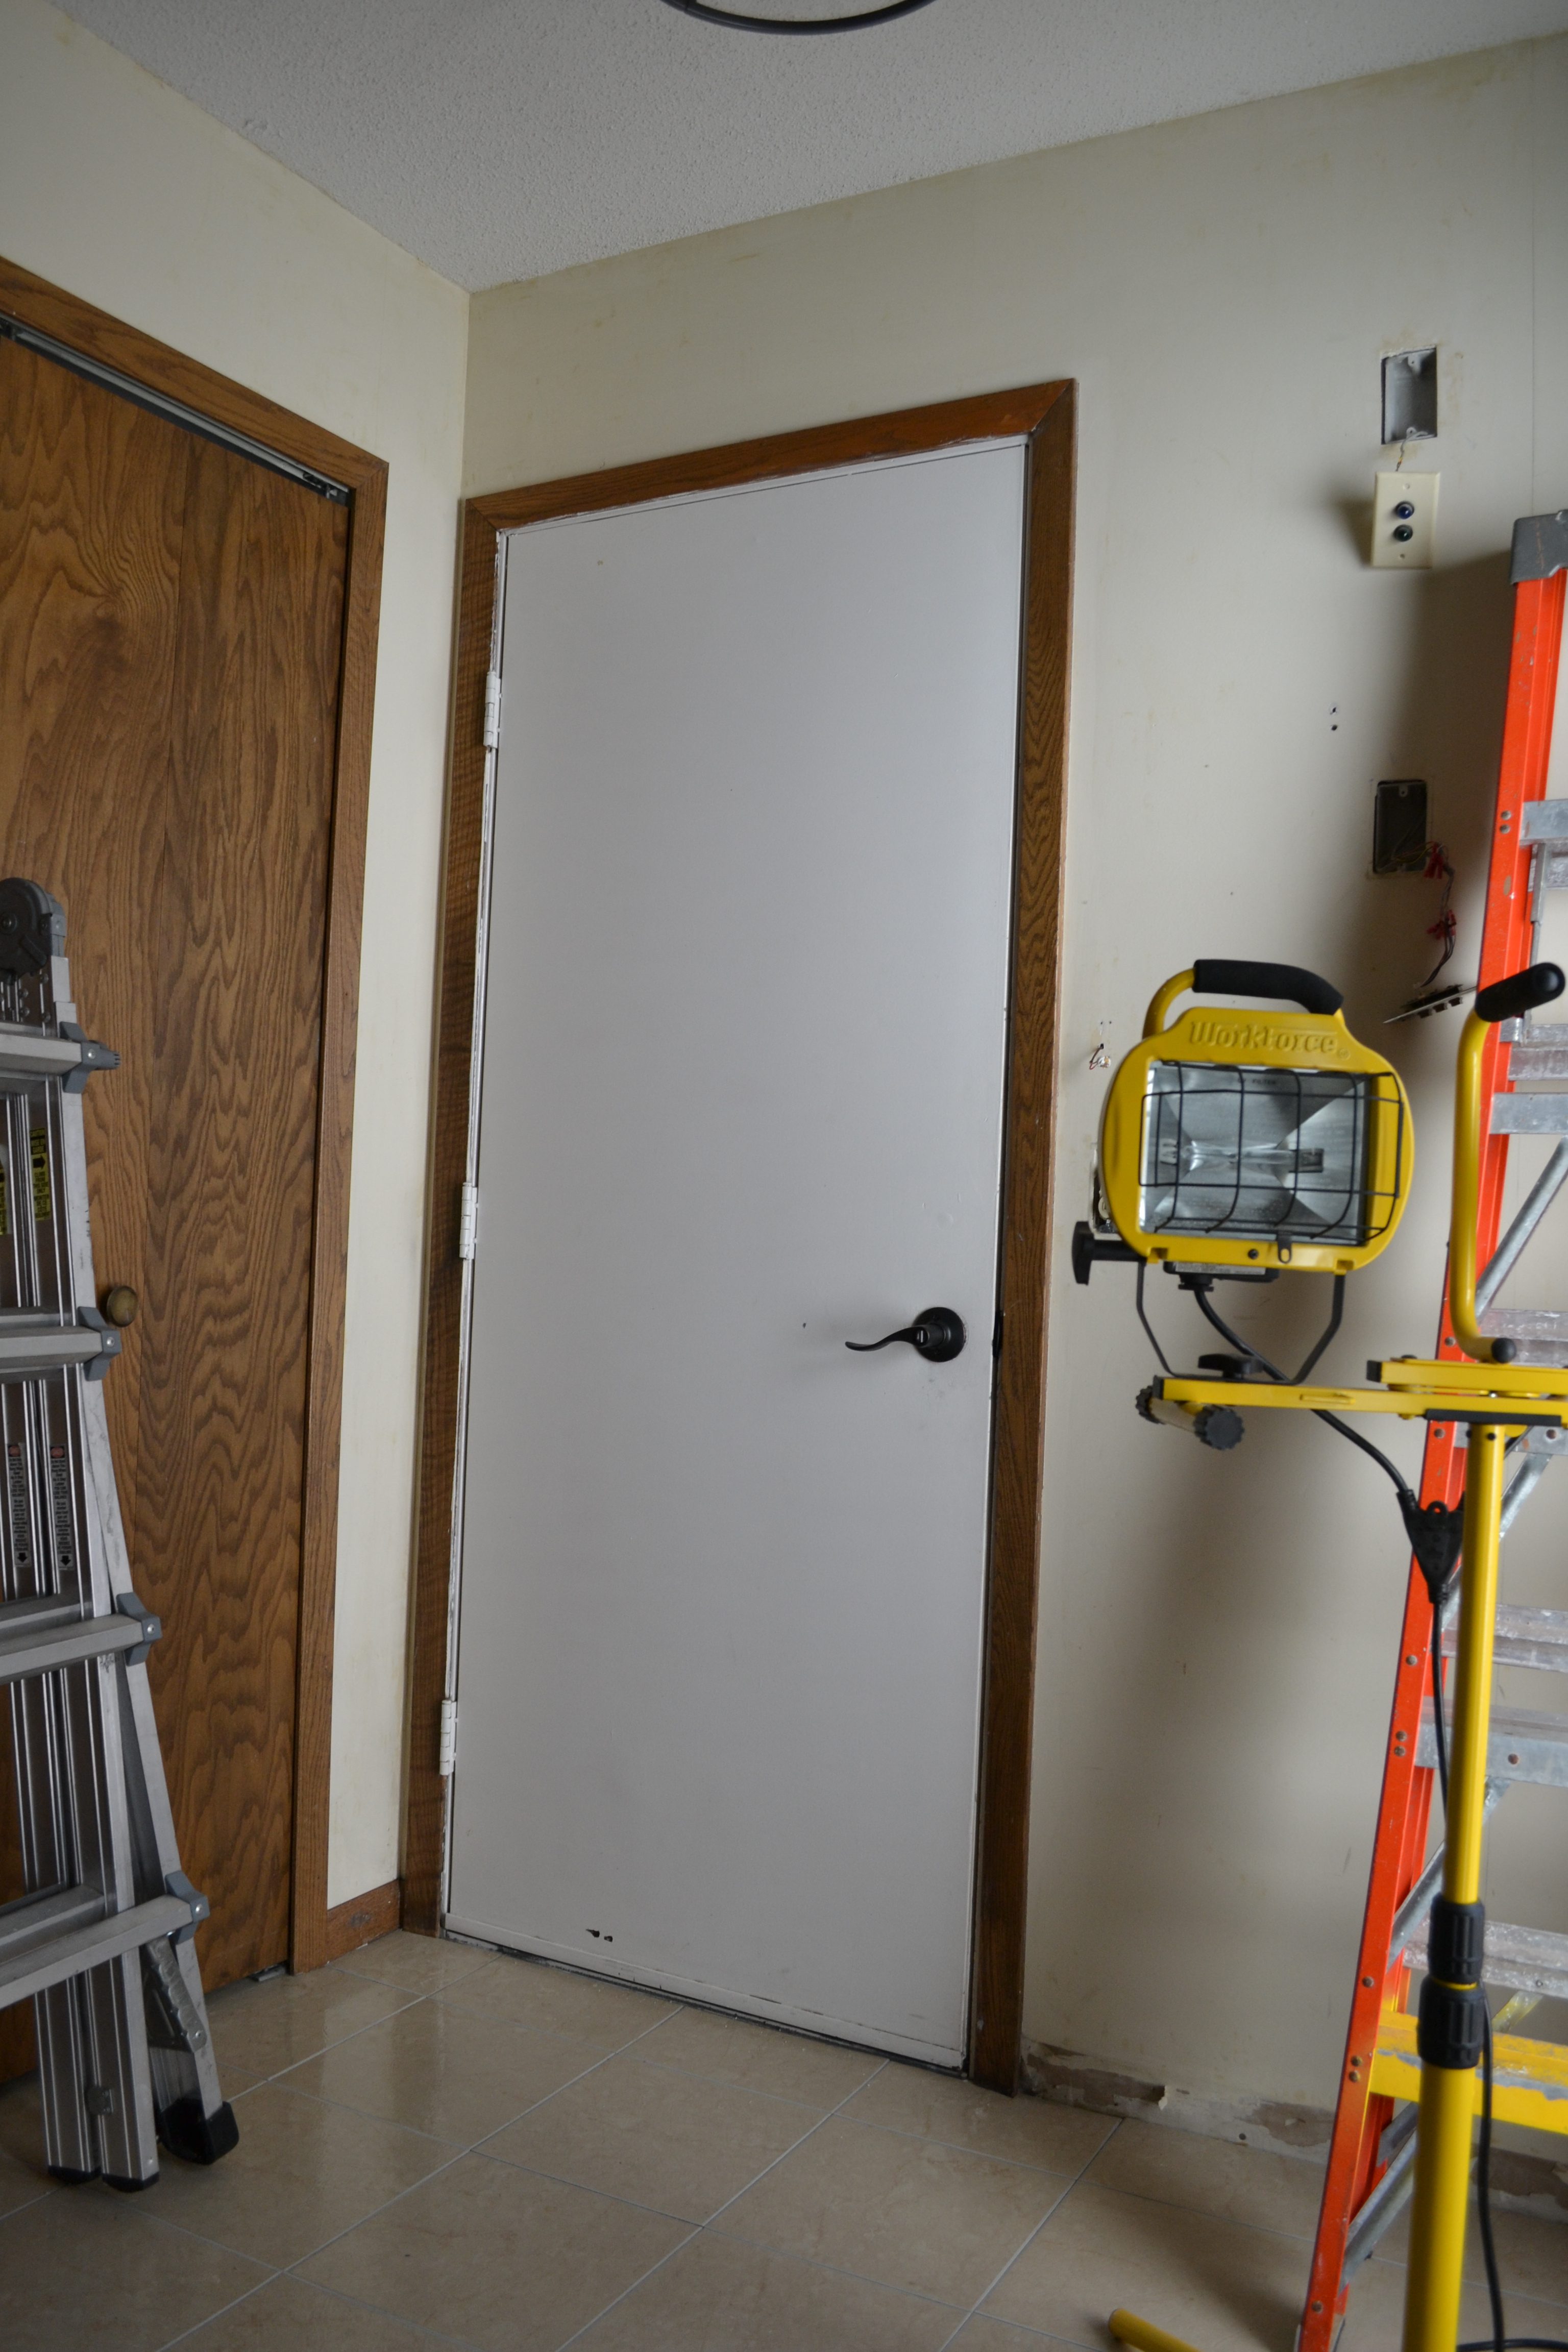
We started in the entry and worked our way into the living room. Nolan suggested some cheap plastic drop cloths that we could easily roll up and toss. I hesitated because it seems so wasteful, but really it is the best way. The glue flies everywhere and when it dries it’s hard as a rock. #sorryenvironment
<
div>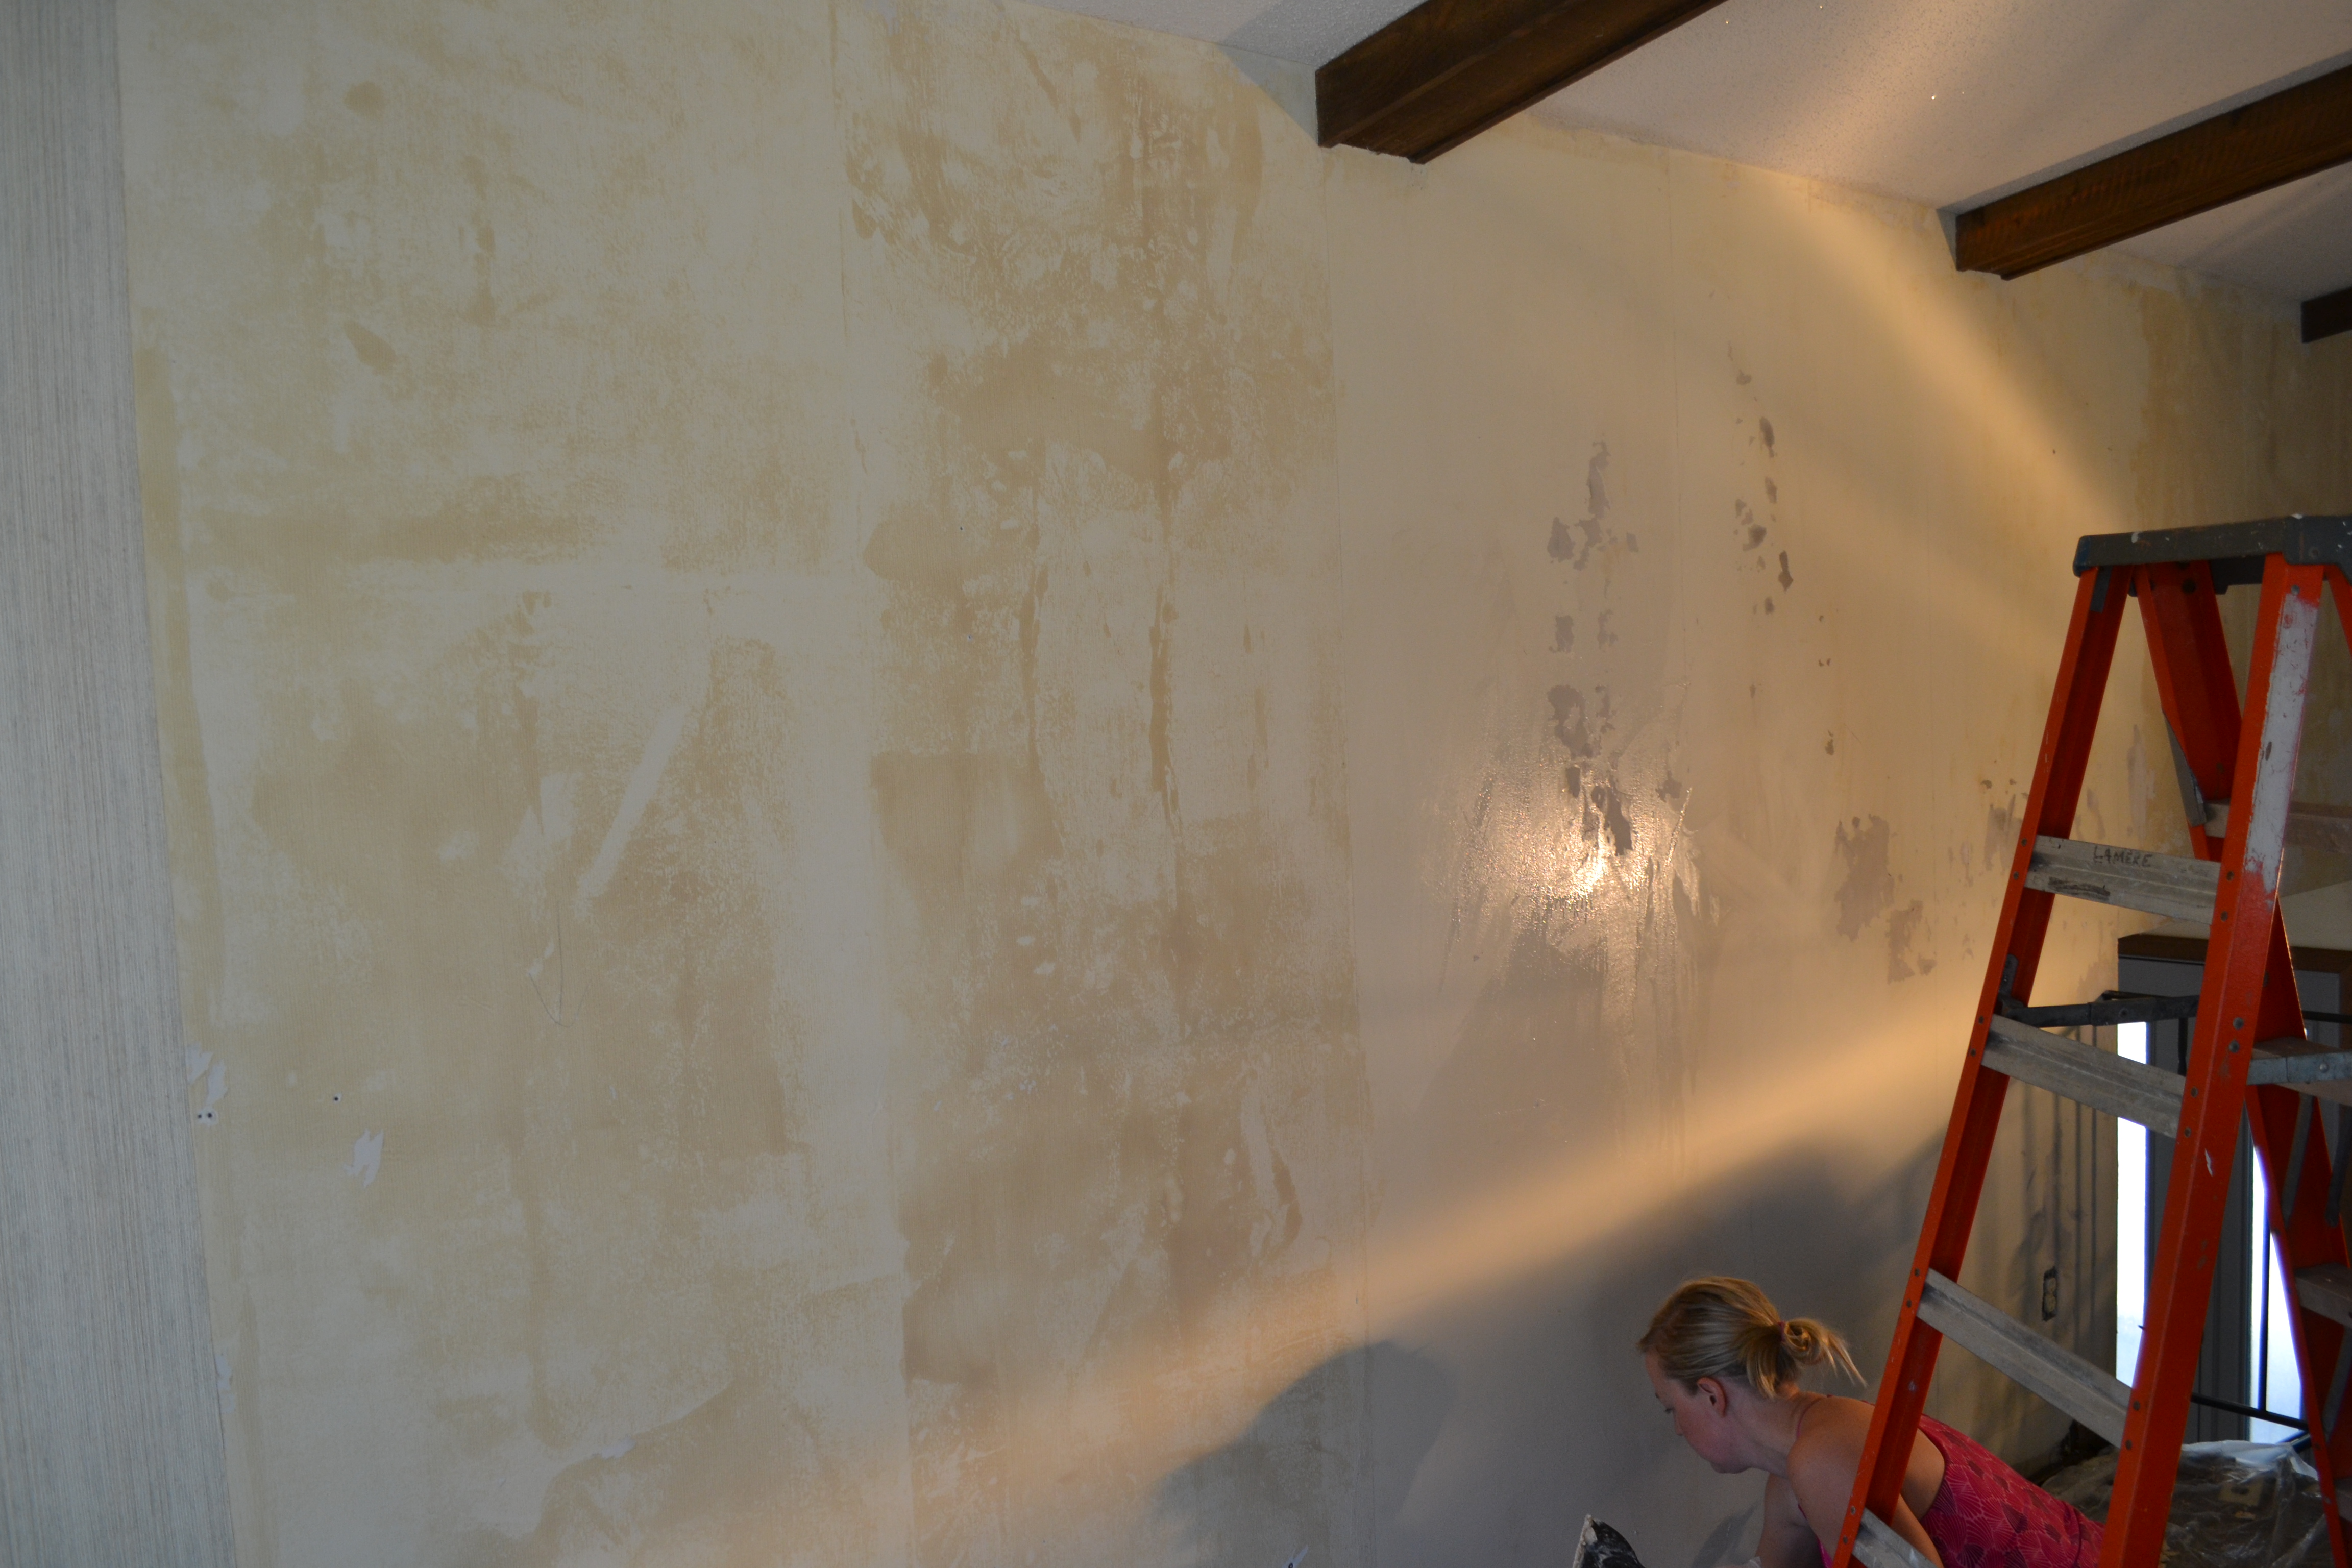
Removing Textured Wallpaper Step-by-Step
1. Prep the area for lots of splattering
2. Spray on the Chomp until your hand gets tired
3. Wait
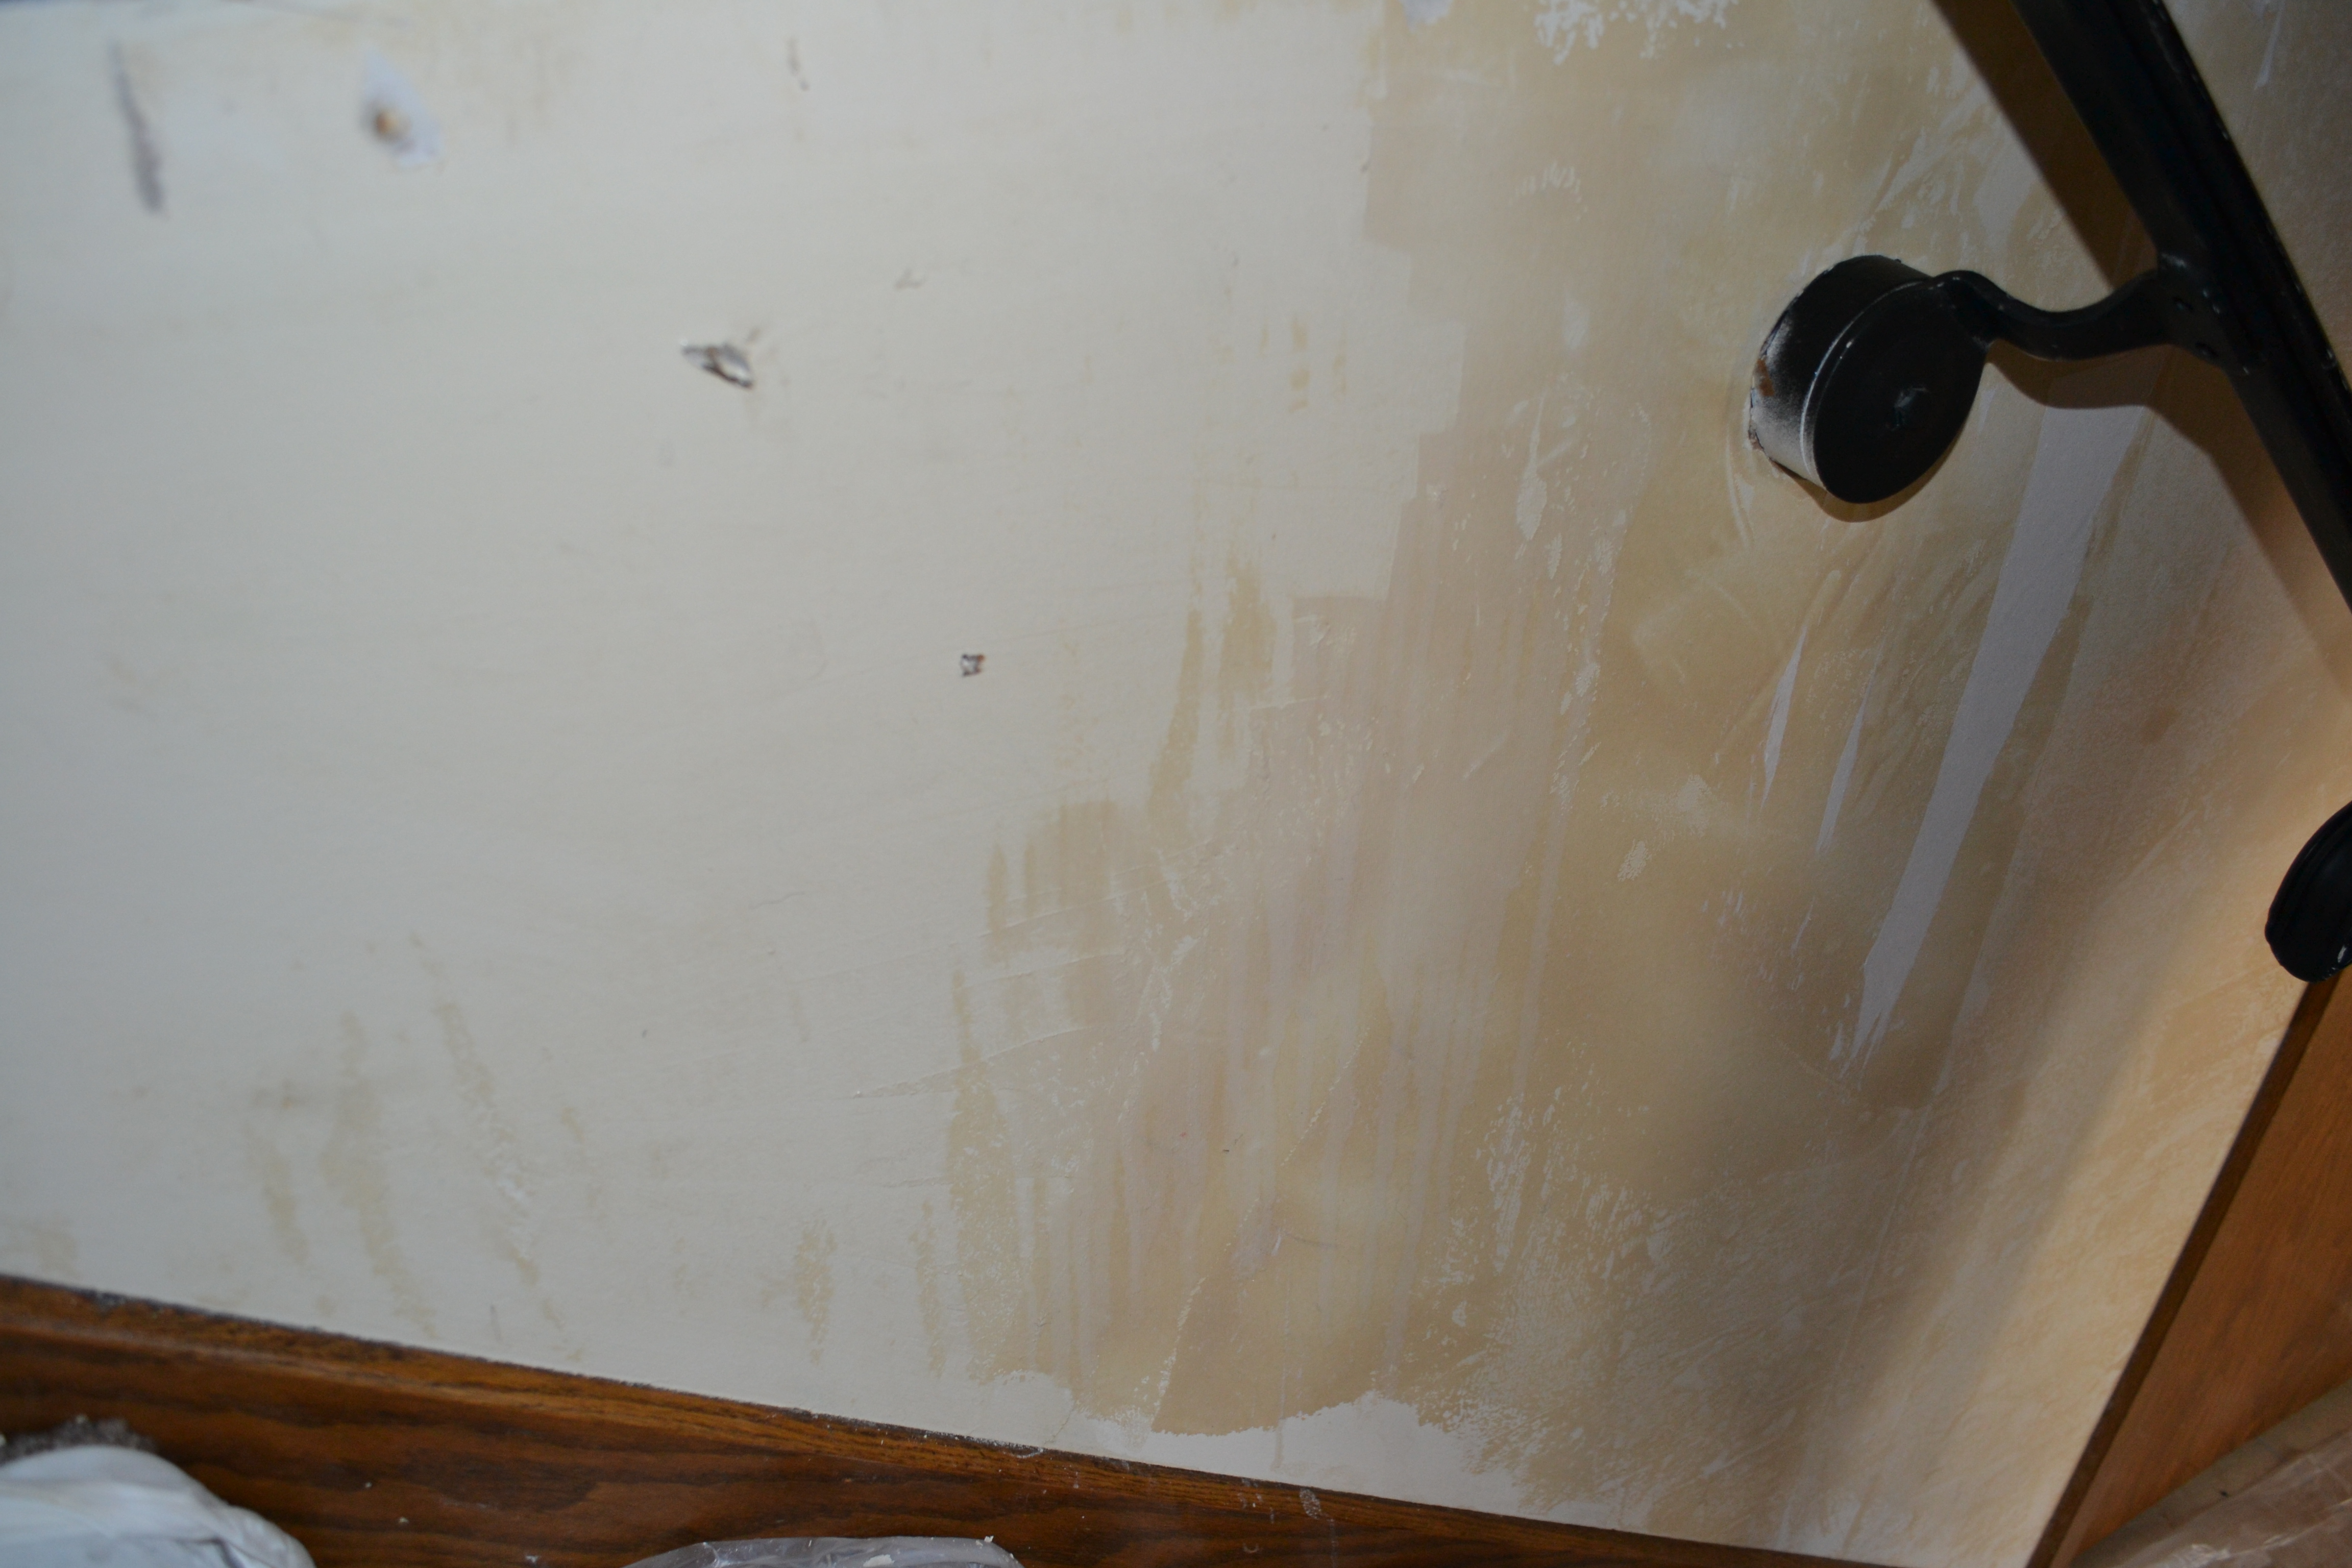
4. Scrape as much glue off as you can in the first swipe
5. Curse the wallpaper gods
6. Repeat

Wholly crap that sounds terrible. So, it’s gone from both the entryway &living room?!? now what, are the walls rough? How did you get the vaulted parts?
Some parts are very smooth, but some are terrible. Next step: skim coat the entire thing and then a fresh coat of paint. Vaulted parts: ladders and Nolan’s long ape arms. 😉
Lol! Karl has really long arms, too. They come in handy!