
Remember when our crawlspace flooded? It was terrible, but the saving grace was that the finished part of the basement stayed dry. Until this year. We noticed a smell and then felt the water under our socks. Isn’t that the worst feeling ever? I do not recommend.
So we folded back the carpet and did our best to dry it out with fans and dehumidifiers. We hired the same company that fixed the crawl space to install drain tile, to ensure it wouldn’t happen again. We had this done back in the finished basement of our Minneapolis house, so we knew what we were in for.
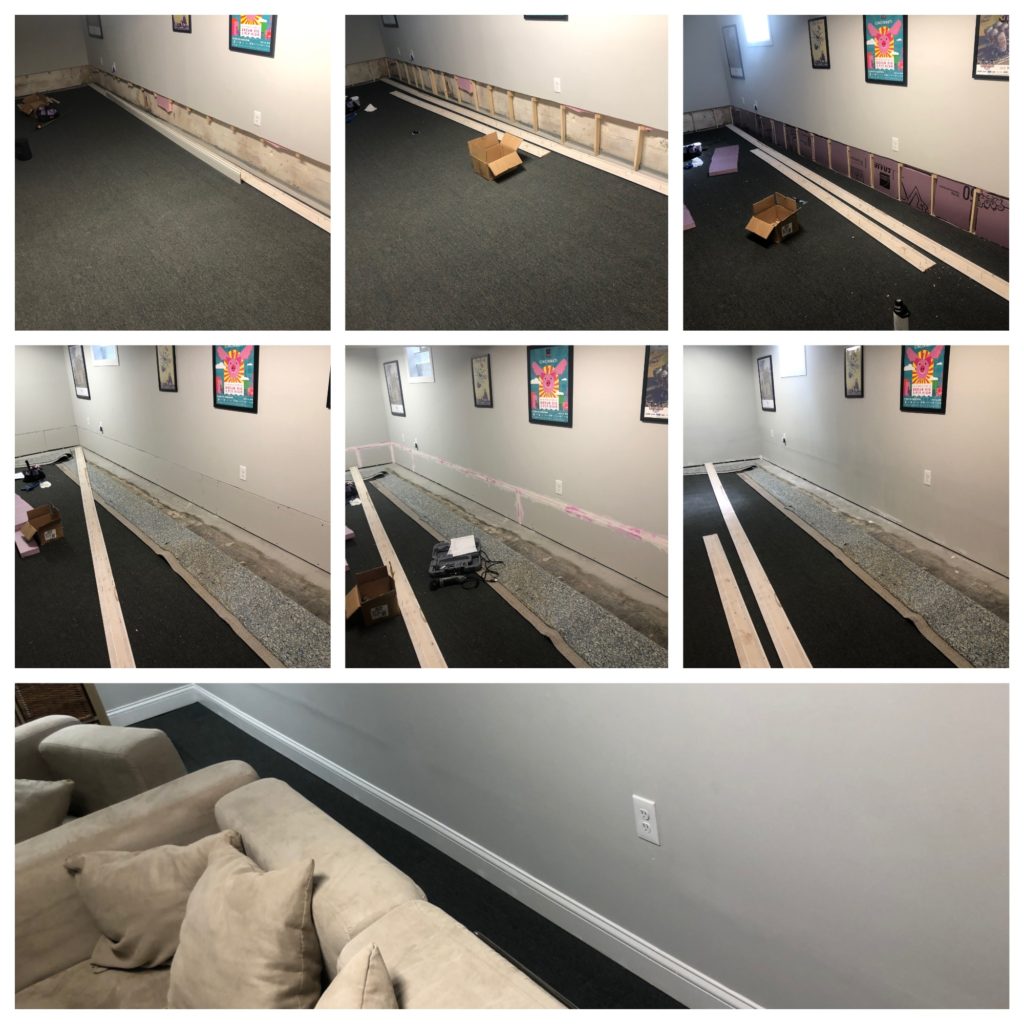
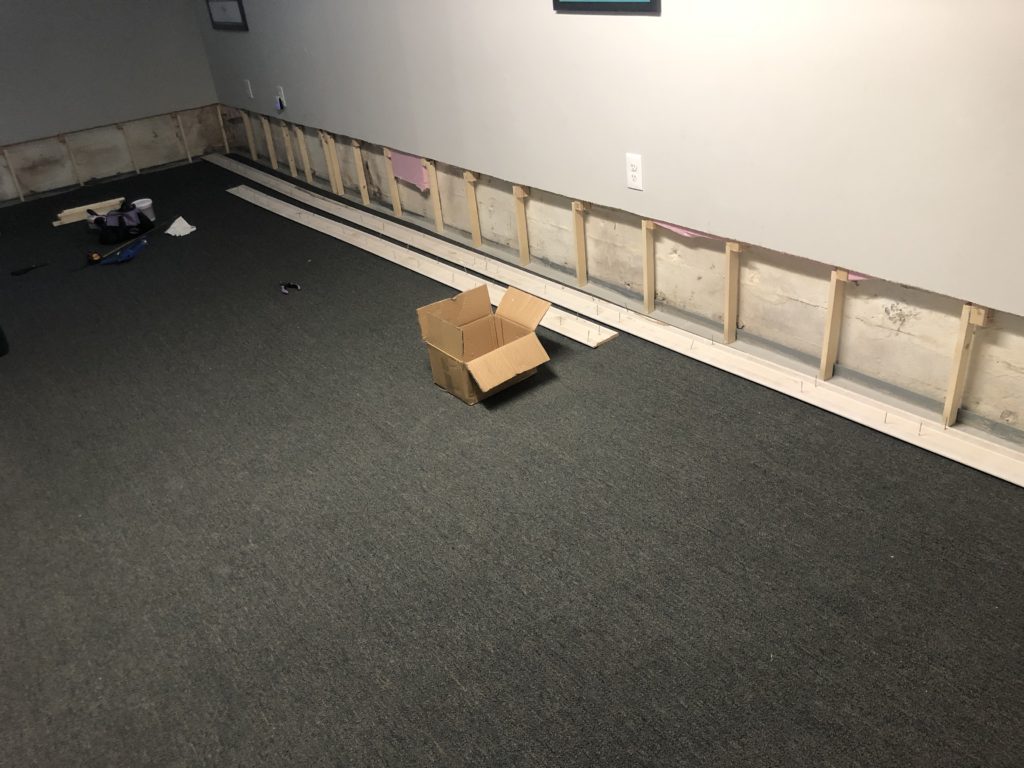
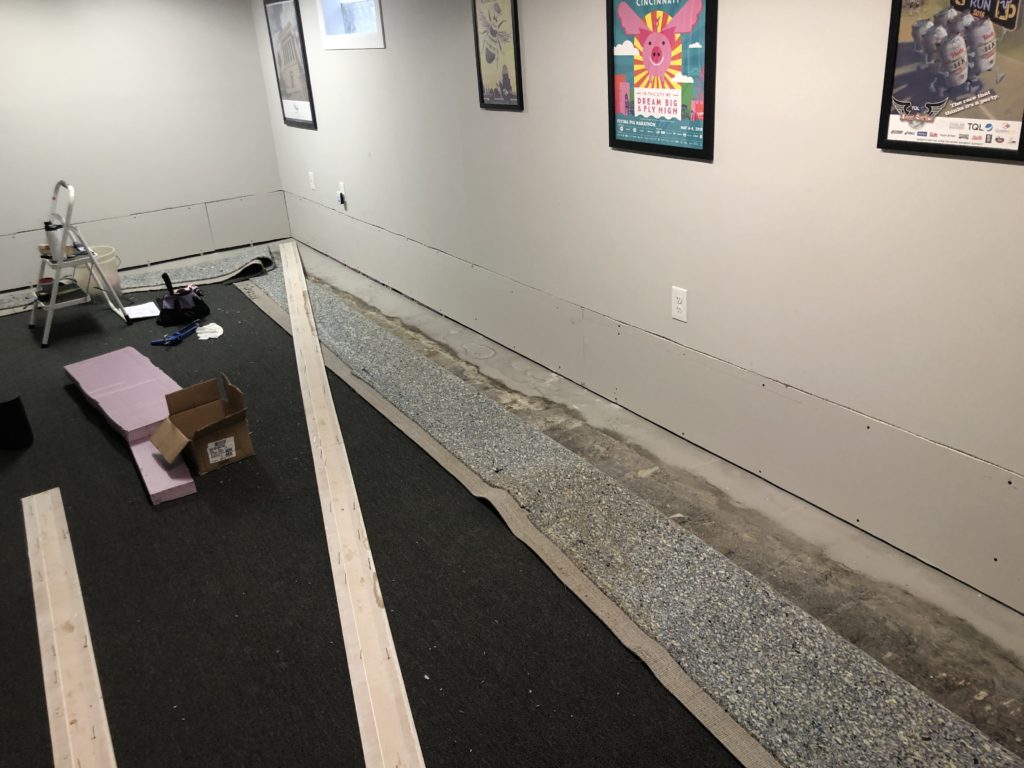
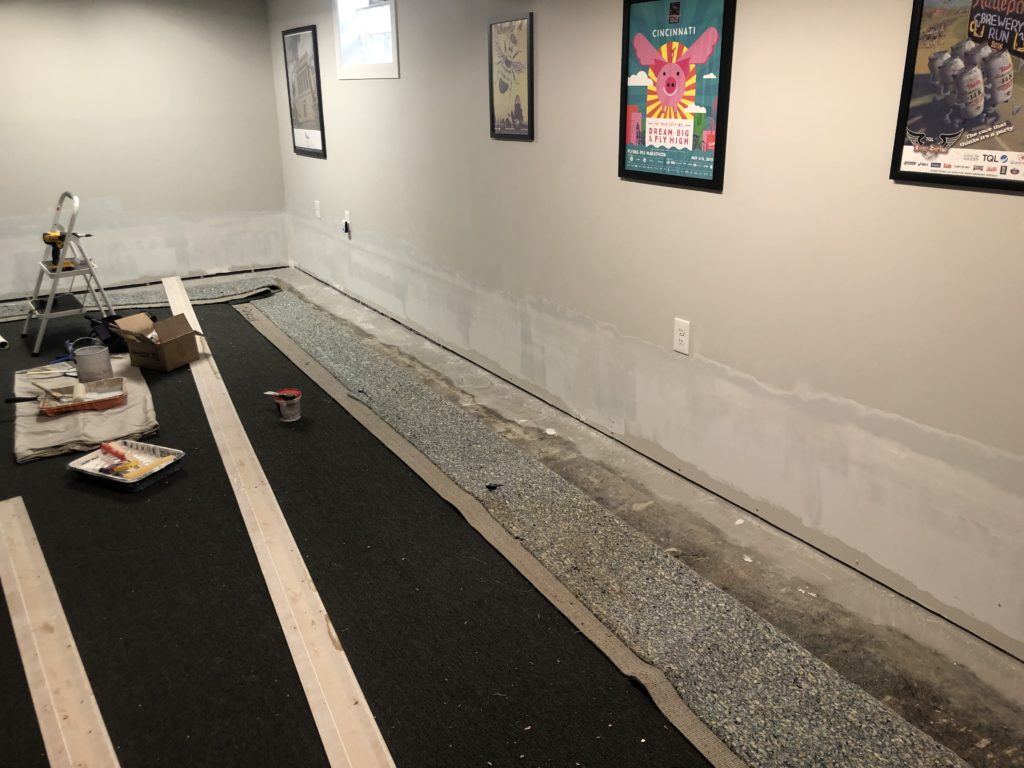
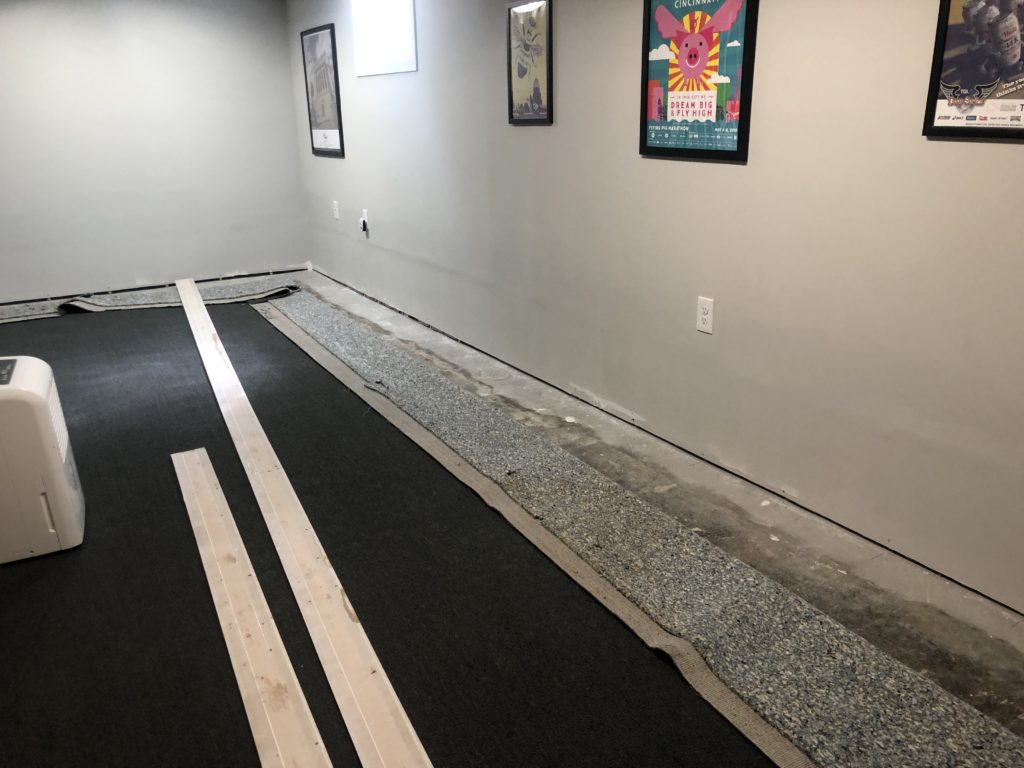
They cut the sheetrock, framing, and insulation up about 16 inches. Then they dig a trench, installed the drain tile, and covered it back up with concrete. We had to leave it be to fully cure for 30 days. Seems long, but it also allowed us to make sure it didn’t leak any more before fixing it back up.
So, since I was let go of my job I 1) had the time to do it and 2) didn’t have the money to hire it out. So day 1 of unemployment I researched, watched YouTube videos, and ordered all the materials from Home Depot. The delivery cost was $70, but it was worth it. We could have rented a truck, but I can’t carry/lift a panel of sheetrock. So, I figured it’d be easier to just have it all delivered.
Repairing Drywall After Installing Drain Tile
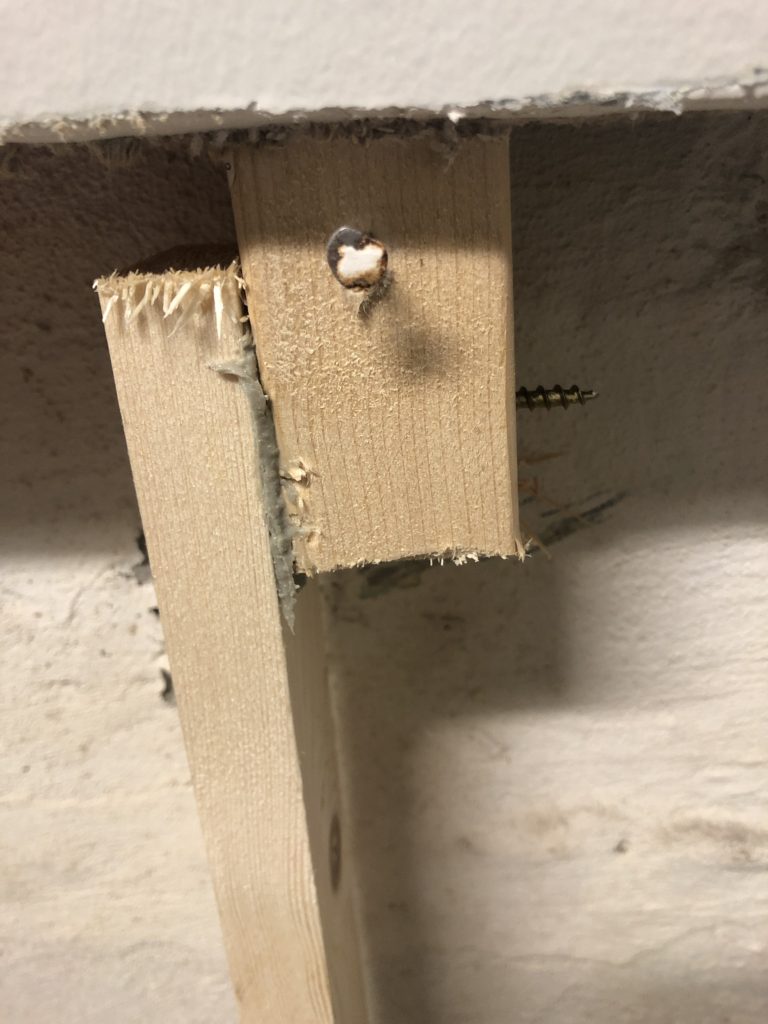
Let me preface– I’m not an expert and I’m sure I didn’t do all of this correctly. There is probably better/easier ways, but this is how I went about repairing drywall after installing drain tile. I started by cutting the 1x2s to sister the frame joints. I was a little worried about using the big saw, but it was actually super easy. I felt very empowered at this point of the project.
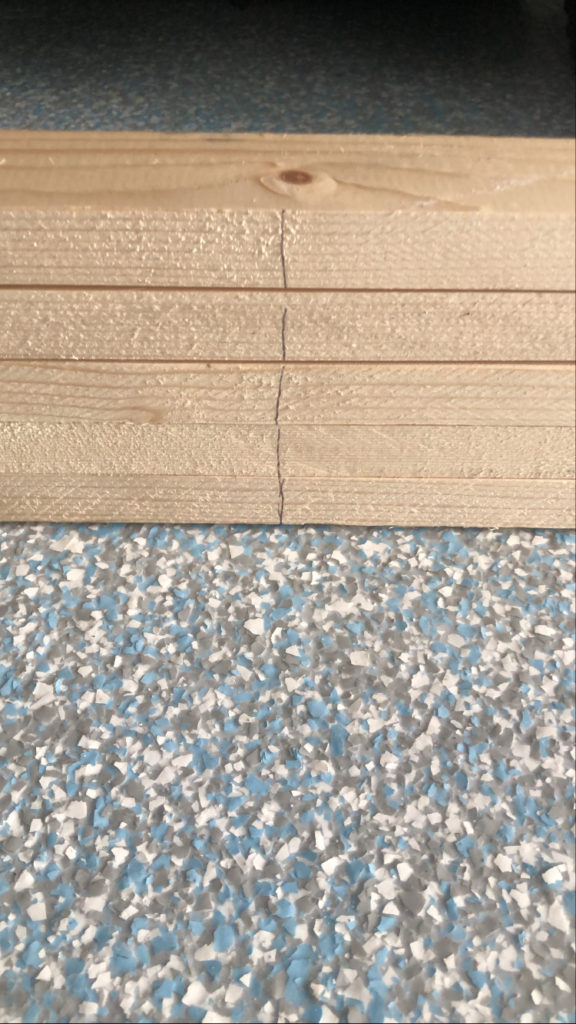
Measure once, cut 5 times, right? LOL This part went incredibly fast. It was like 80 degrees outside and about 100 degrees in the garage.
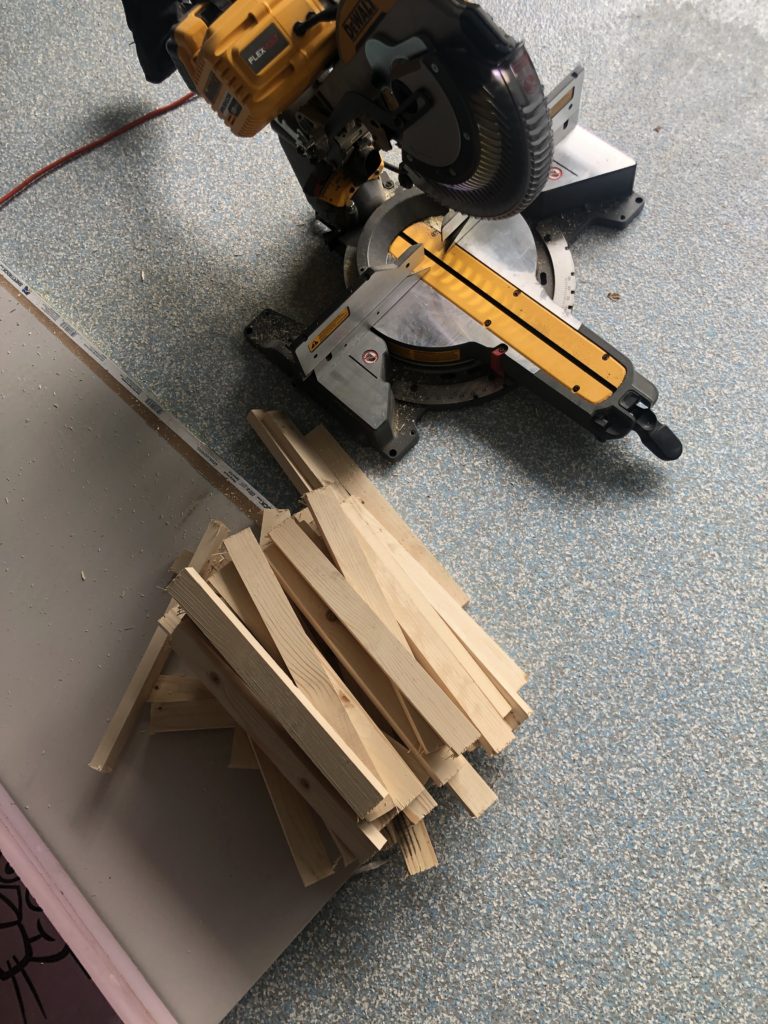
I think there were 19 studs I needed to sister. I cut all of the wood and then brought it downstairs to the much cooler basement. I used Liquid Nails to adhere the piece to the existing frame, back wall, and floor. Then I put one screw though the new and existing piece of frame.
Insulation
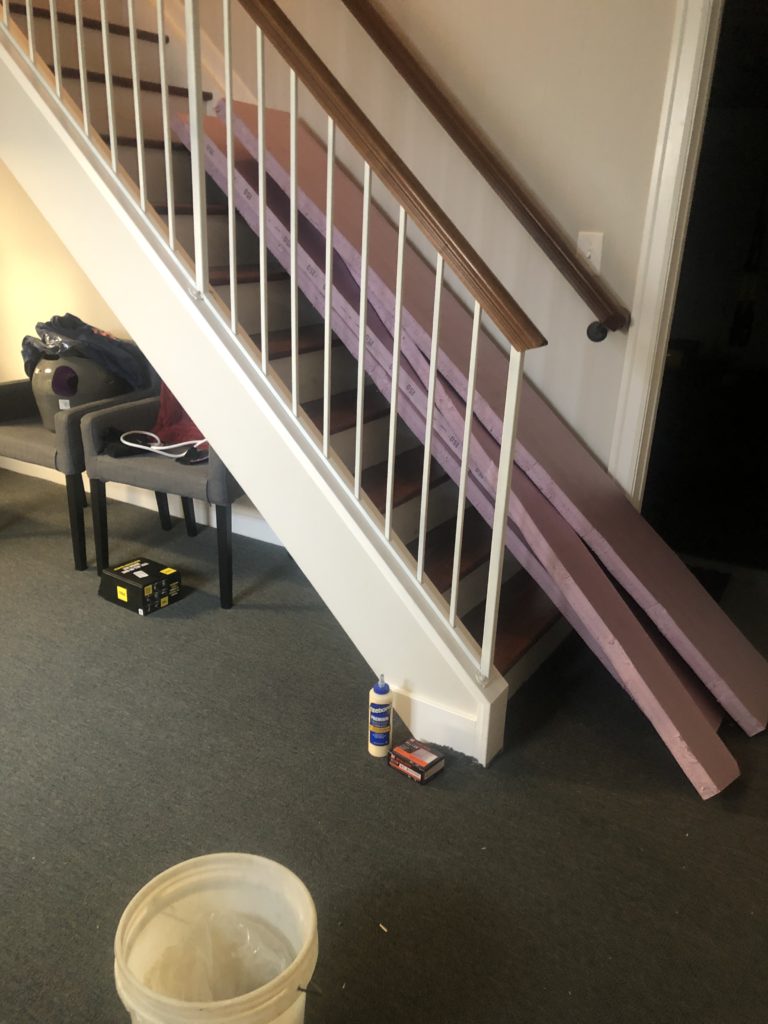
On another 80+ degree day I cut the 2-inch insulation in the garage. It was super light and easy, just very sweaty. I decided to cut the height in the garage and then bring it down to the basement to cut each section.
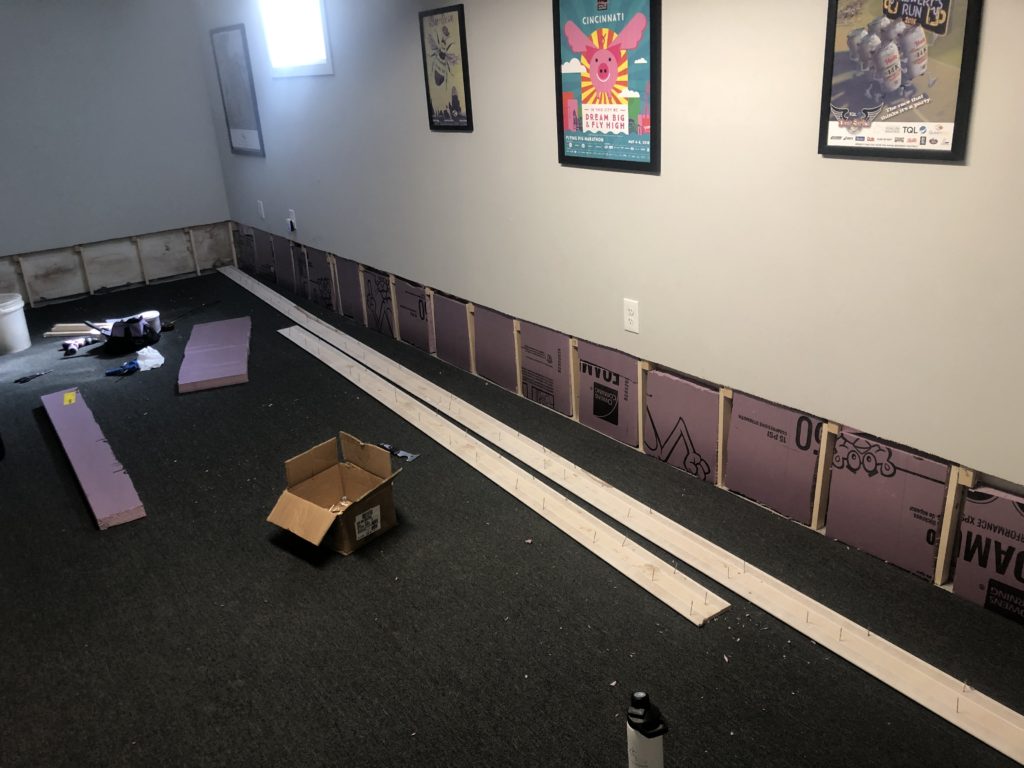
Sheetrock
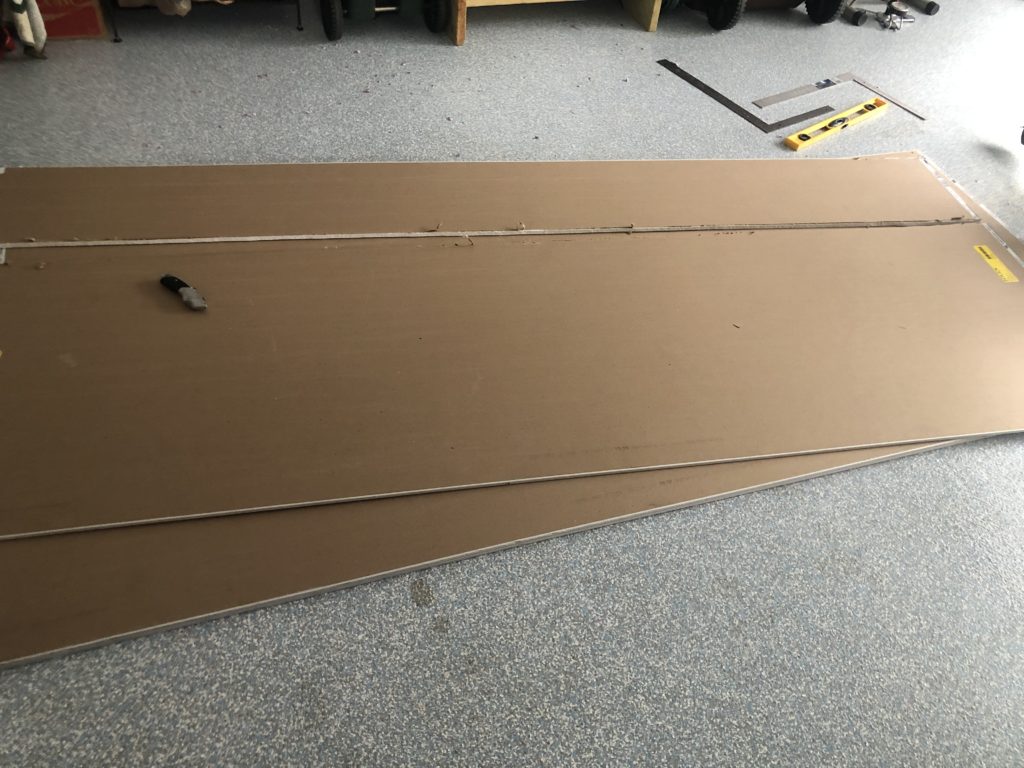
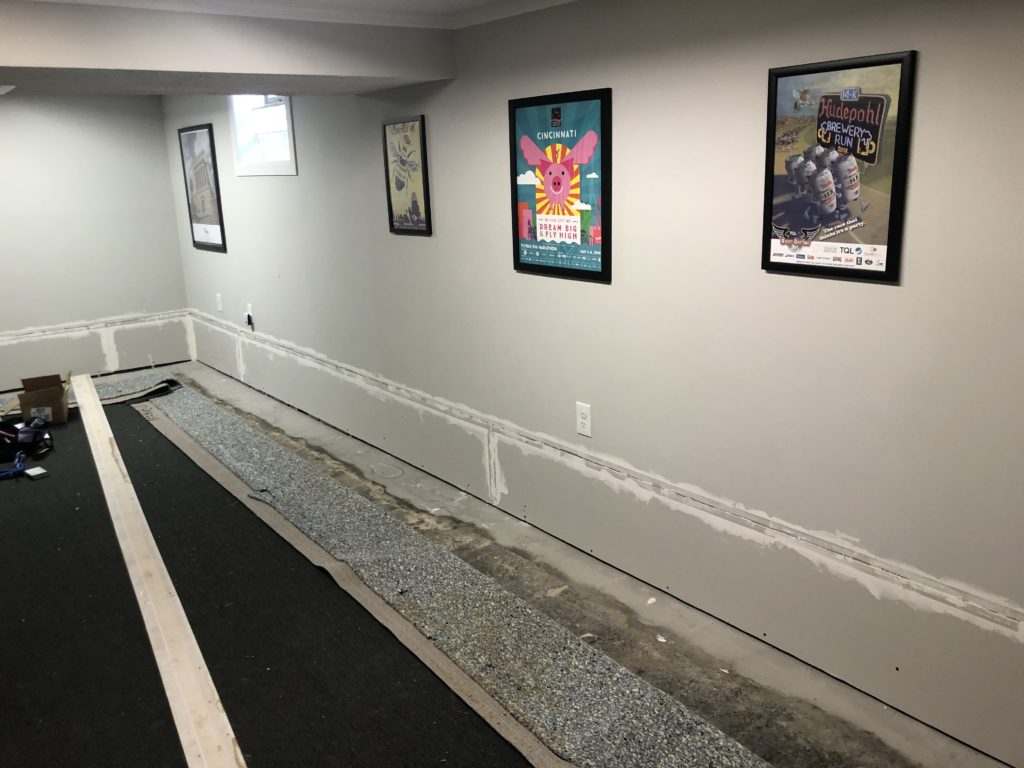
Like the insulation, I cut the sheetrock to the height in the garage. One of the few things Nolan helped me with was carrying the sheetrock downstairs. Even after cutting it down to 16 inches tall it was still heavy! Once it was down the stairs I was able to maneuver it to drill it into the studs.
Tape. Mud & Sand. Repeat.
Up to this point I was feeling relatively confident. Can you guess where this is going? The first round of taping/mudding went fine until I went down the following day and discovered that the tape didn’t stick. I ripped it off and left it looking like this:
I bought self adhesive tape and somehow motivated myself to try again. The self adhesive tape worked SO much better. I tried to fill in all the uneven spots, but some were beyond my beginner skills.
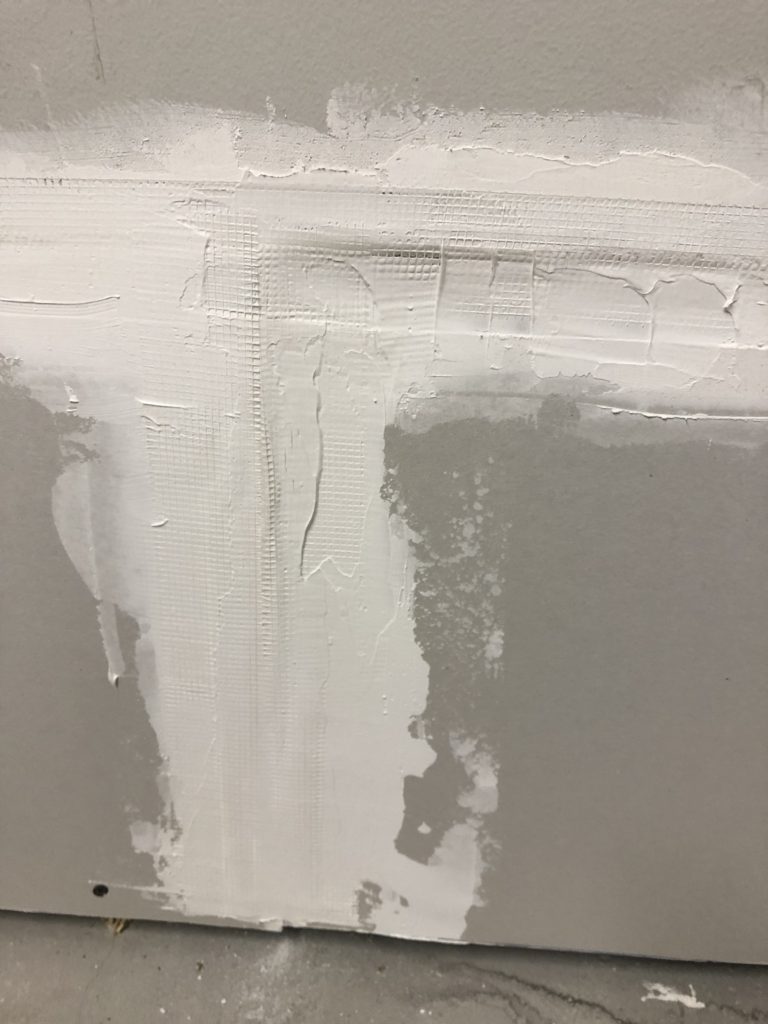
Needless to say, this part was very frustrating. I didn’t want to go too thick but I also tried feathering it out. After 4 rounds of mudding, waiting 24 hours for it to try, sanding it, and cleaning it I was ready to be finished. I convinced myself that it didn’t need to be perfect because it was the basement and I could maybe cover up the really bad seams with furniture.
Prime & Paint
The first coat of primer didn’t look as bad I thought it might. But after two coats of primer and two coats of paint, it was VERY obvious. But it was done well enough for me.
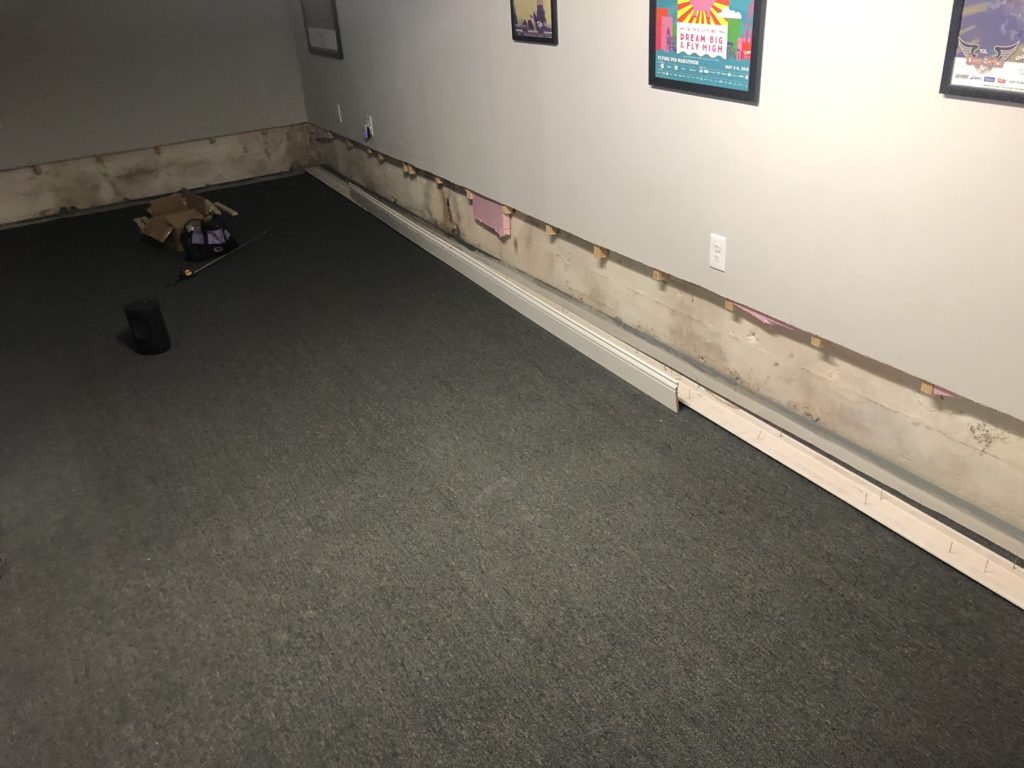
Re-attaching Baseboard Trim & Carpet
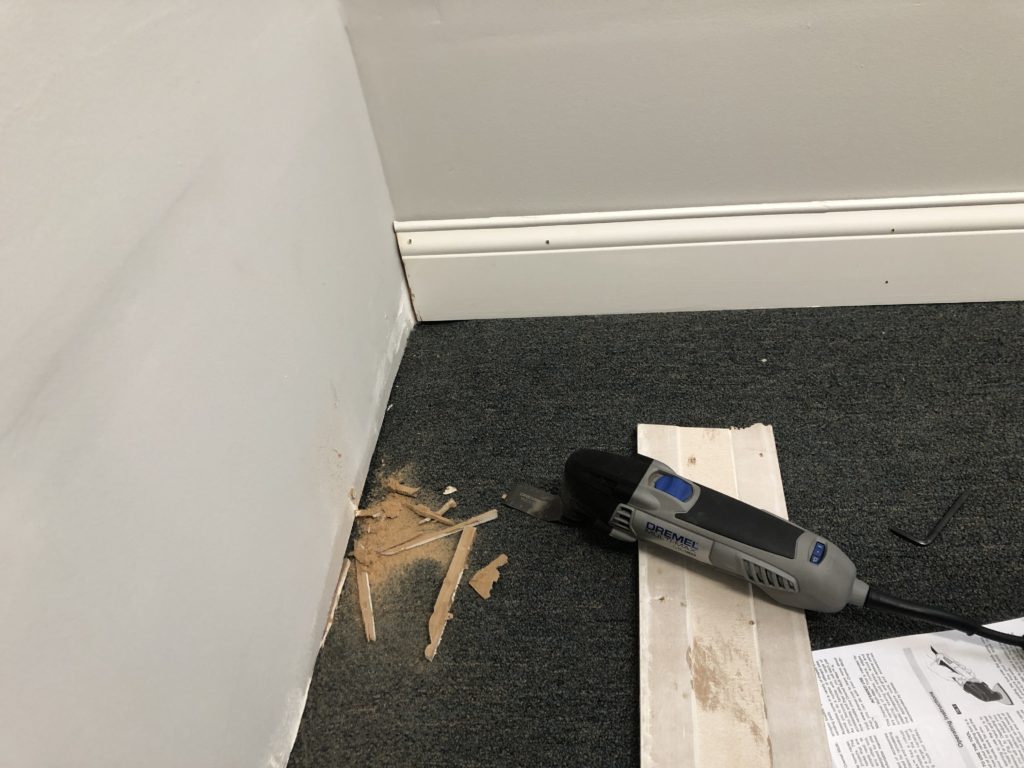
Last, but not least, was re-attaching the baseboard trim and carpet. I had to dremel both pieces of the trim to get it to fit with the new sheetrock. If I was a professional I would have cut perfect angles. Instead, I just pushed them up and caulked them to cover up my rudimentary carpentry skills.
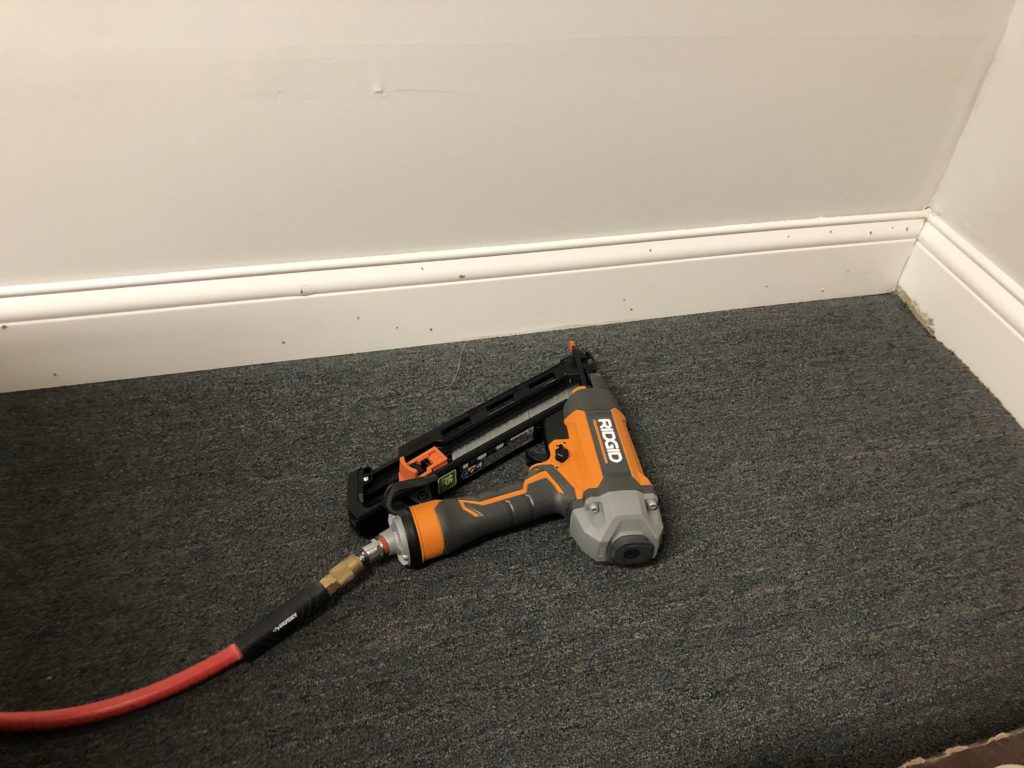
Back when we did the board and batten in the Shoreview House hallway, we borrowed Nolan’s stepdad’s nail gun. So we picked this one up at Home Depot for this project. Nolan carried down the air compressor, but other than that it was SUPER easy to use. I put in some headphones and nailed away, keeping in mind that every hole needed to be filled and touched up.
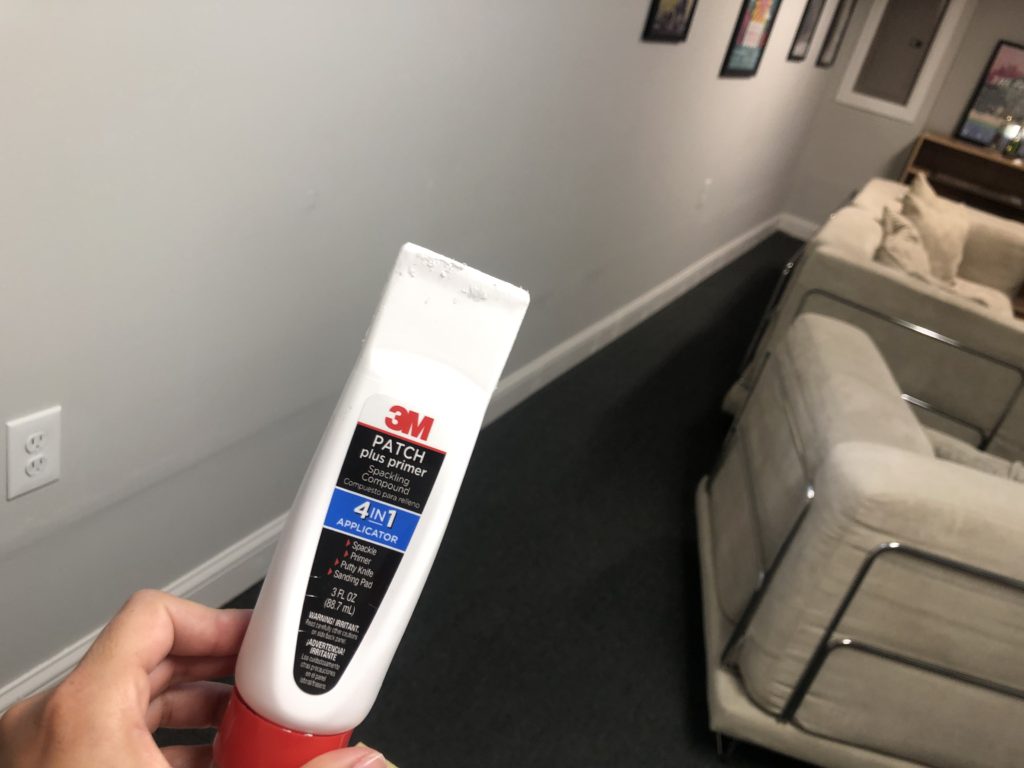
I used this PATCH plus primer to fill all the nails holes. I bought this back in March and I had to stir it up but it still worked great. You use the top part as your putty knife and the bottom of the cap is a sanding pad.
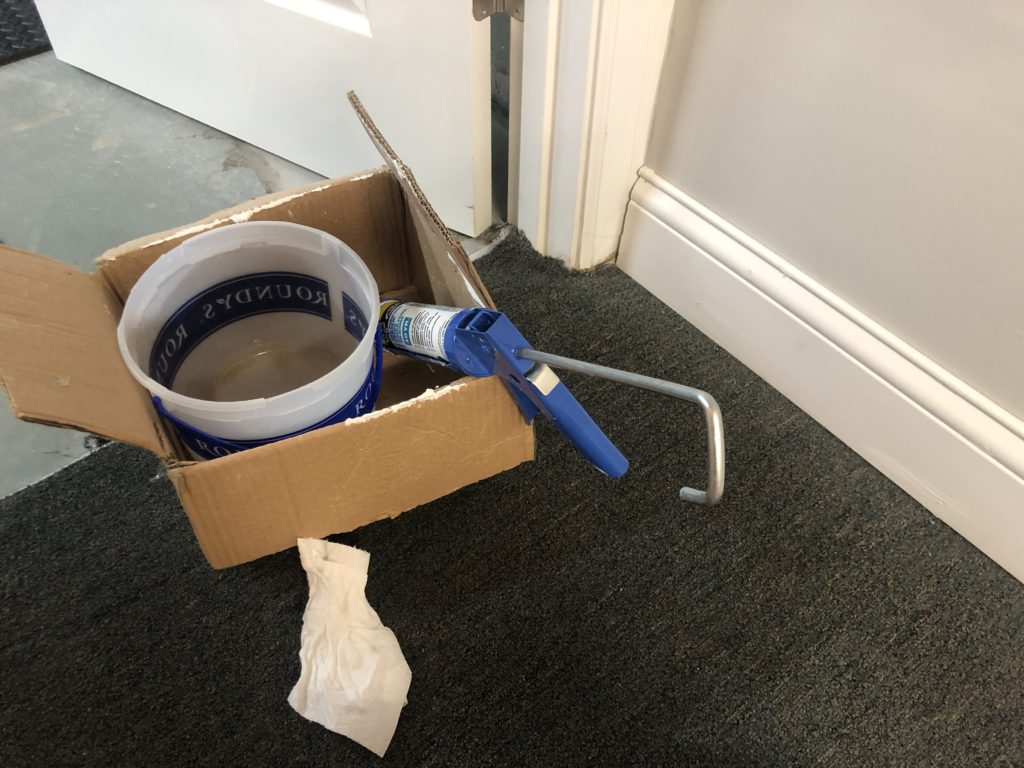
Then I set up a caulk box. A little bit of water to wet my finger, paper towels, and somewhere to rest the gun between applications. I scooted all the way around the basement filling all the gaps.
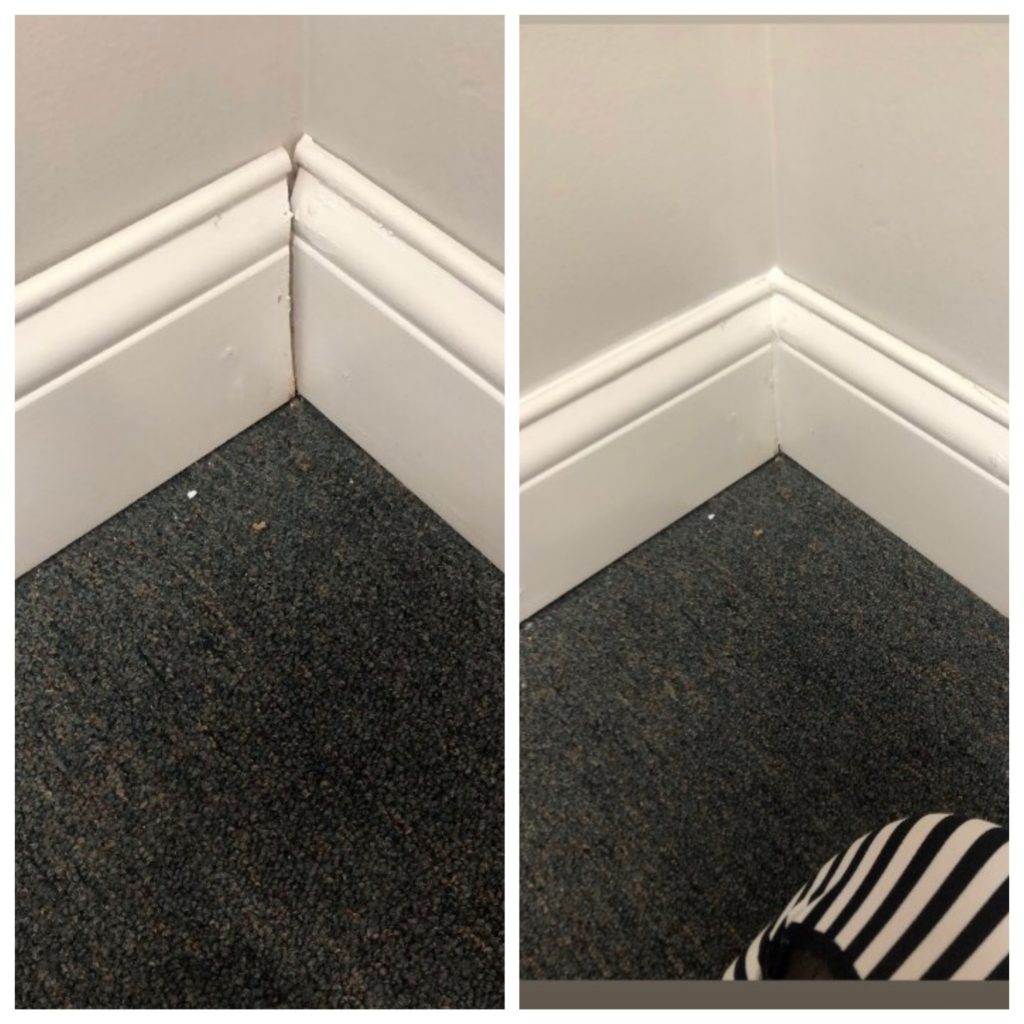
It’s amazing how a little caulk can cover up some bad carpentry! Then I touched up all the paint and jumped for joy that this project was DONE. 🙂
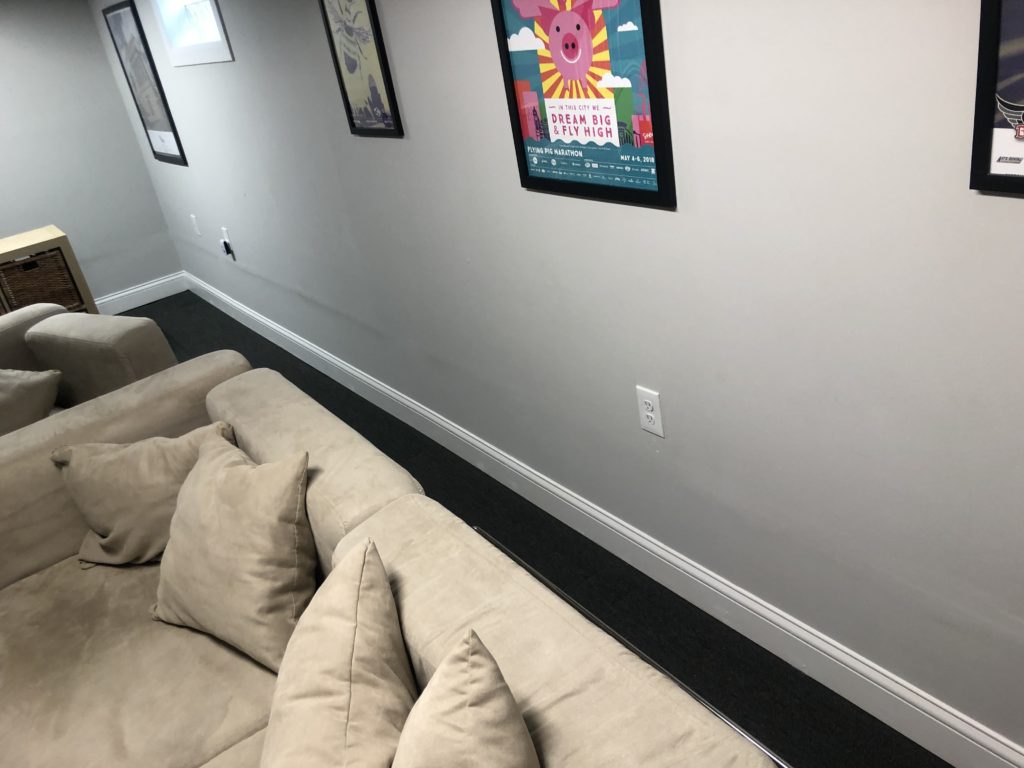
It’s nowhere near professional, but it is done and I did 99% of it myself. As you can see I’ve already moved some furniture back into the space. Since we moved the gym into the unfinished part of the basement, we’re now going to repurpose this room. I’ll share that in another post because this one is long enough!

One thought on “Repairing Drywall After Installing Drain Tile”
Comments are closed.