
I’ll cut to the chase, our Ikea ALCOT system took over 10 hours to unpack, assembling and install.
The Ikea ALCOT Components
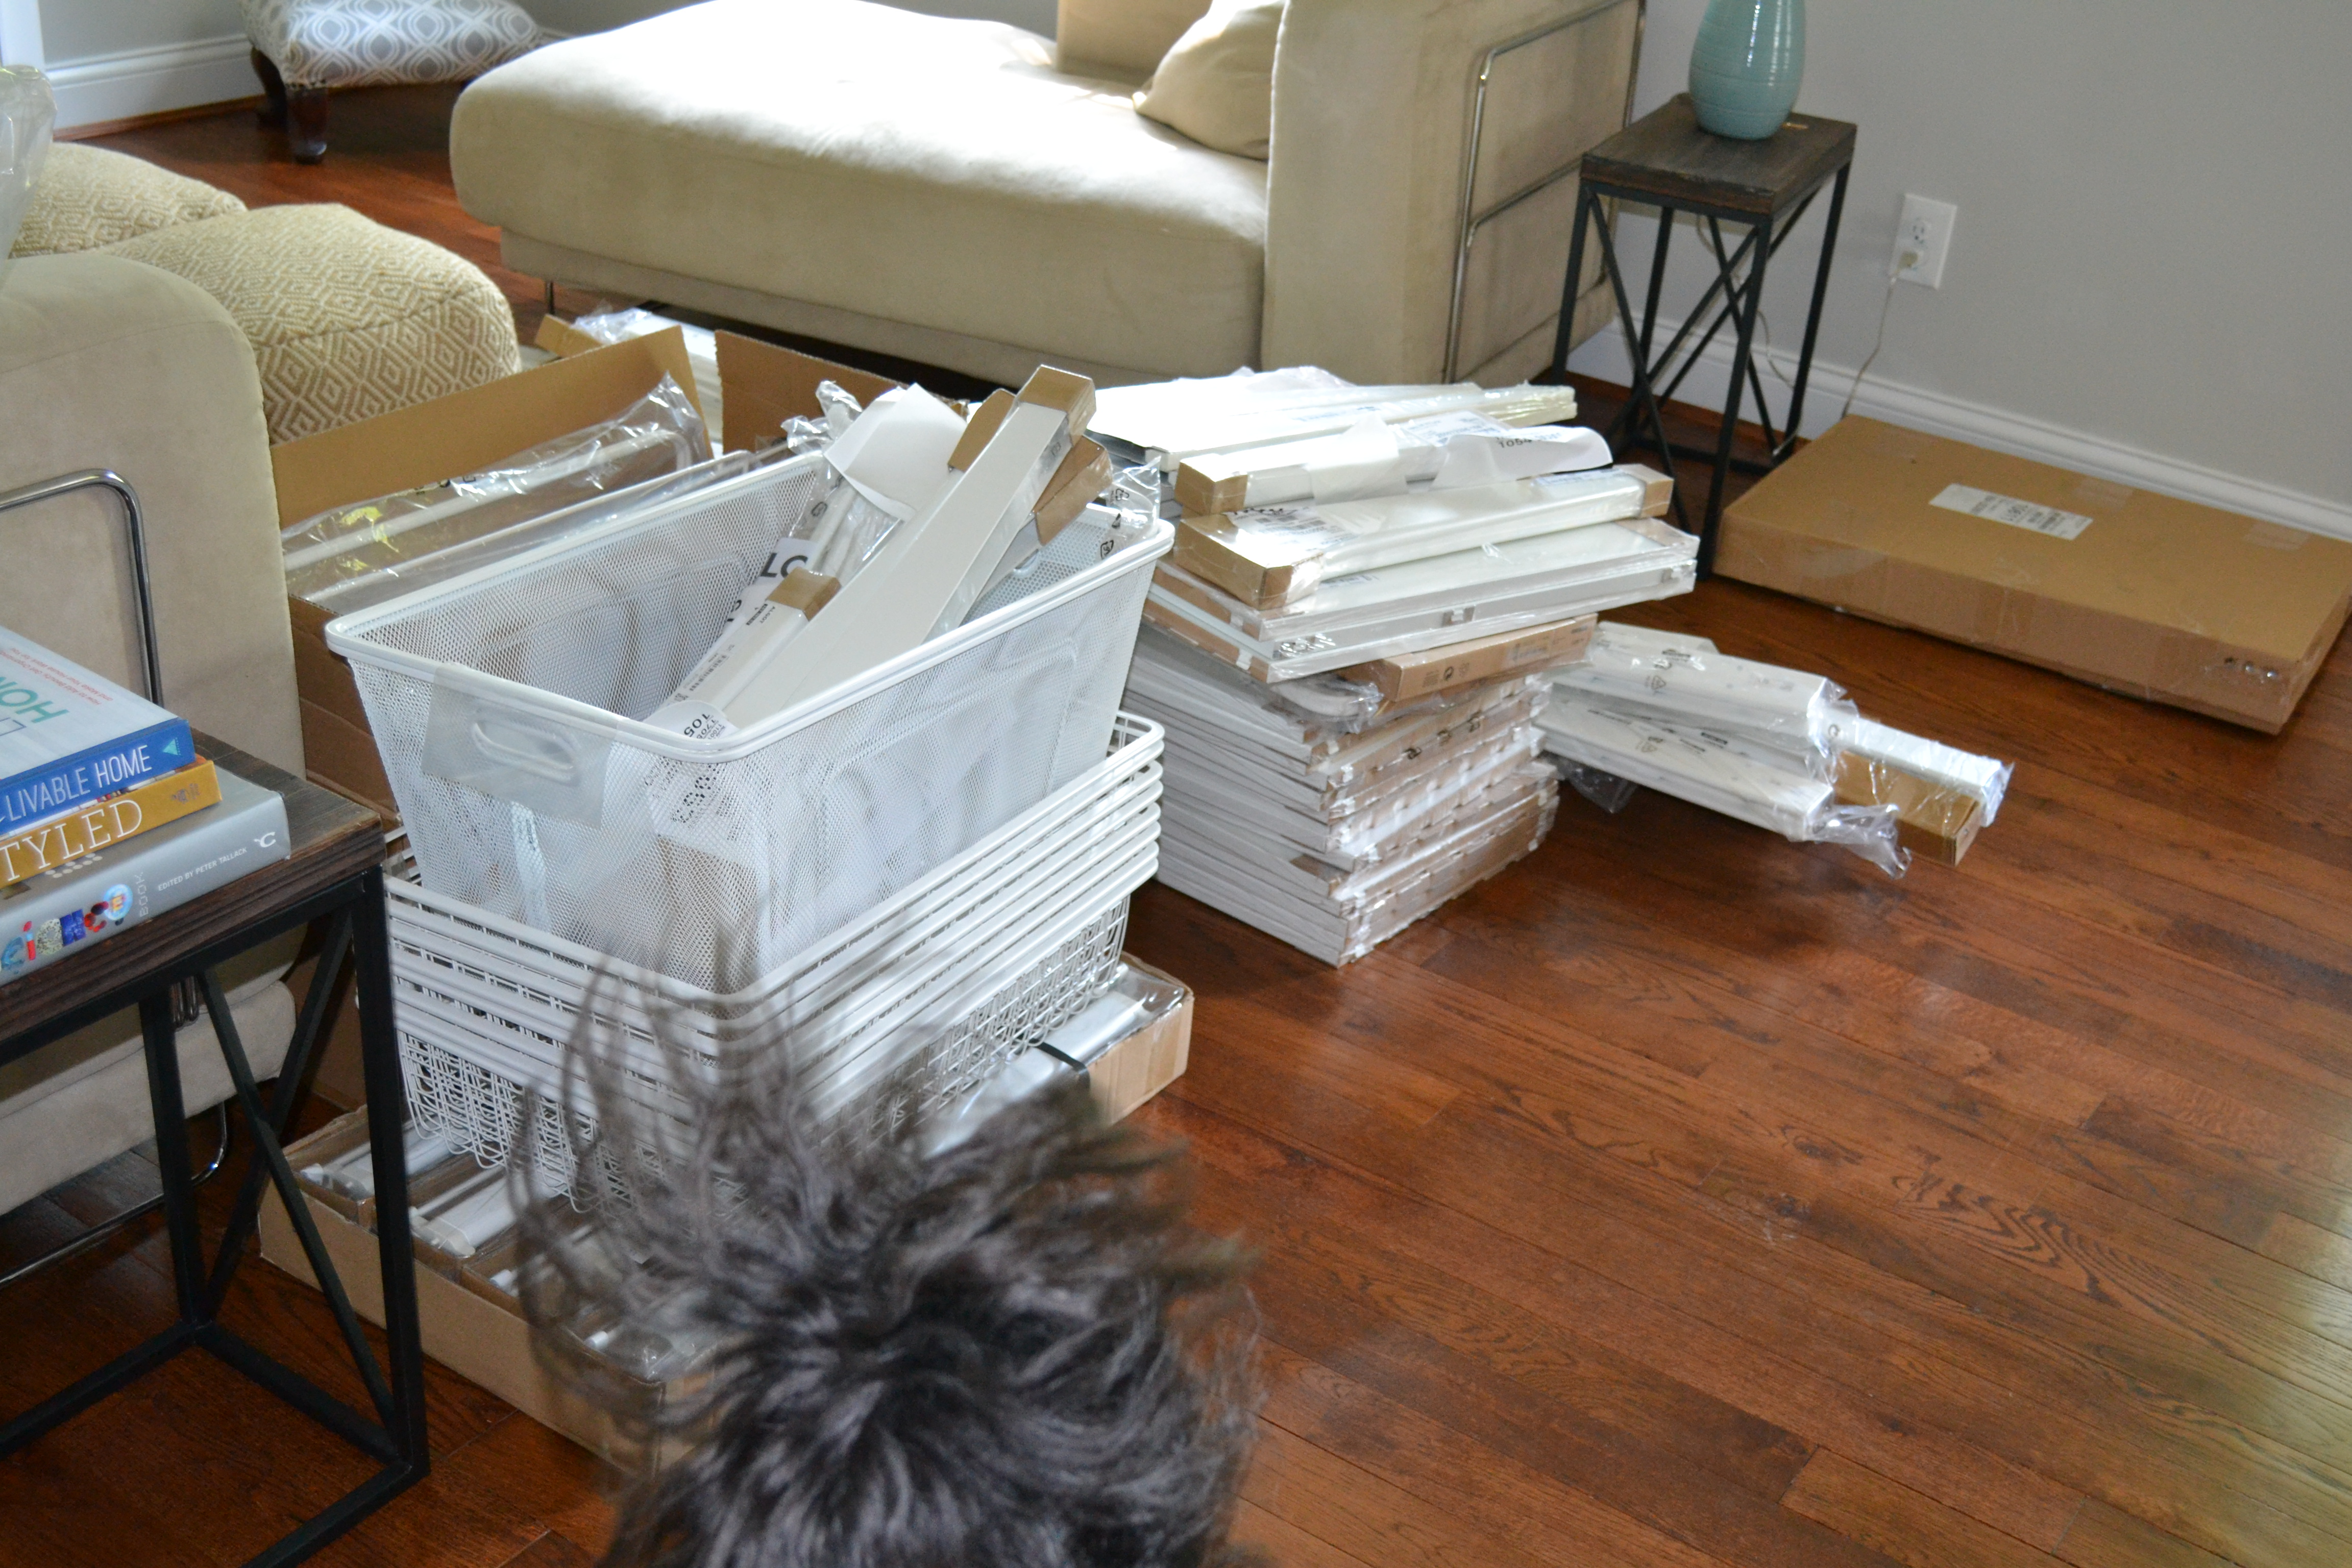
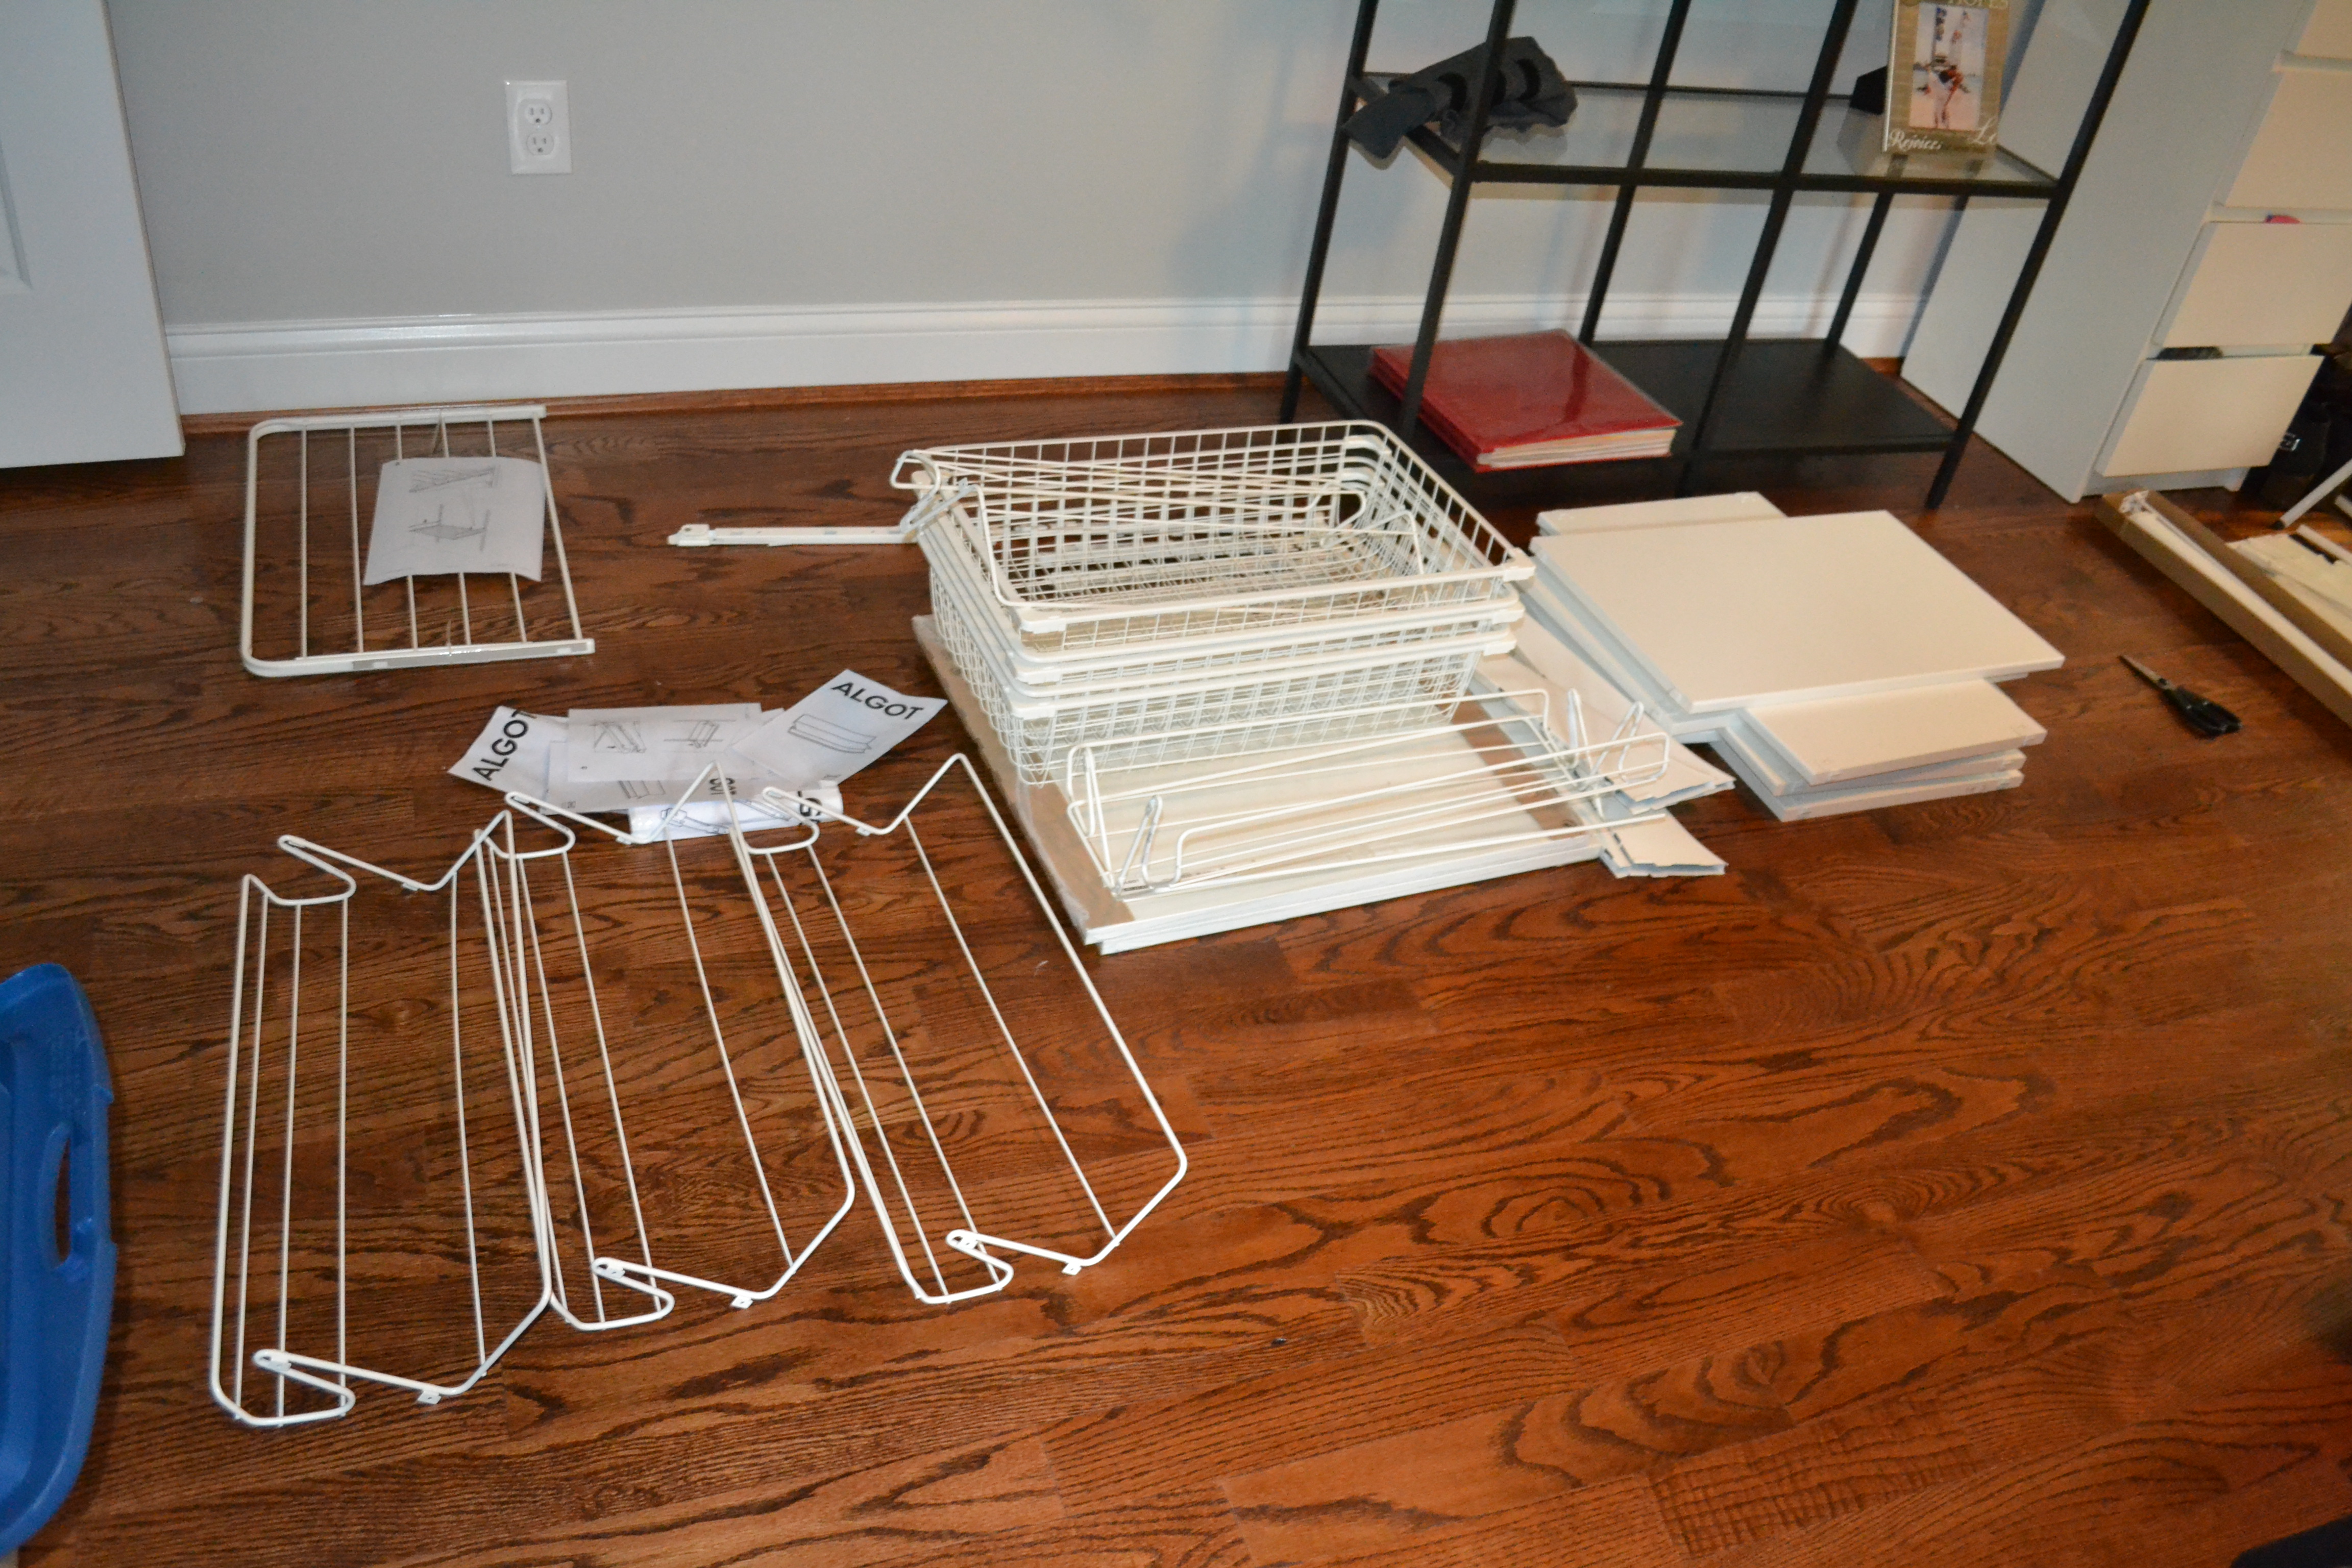
After designing the entire system online we were bummed that the delivery was so far out. But alas, they delivered all 135 pieces last week. I had to include the photo above, Sophie is so good at photo bombing.
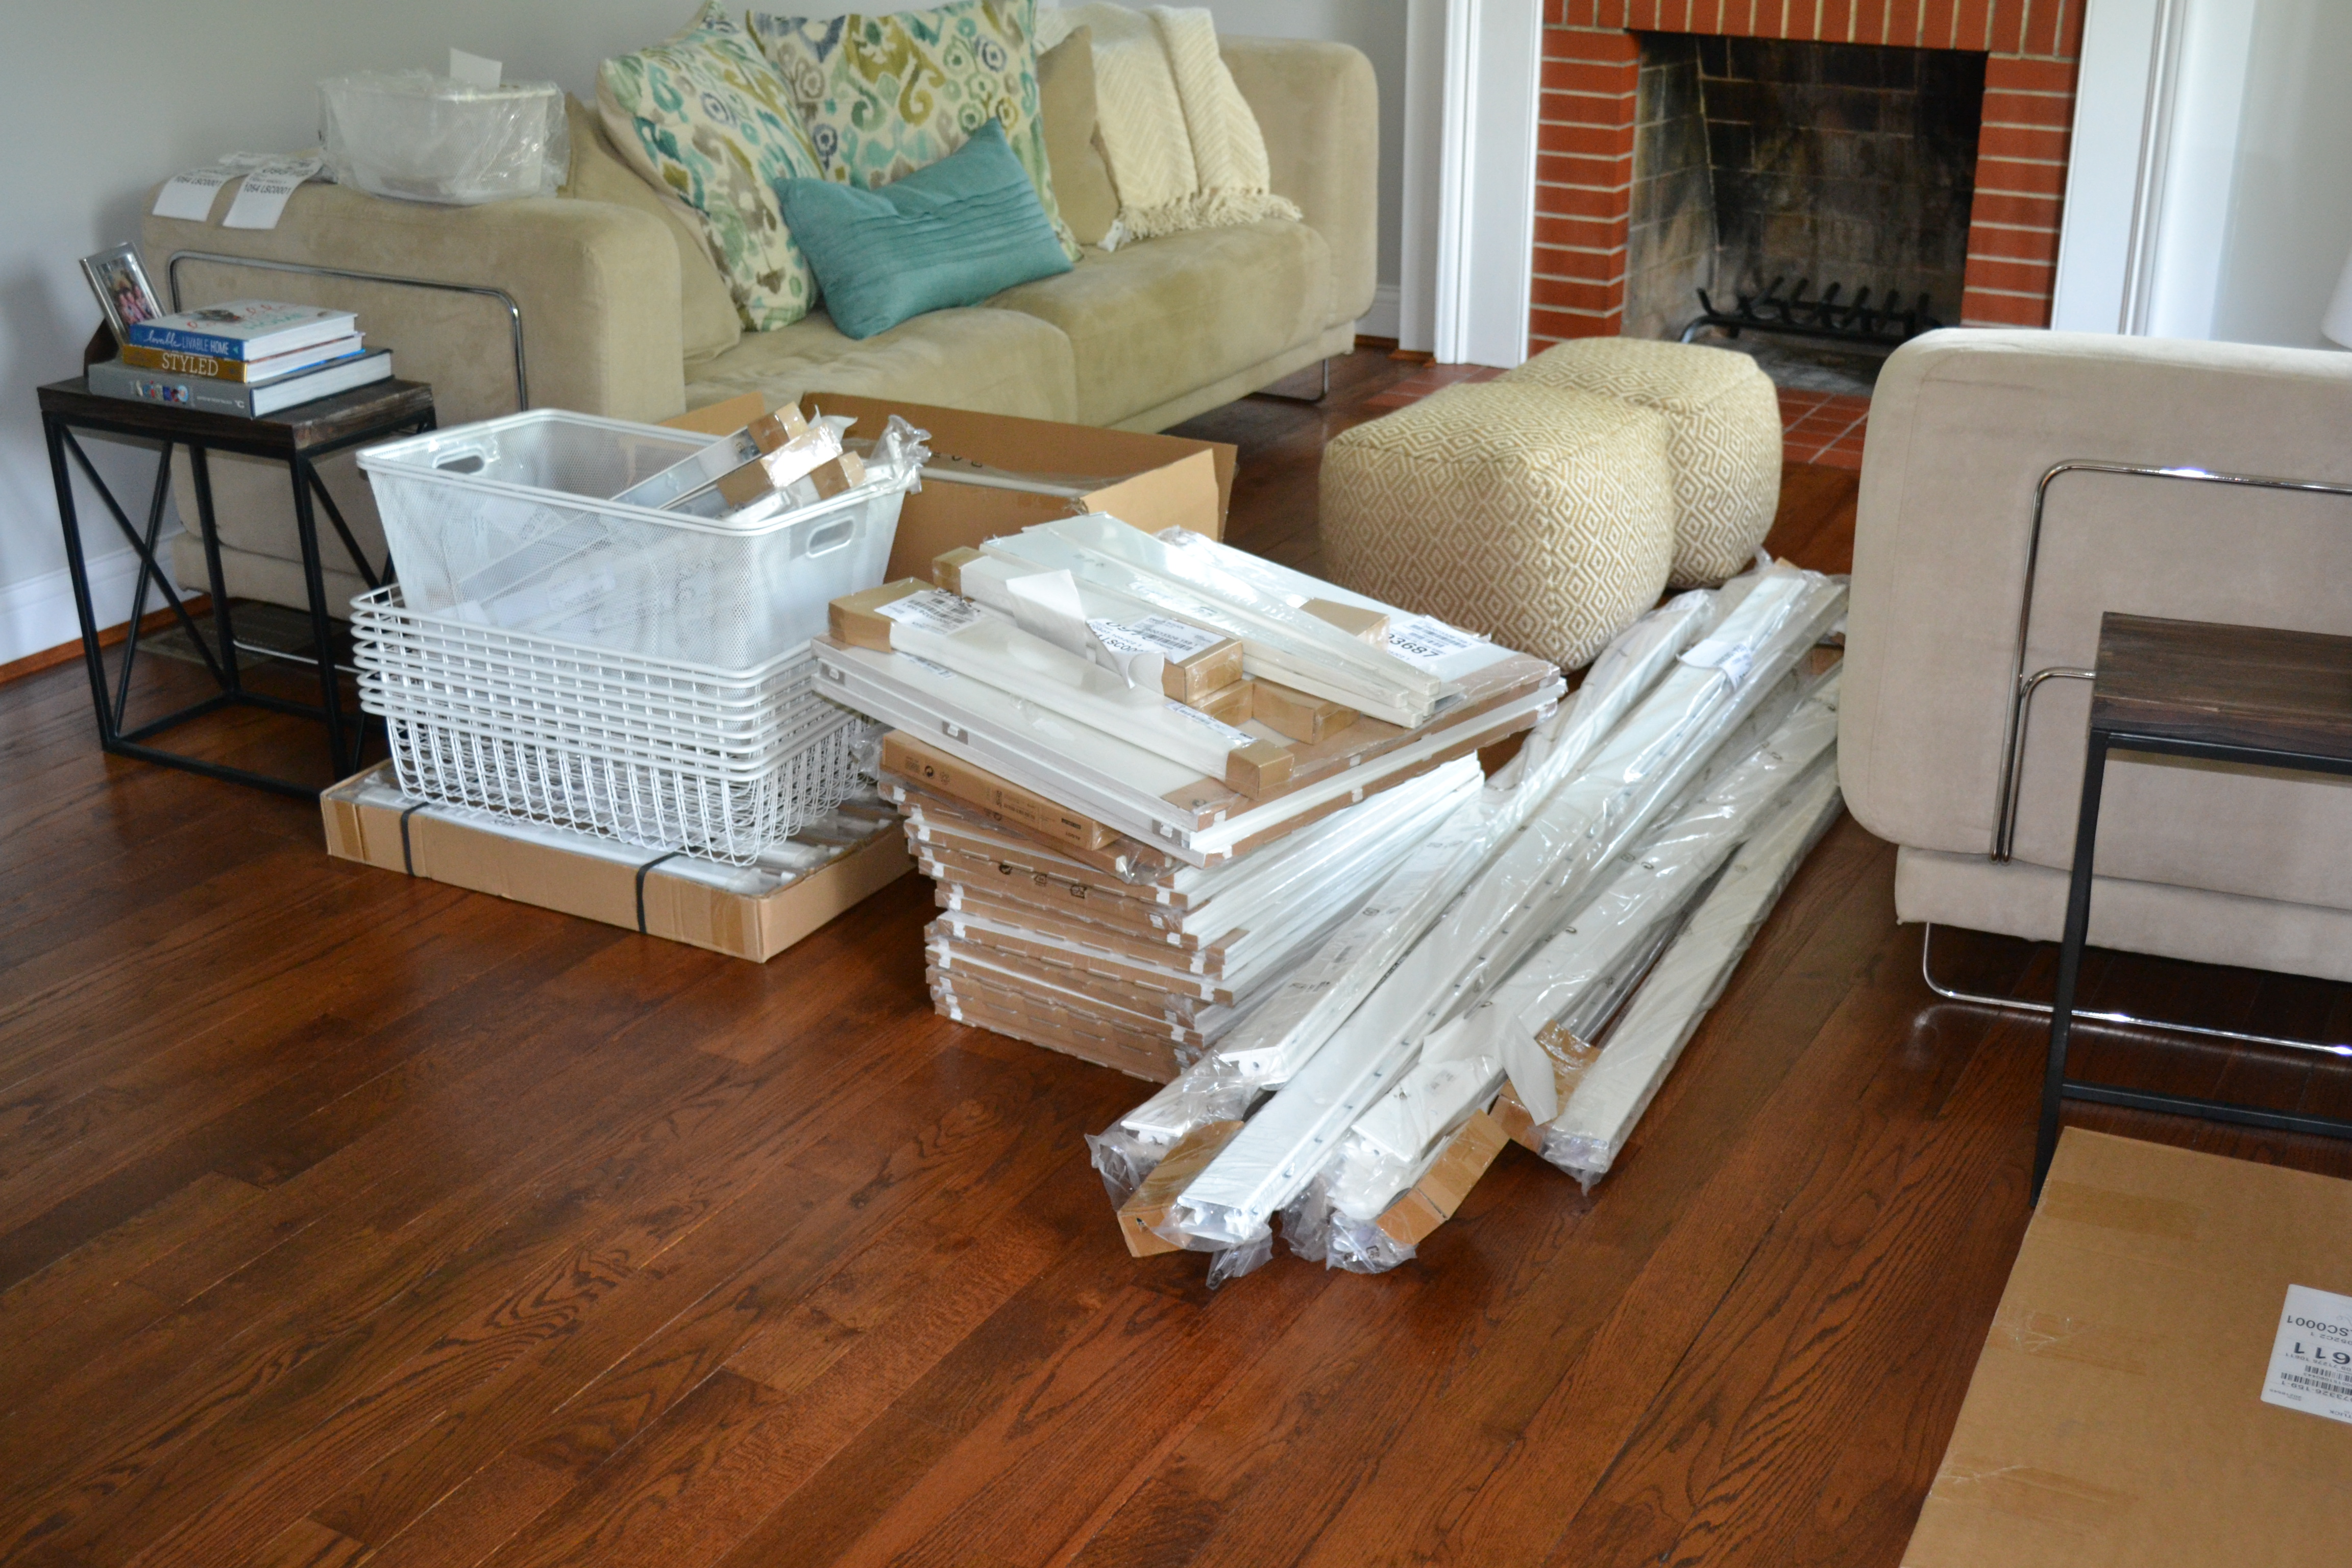
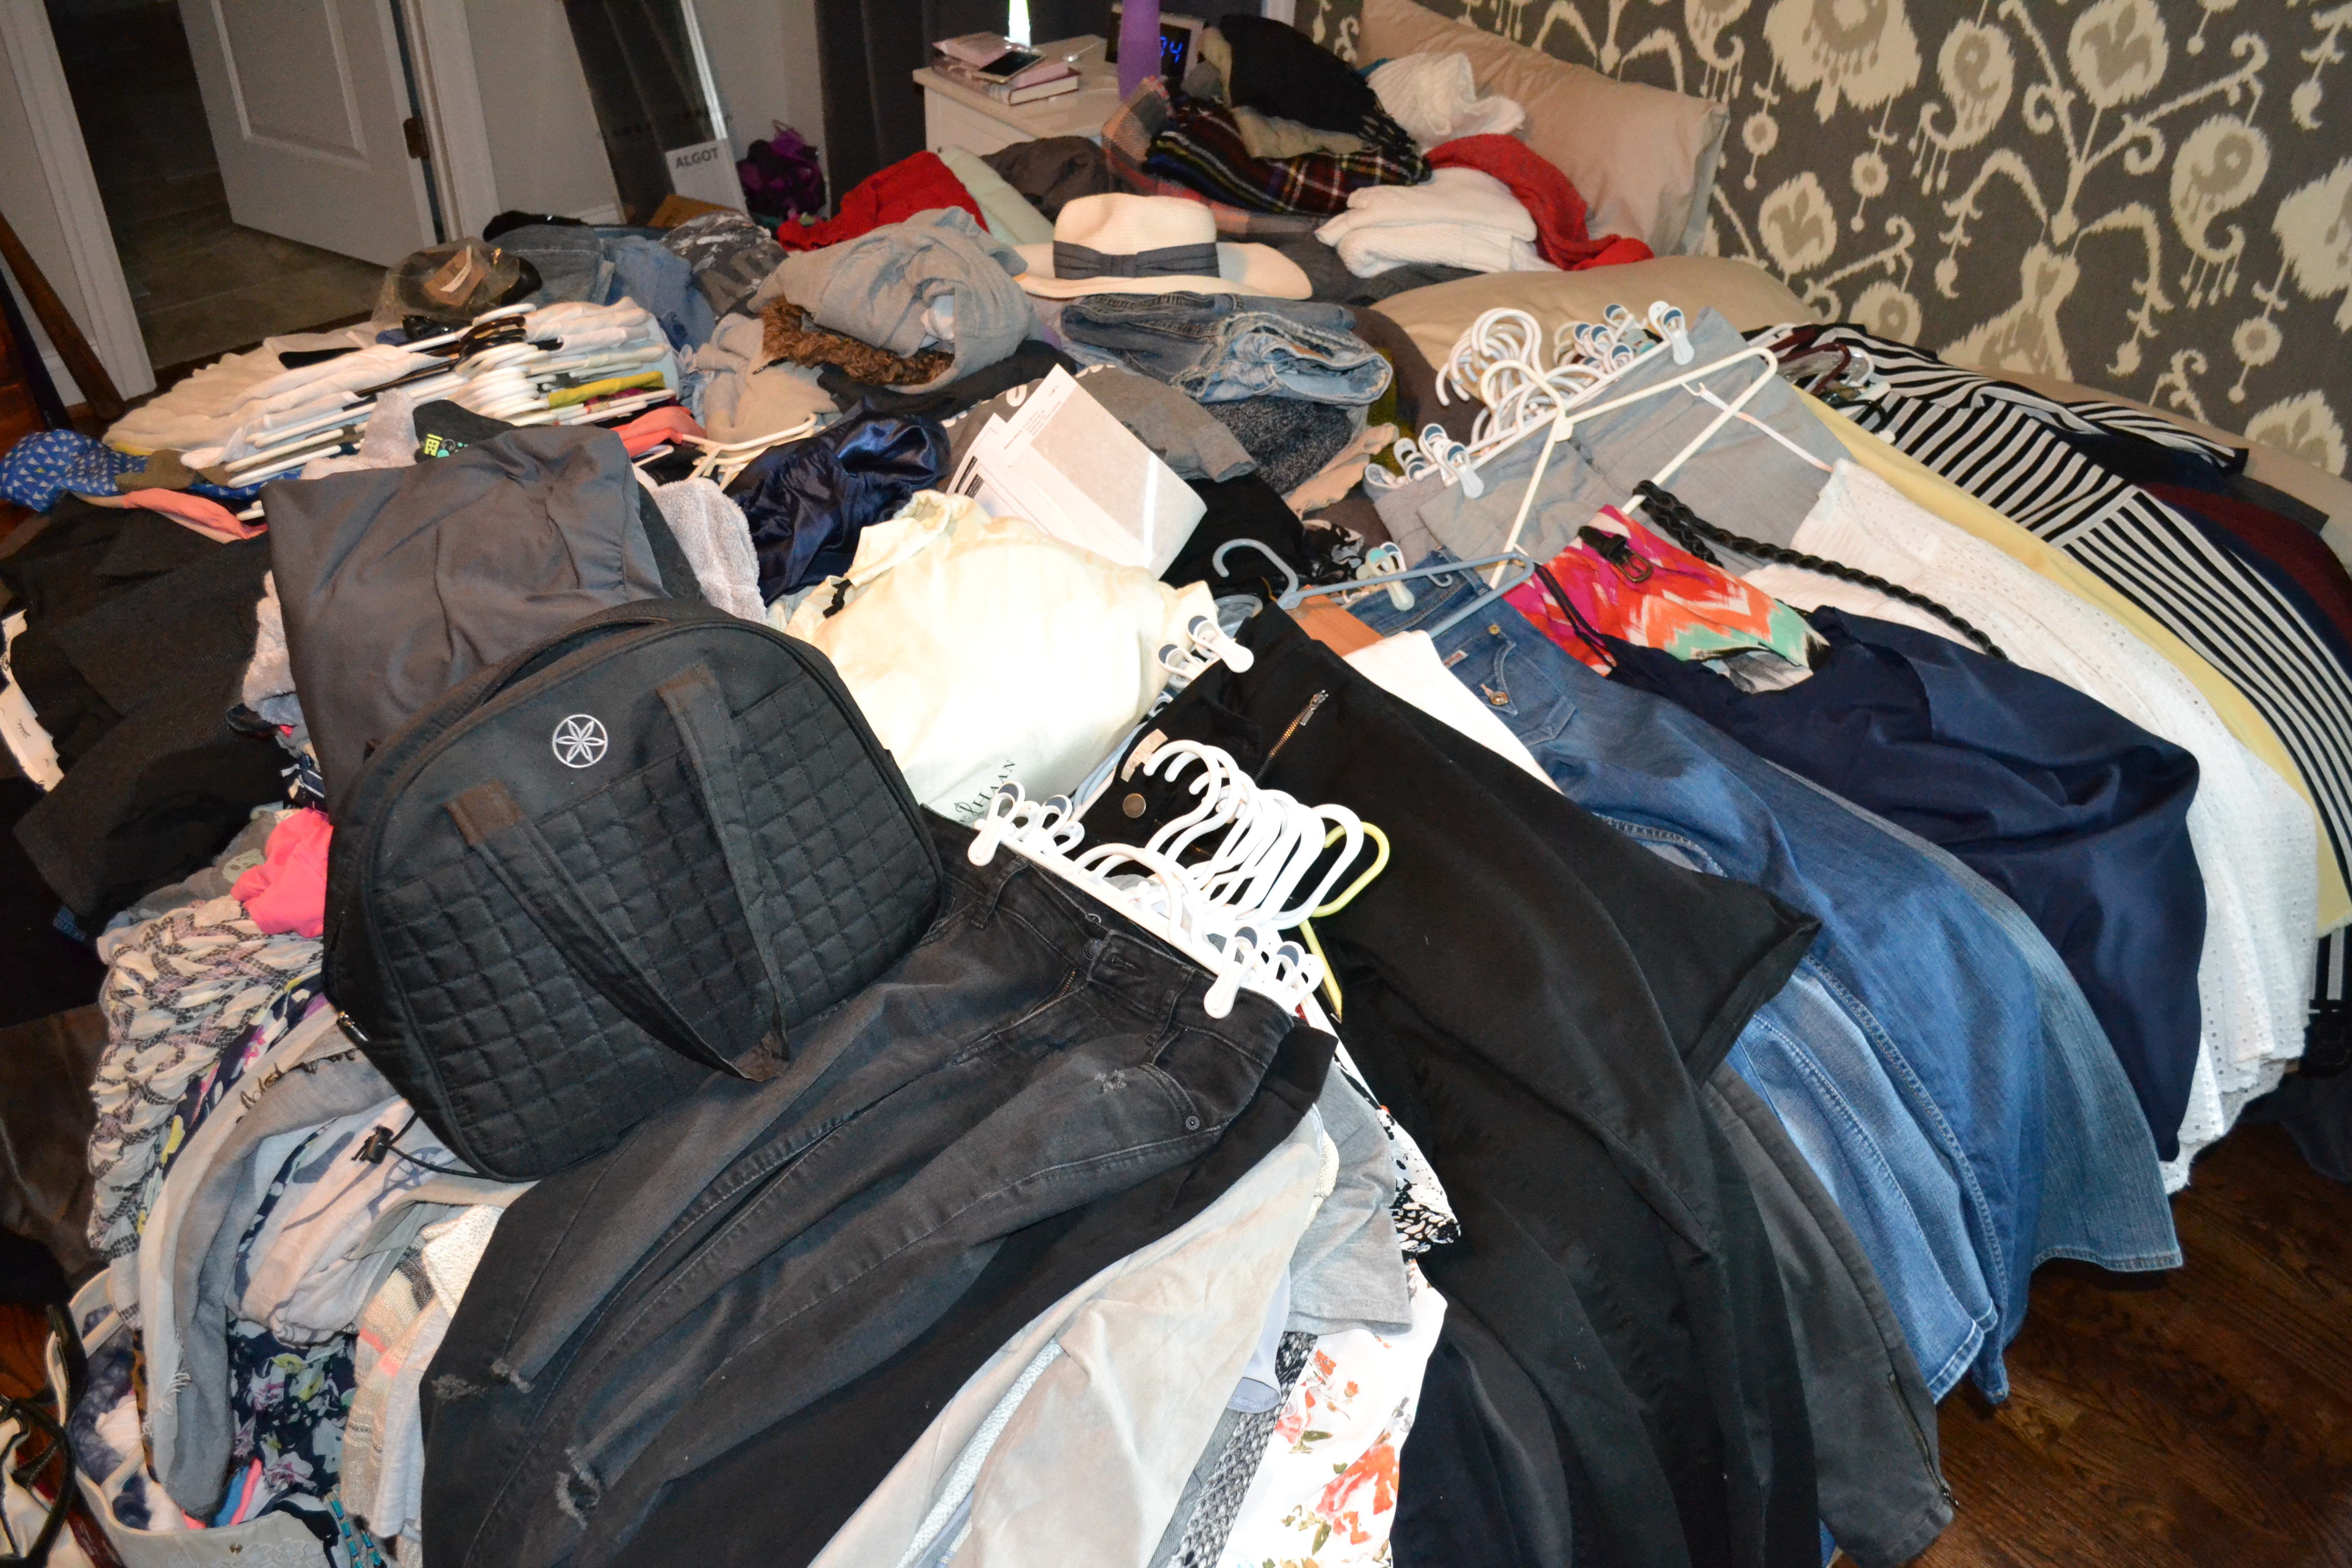
We moved everything into our bedroom until we had an entire weekend day to put it all together. Before even starting I knew I screwed something up, because that box in the background had 10 (!) shoe organizers. I know I have a lot of shoes, but they don’t all live in my closet.
The Before
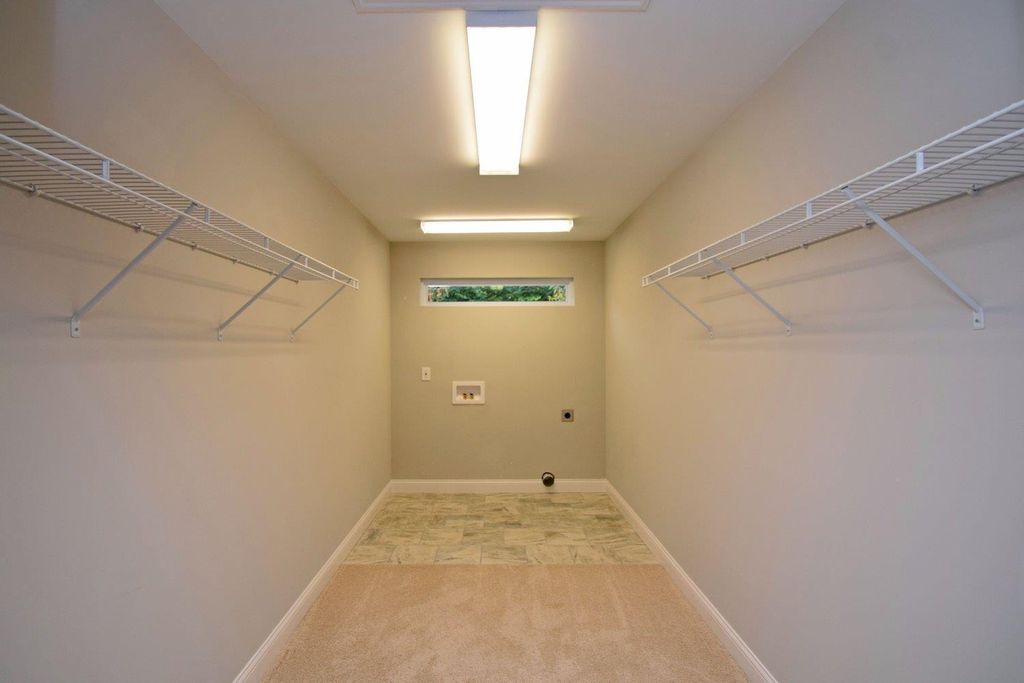
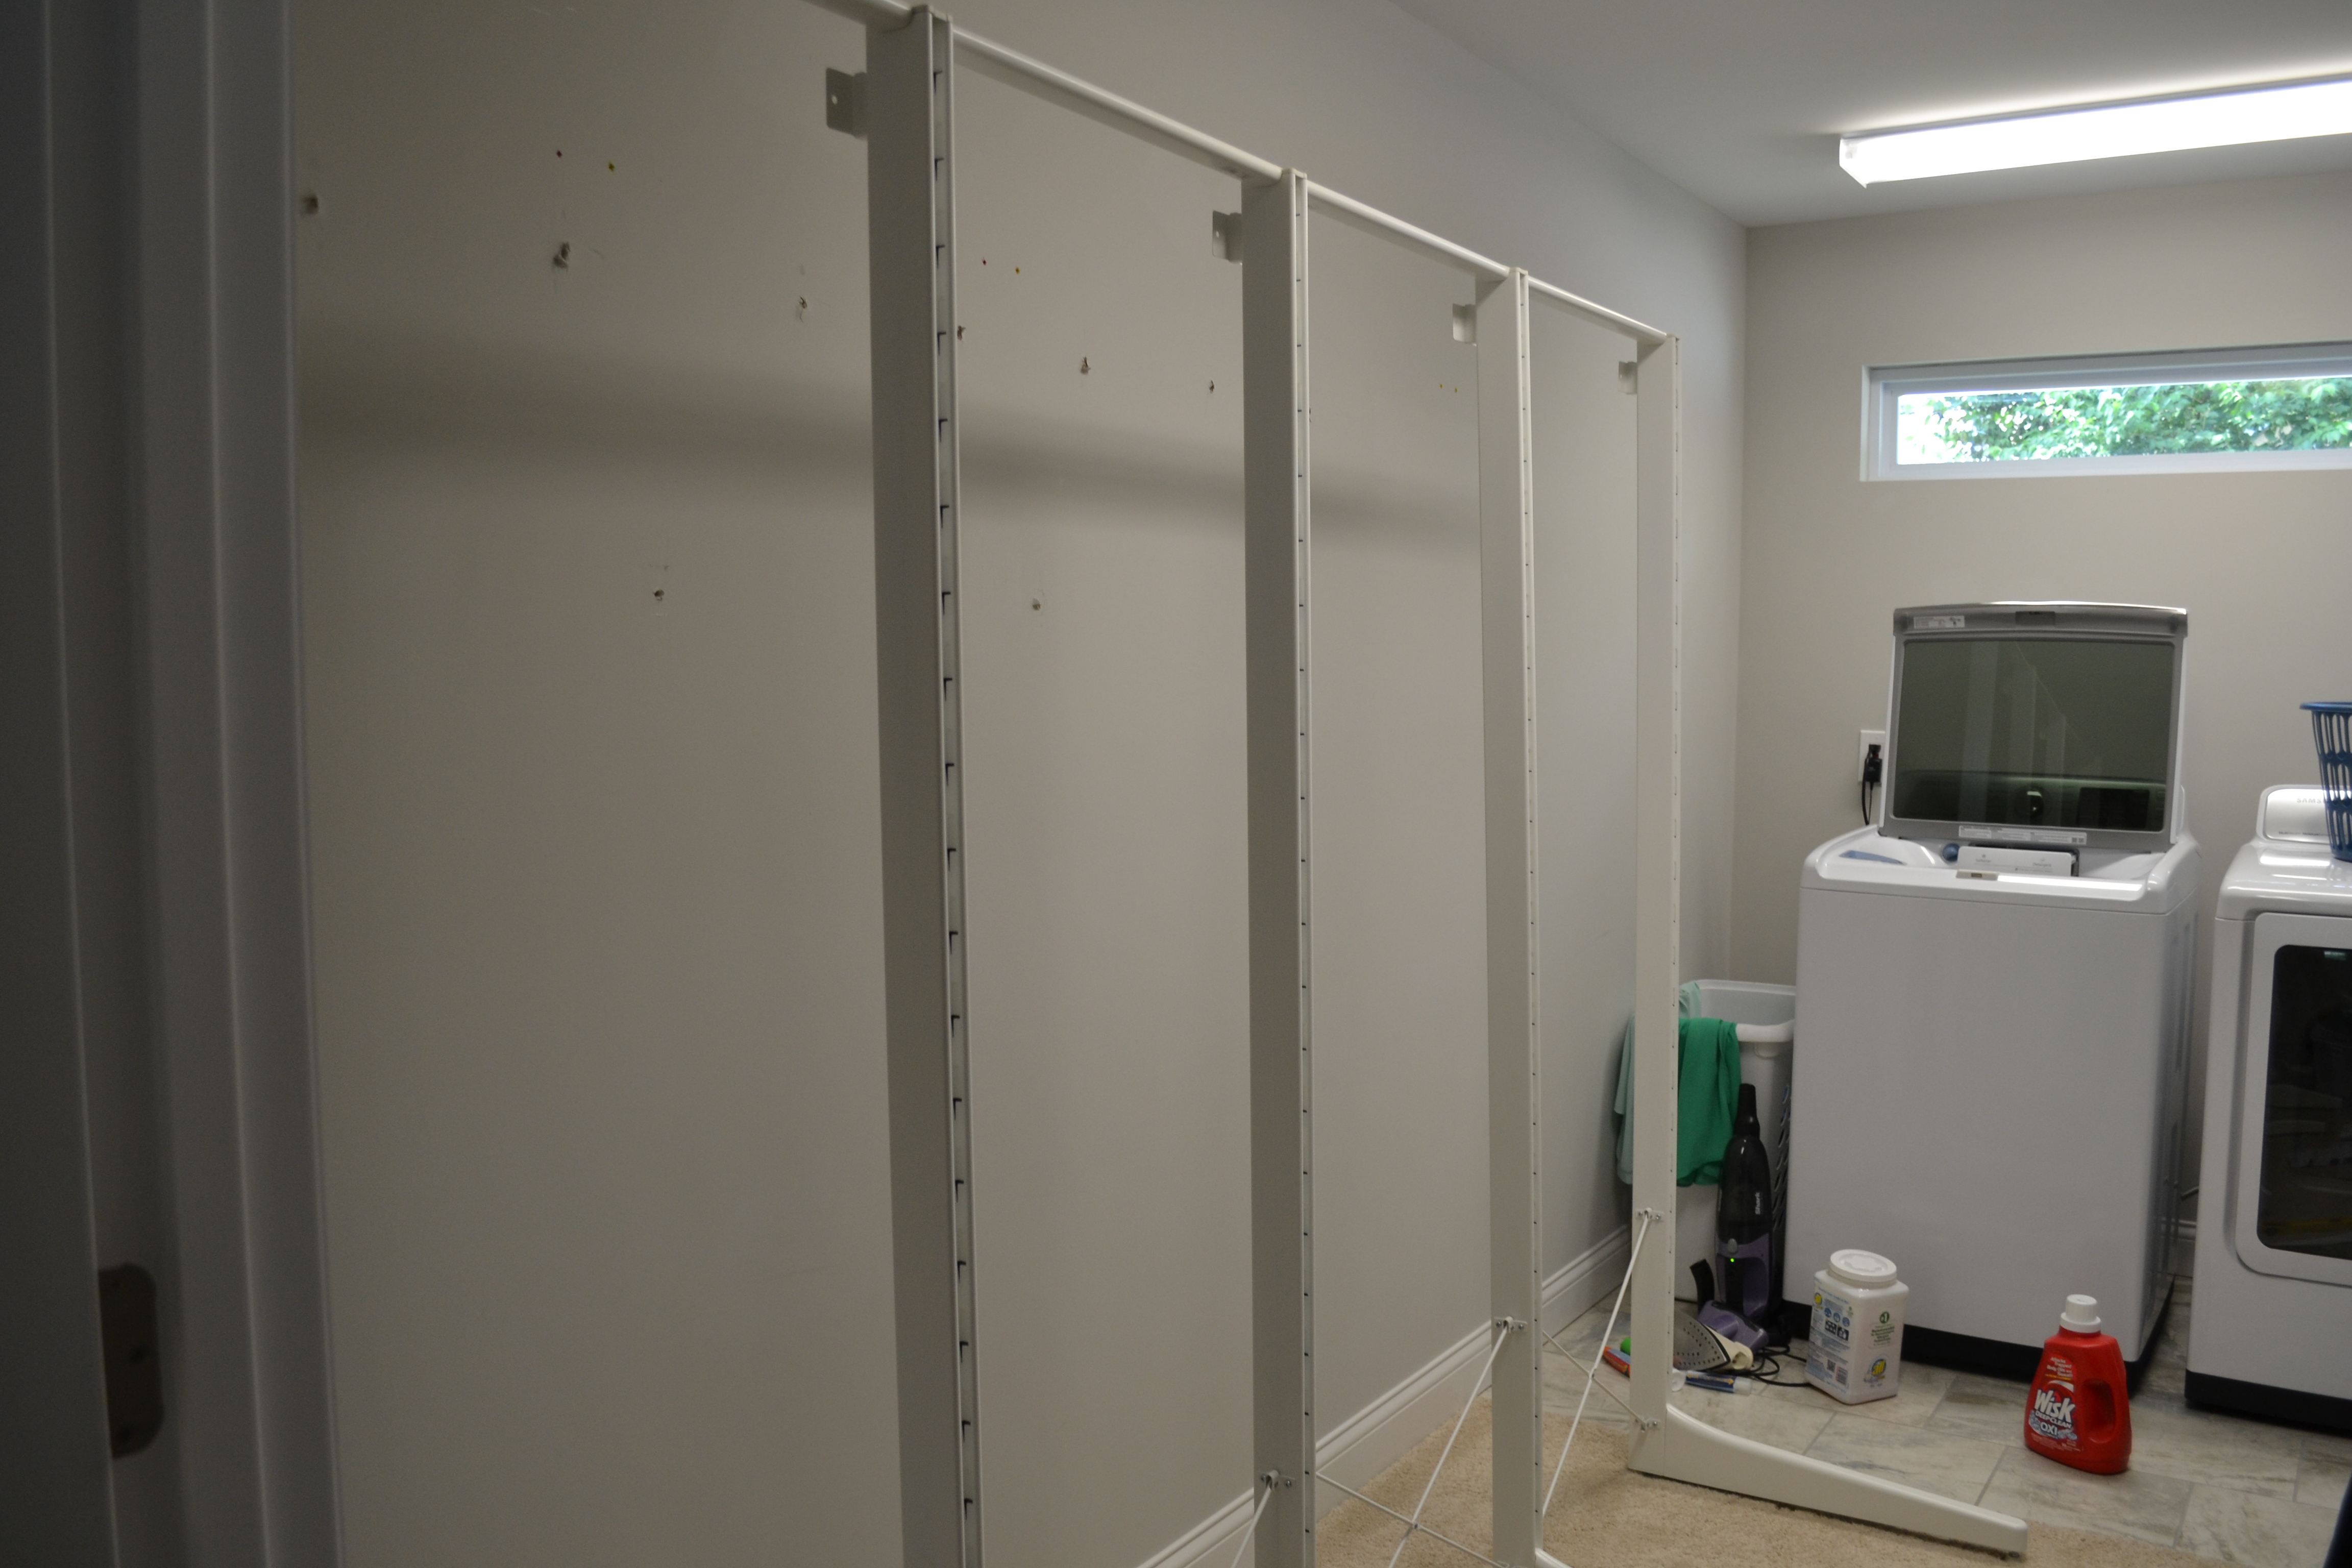
Above is the listing photo of the bare closet sans washer/dryer and clothes. I love the skinny light, it lets so much natural light into the closet without requiring blinds or a curtain.

Of course the previous closet shelf was bolted into the wall so it left all sorts of holes. 24 holes to be exact and considering they’d pretty much all be covered up but the new system or our clothes we just left them. Don’t tell.
Putting the Ikea ALCOT System Together
We knew we’d be tackling this was going to be an all-day-Saturday type project so on Friday night we unpacked all the components and read through the instructions. So. Much. Plastic!
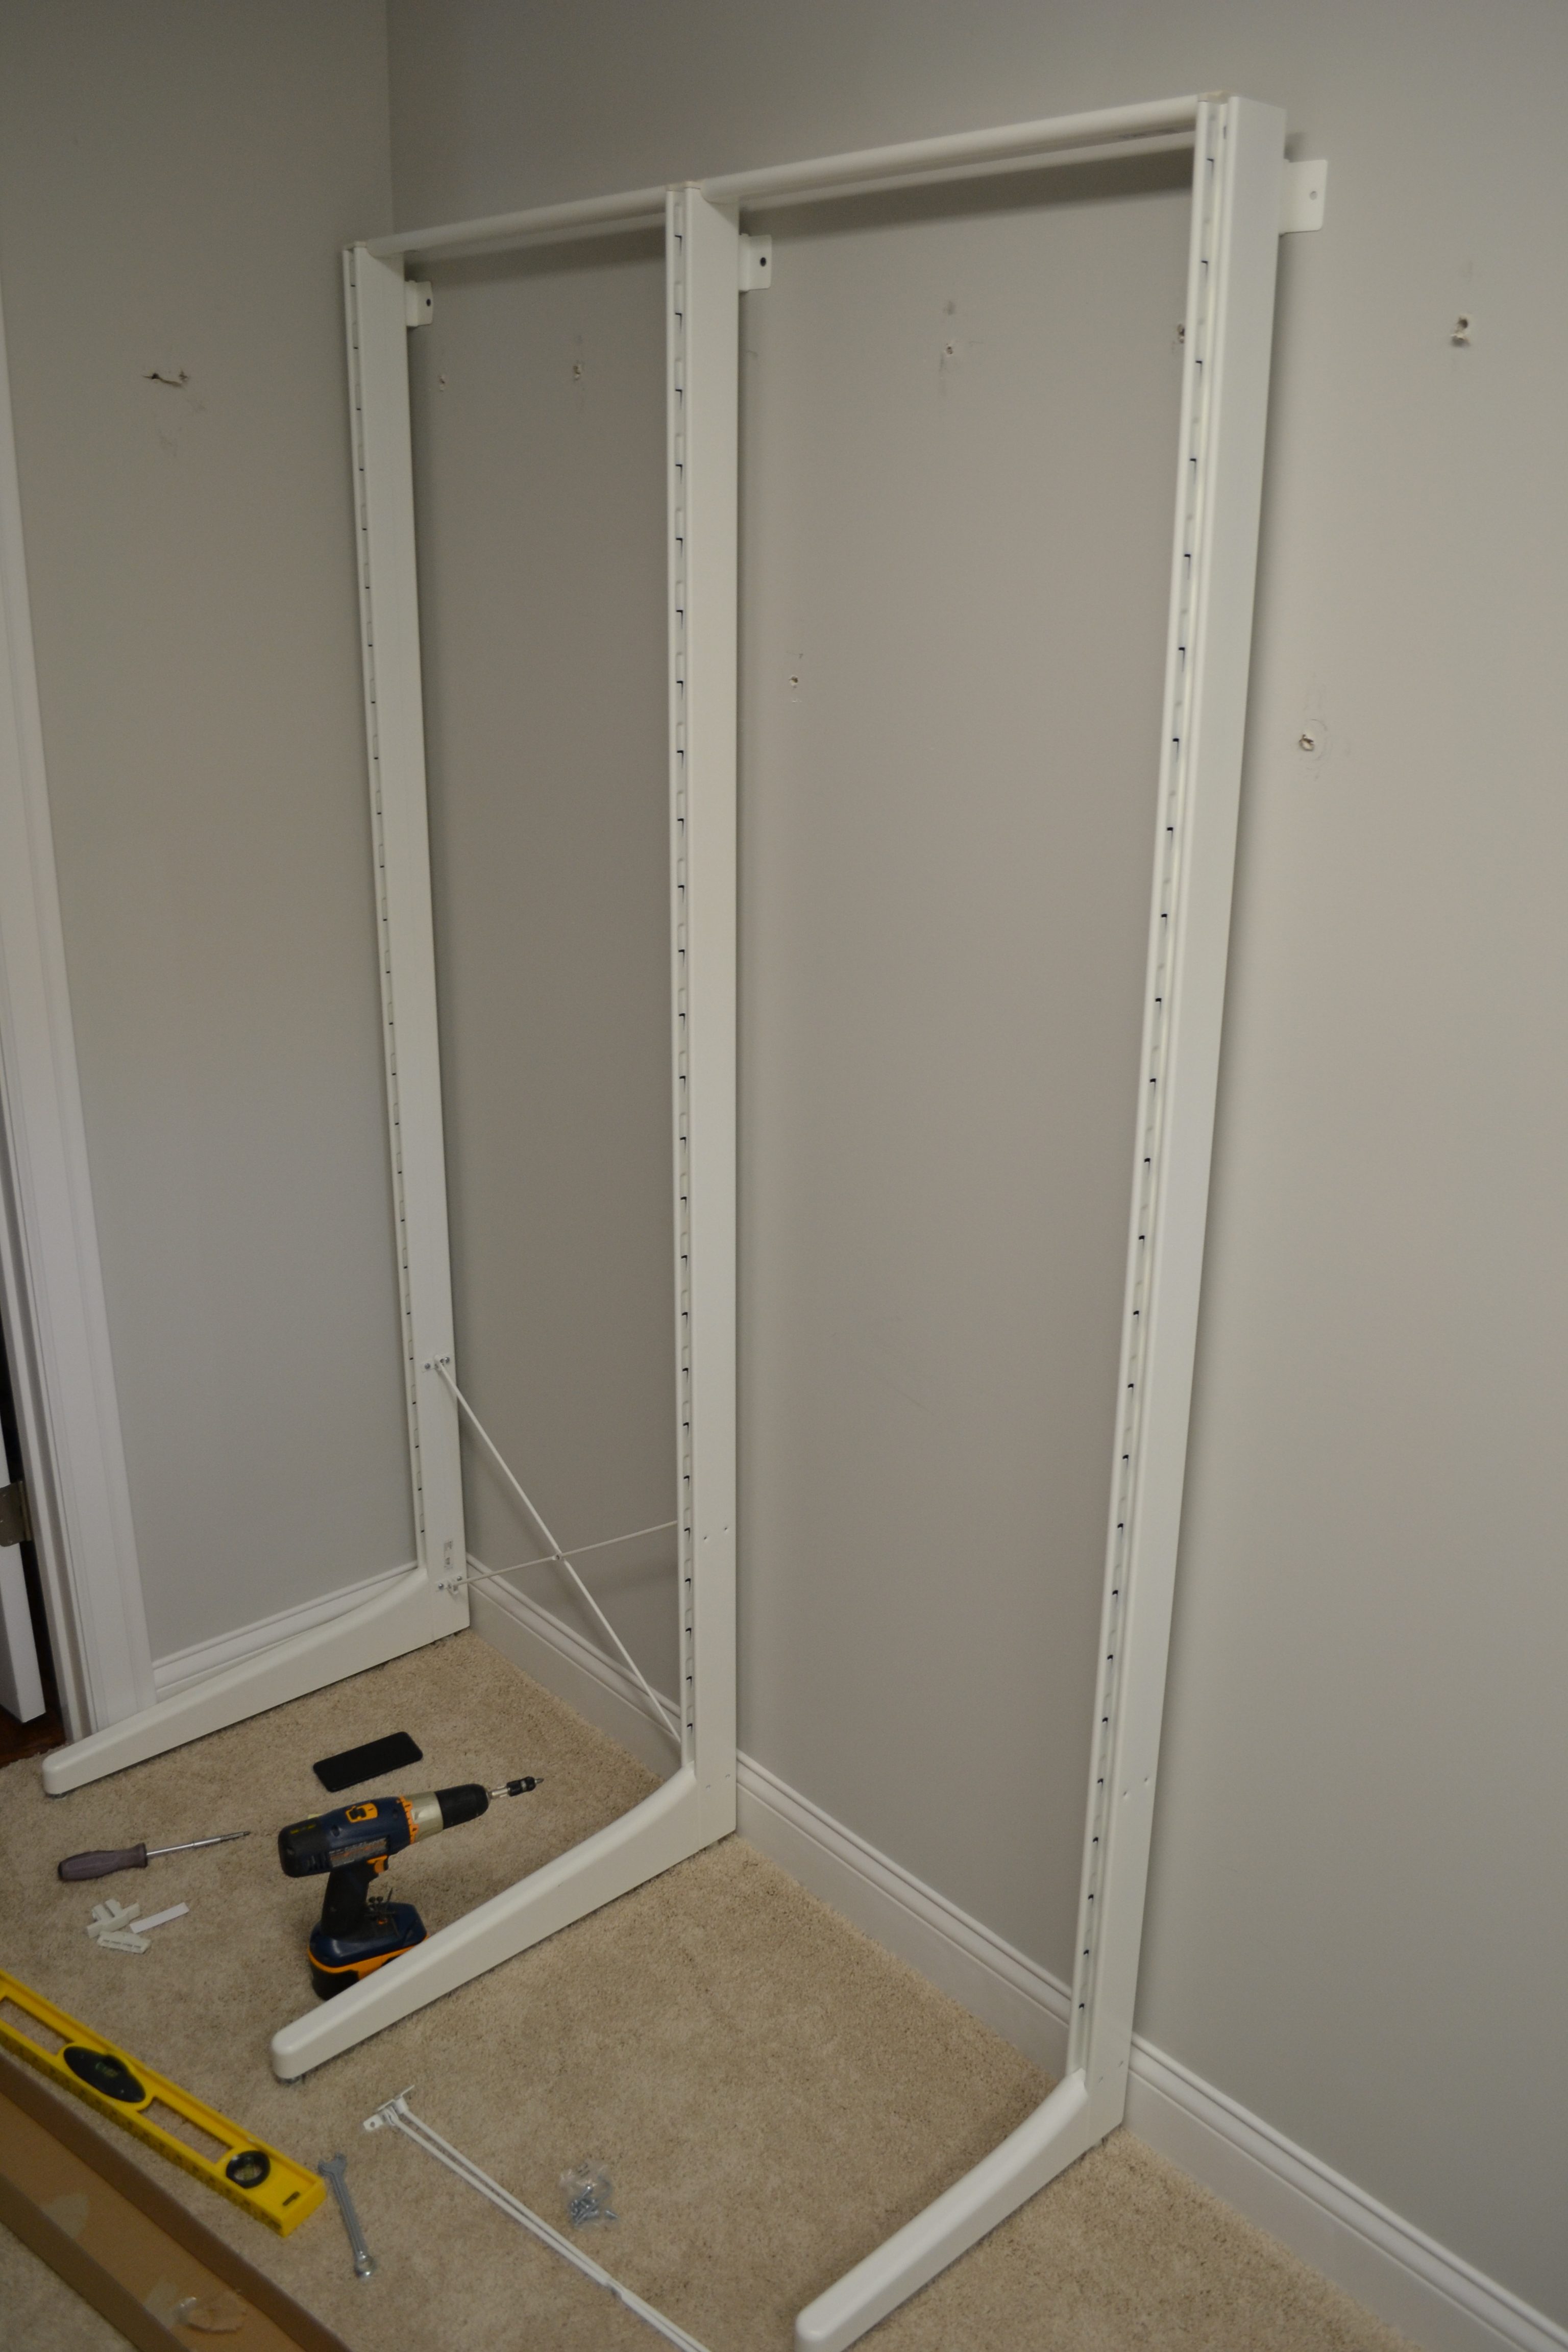
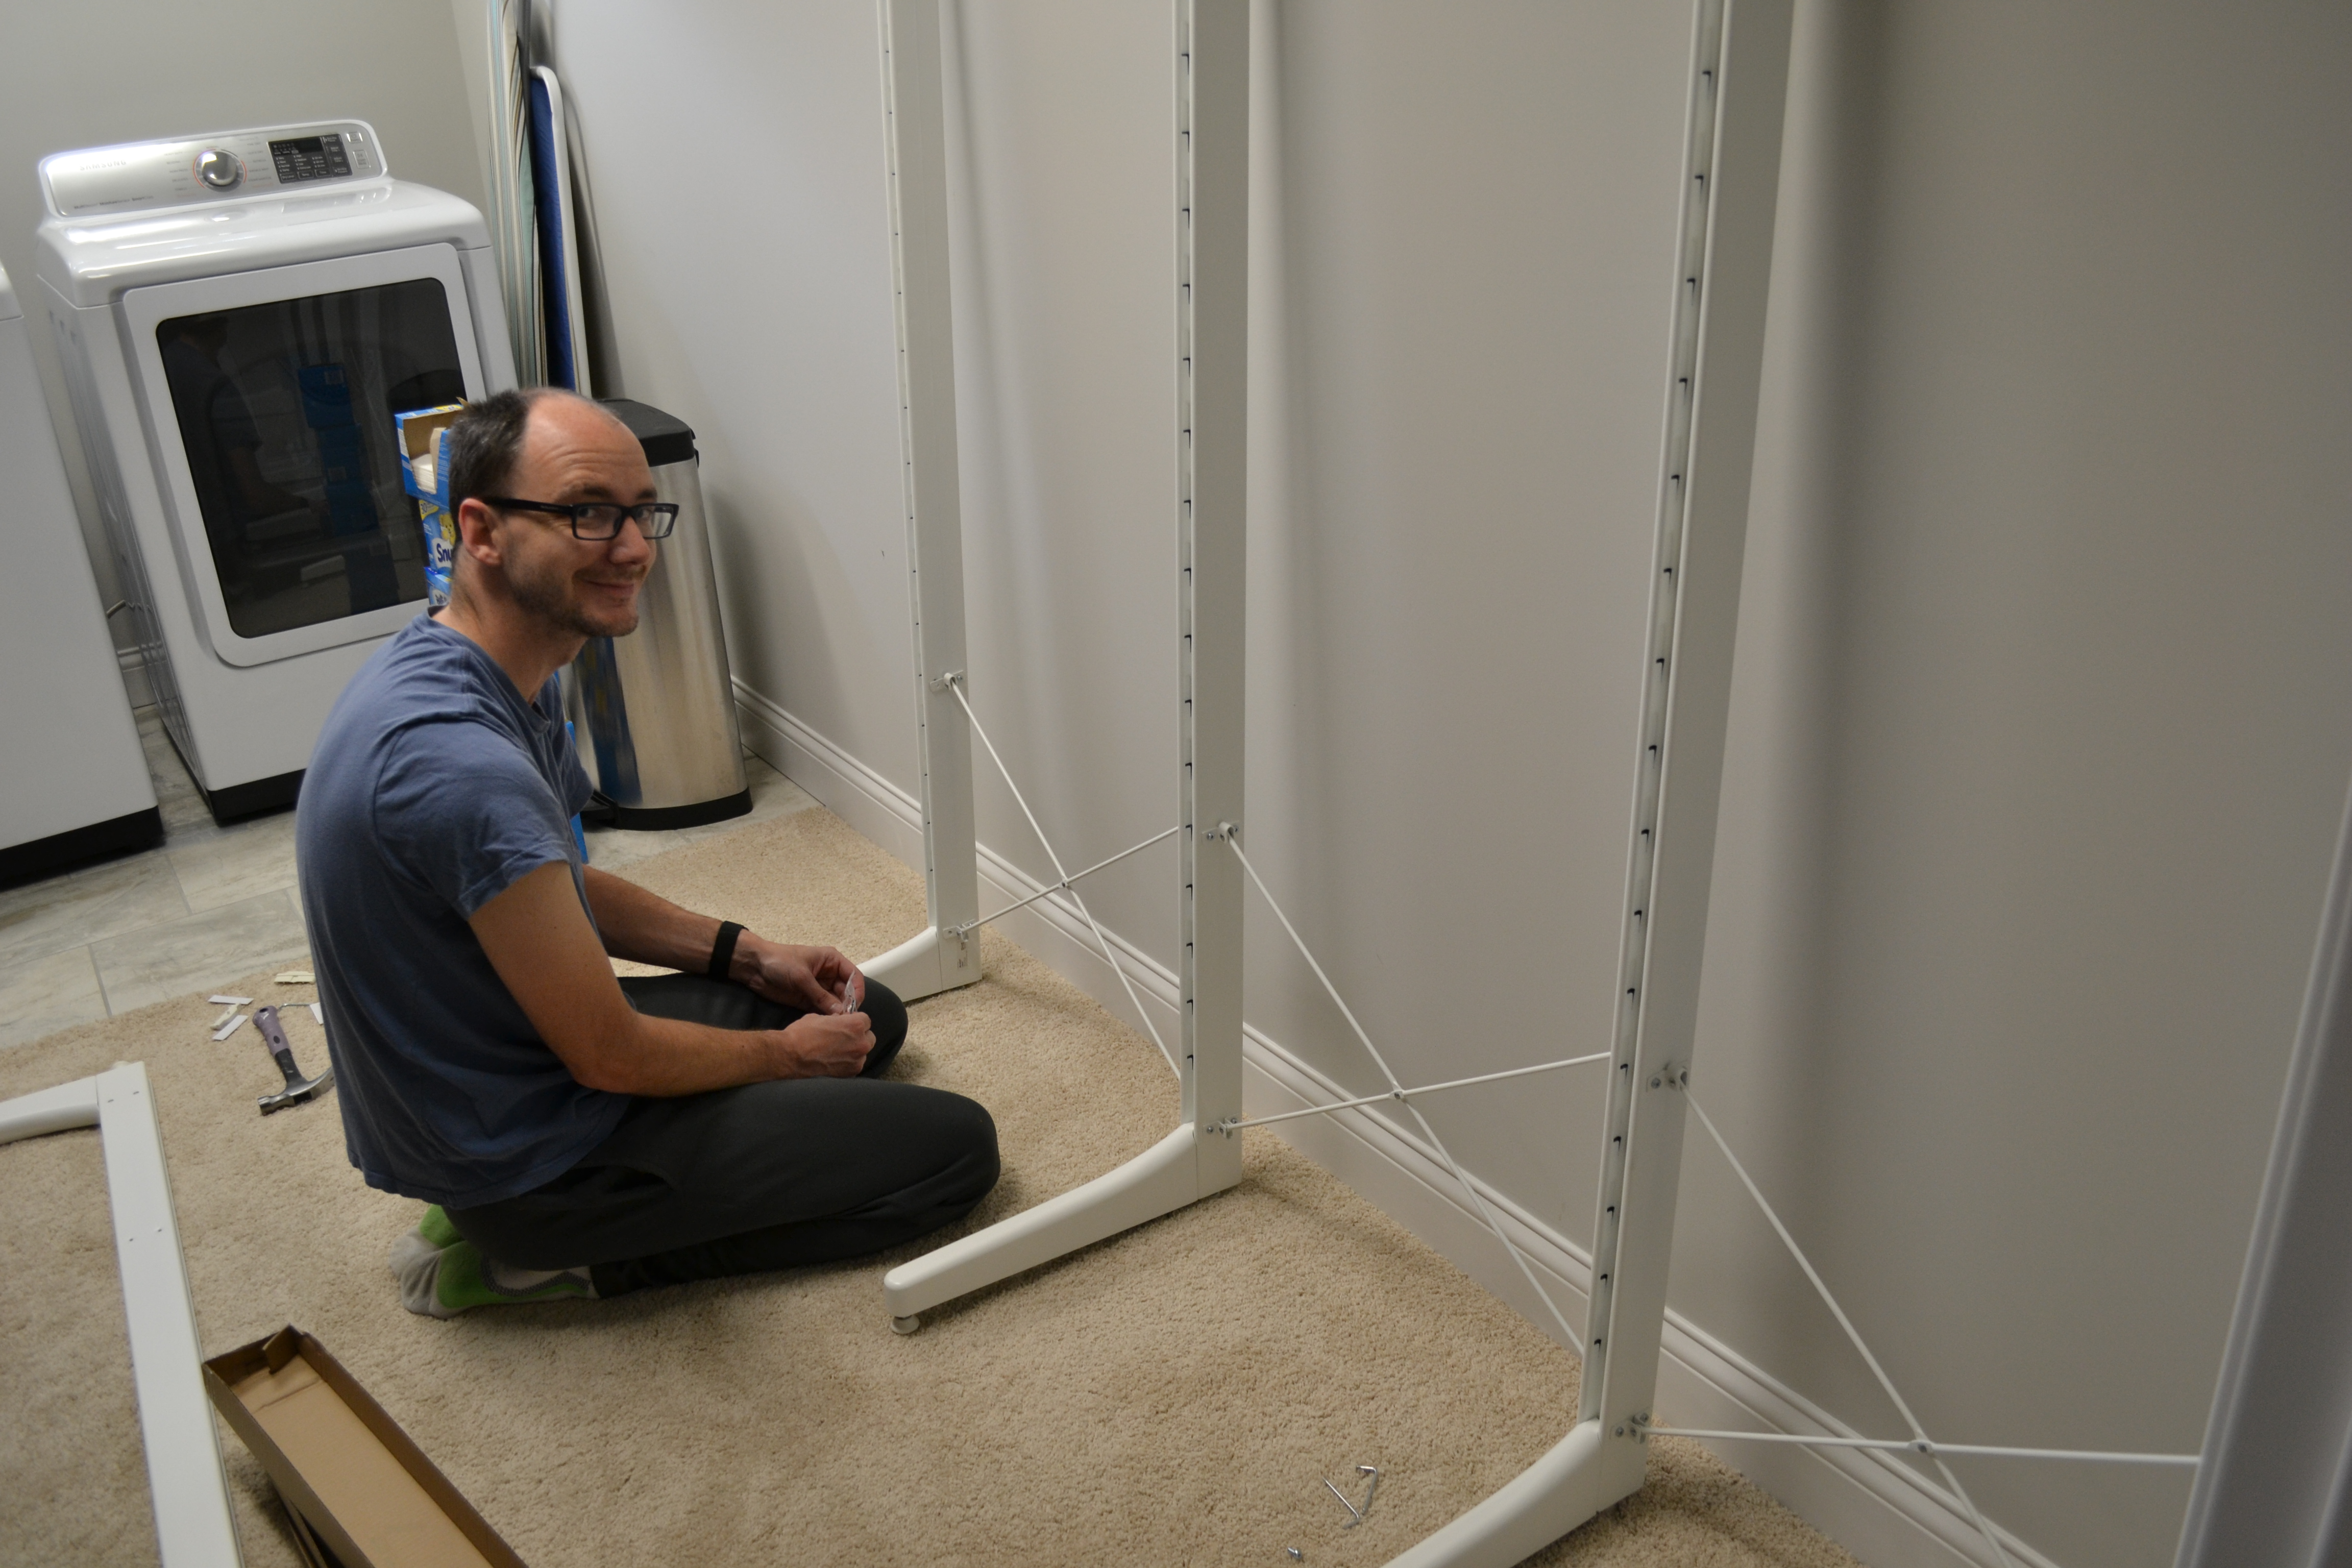
I put together a few leg-arm combos and Nolan got to work on screwing all the cross bars on. Anxiously, he screwed the first column into the wall. (You can see the dark screws in the picture above.) Then realized that the stupid allen wrench wouldn’t do a full rotation on to secure the cross bars, so he unscrewed it from the wall.
Instead, we secured all the pieces together, then re-attached to the wall. We ended up putting wall anchors in too, just for good measure. No joke, all that took about 4 hours. Our fingers hurt and we were both hungry, but the fun part was next!
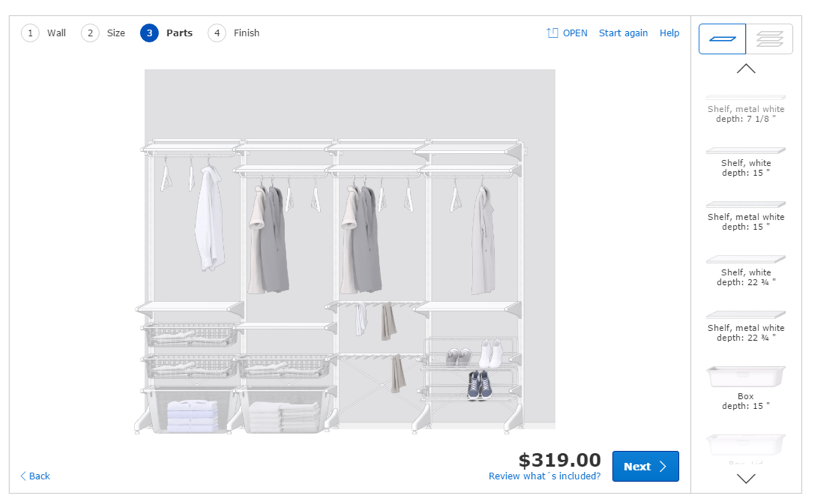
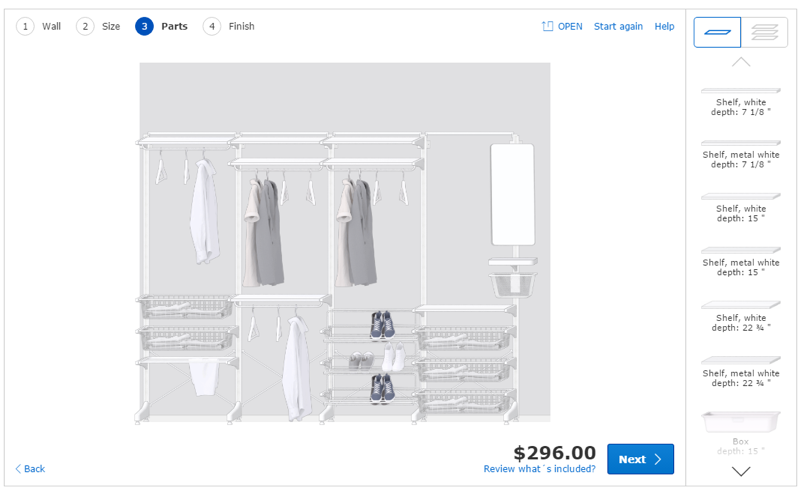
Good thing I saved these images, because Ikea just delivered the list of parts, not the actual design. We loosely followed the design above for Nolan’s side. Like I said, putting it back together was the fun part, so I didn’t take any photos of all the components in place before putting the clothes back. Please don’t stop reading the blog. 🙂
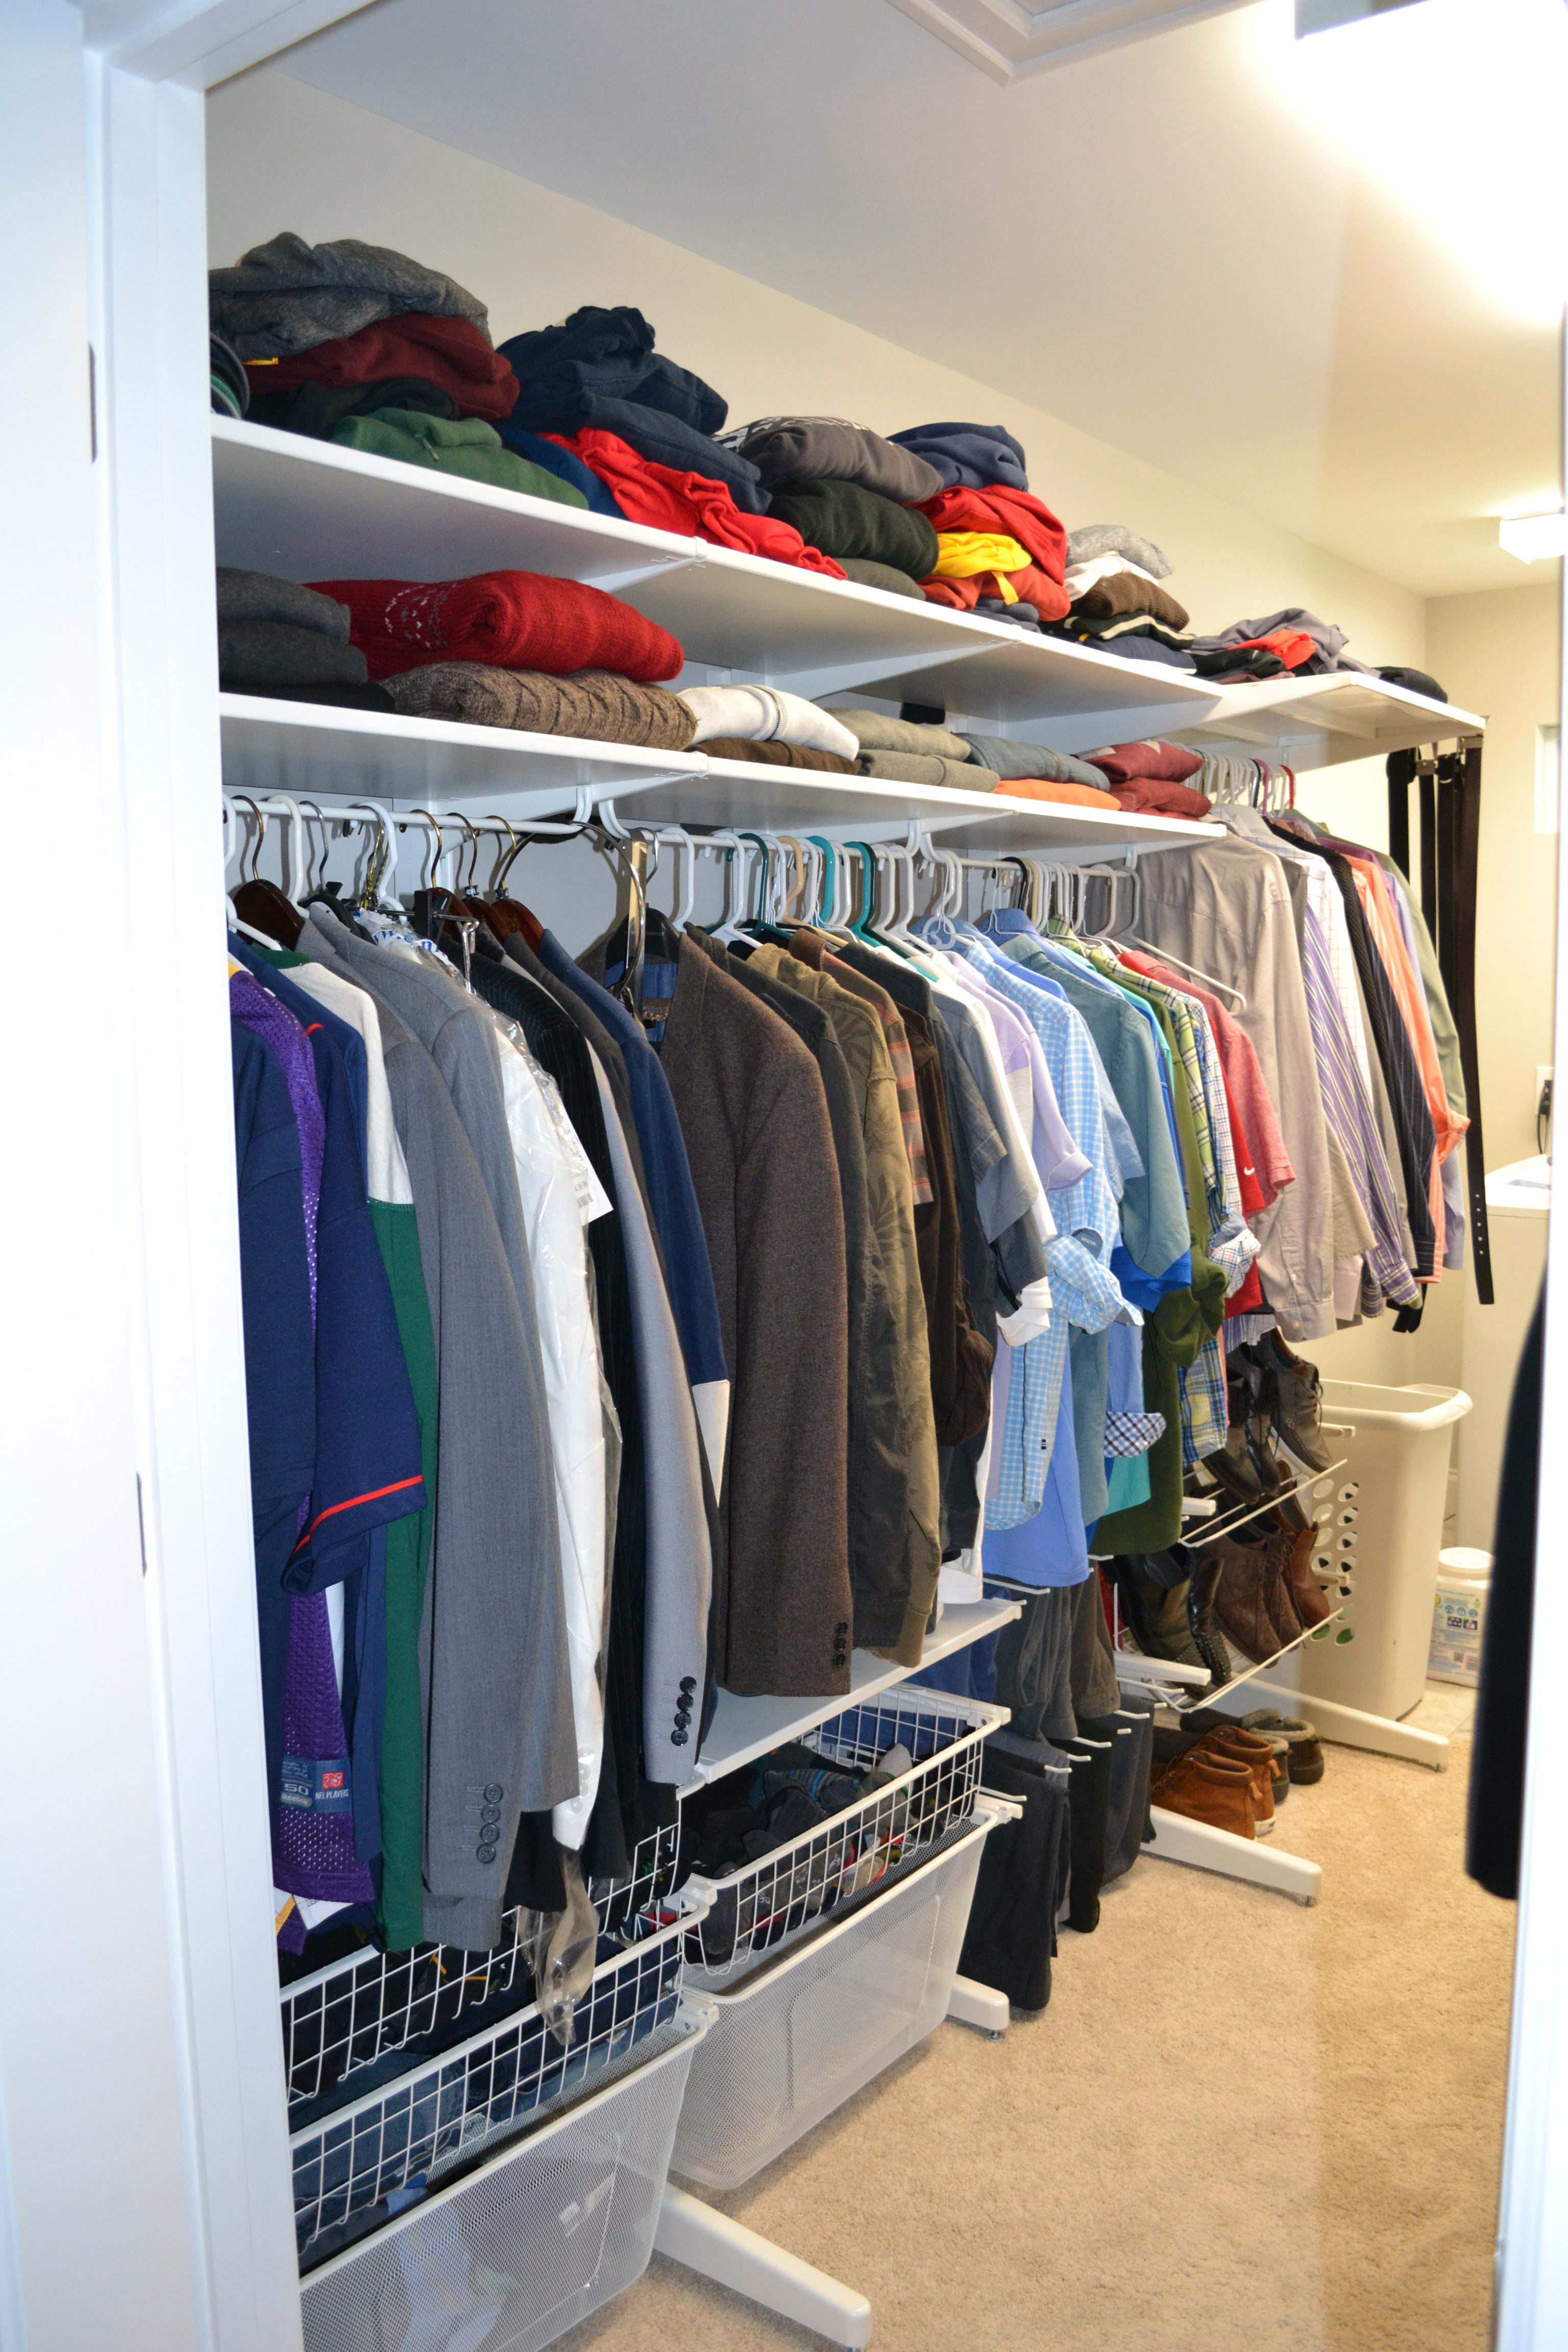
We arranged his clothes and shoes by type and color. We realized the pants hanger needs a lot more space, so instead we just folded his pants over twice. But, look! That big basket in the second column is completely empty! Room for me?
Another mishap is the last shelf, see how far it sticks out? We accidentally ordered three shelves of that depth. Our closet is just a hair too narrow, but it worked out in the end and made a great spot to hang his belts. (That big eagle buckle is for when we visit Nashville.)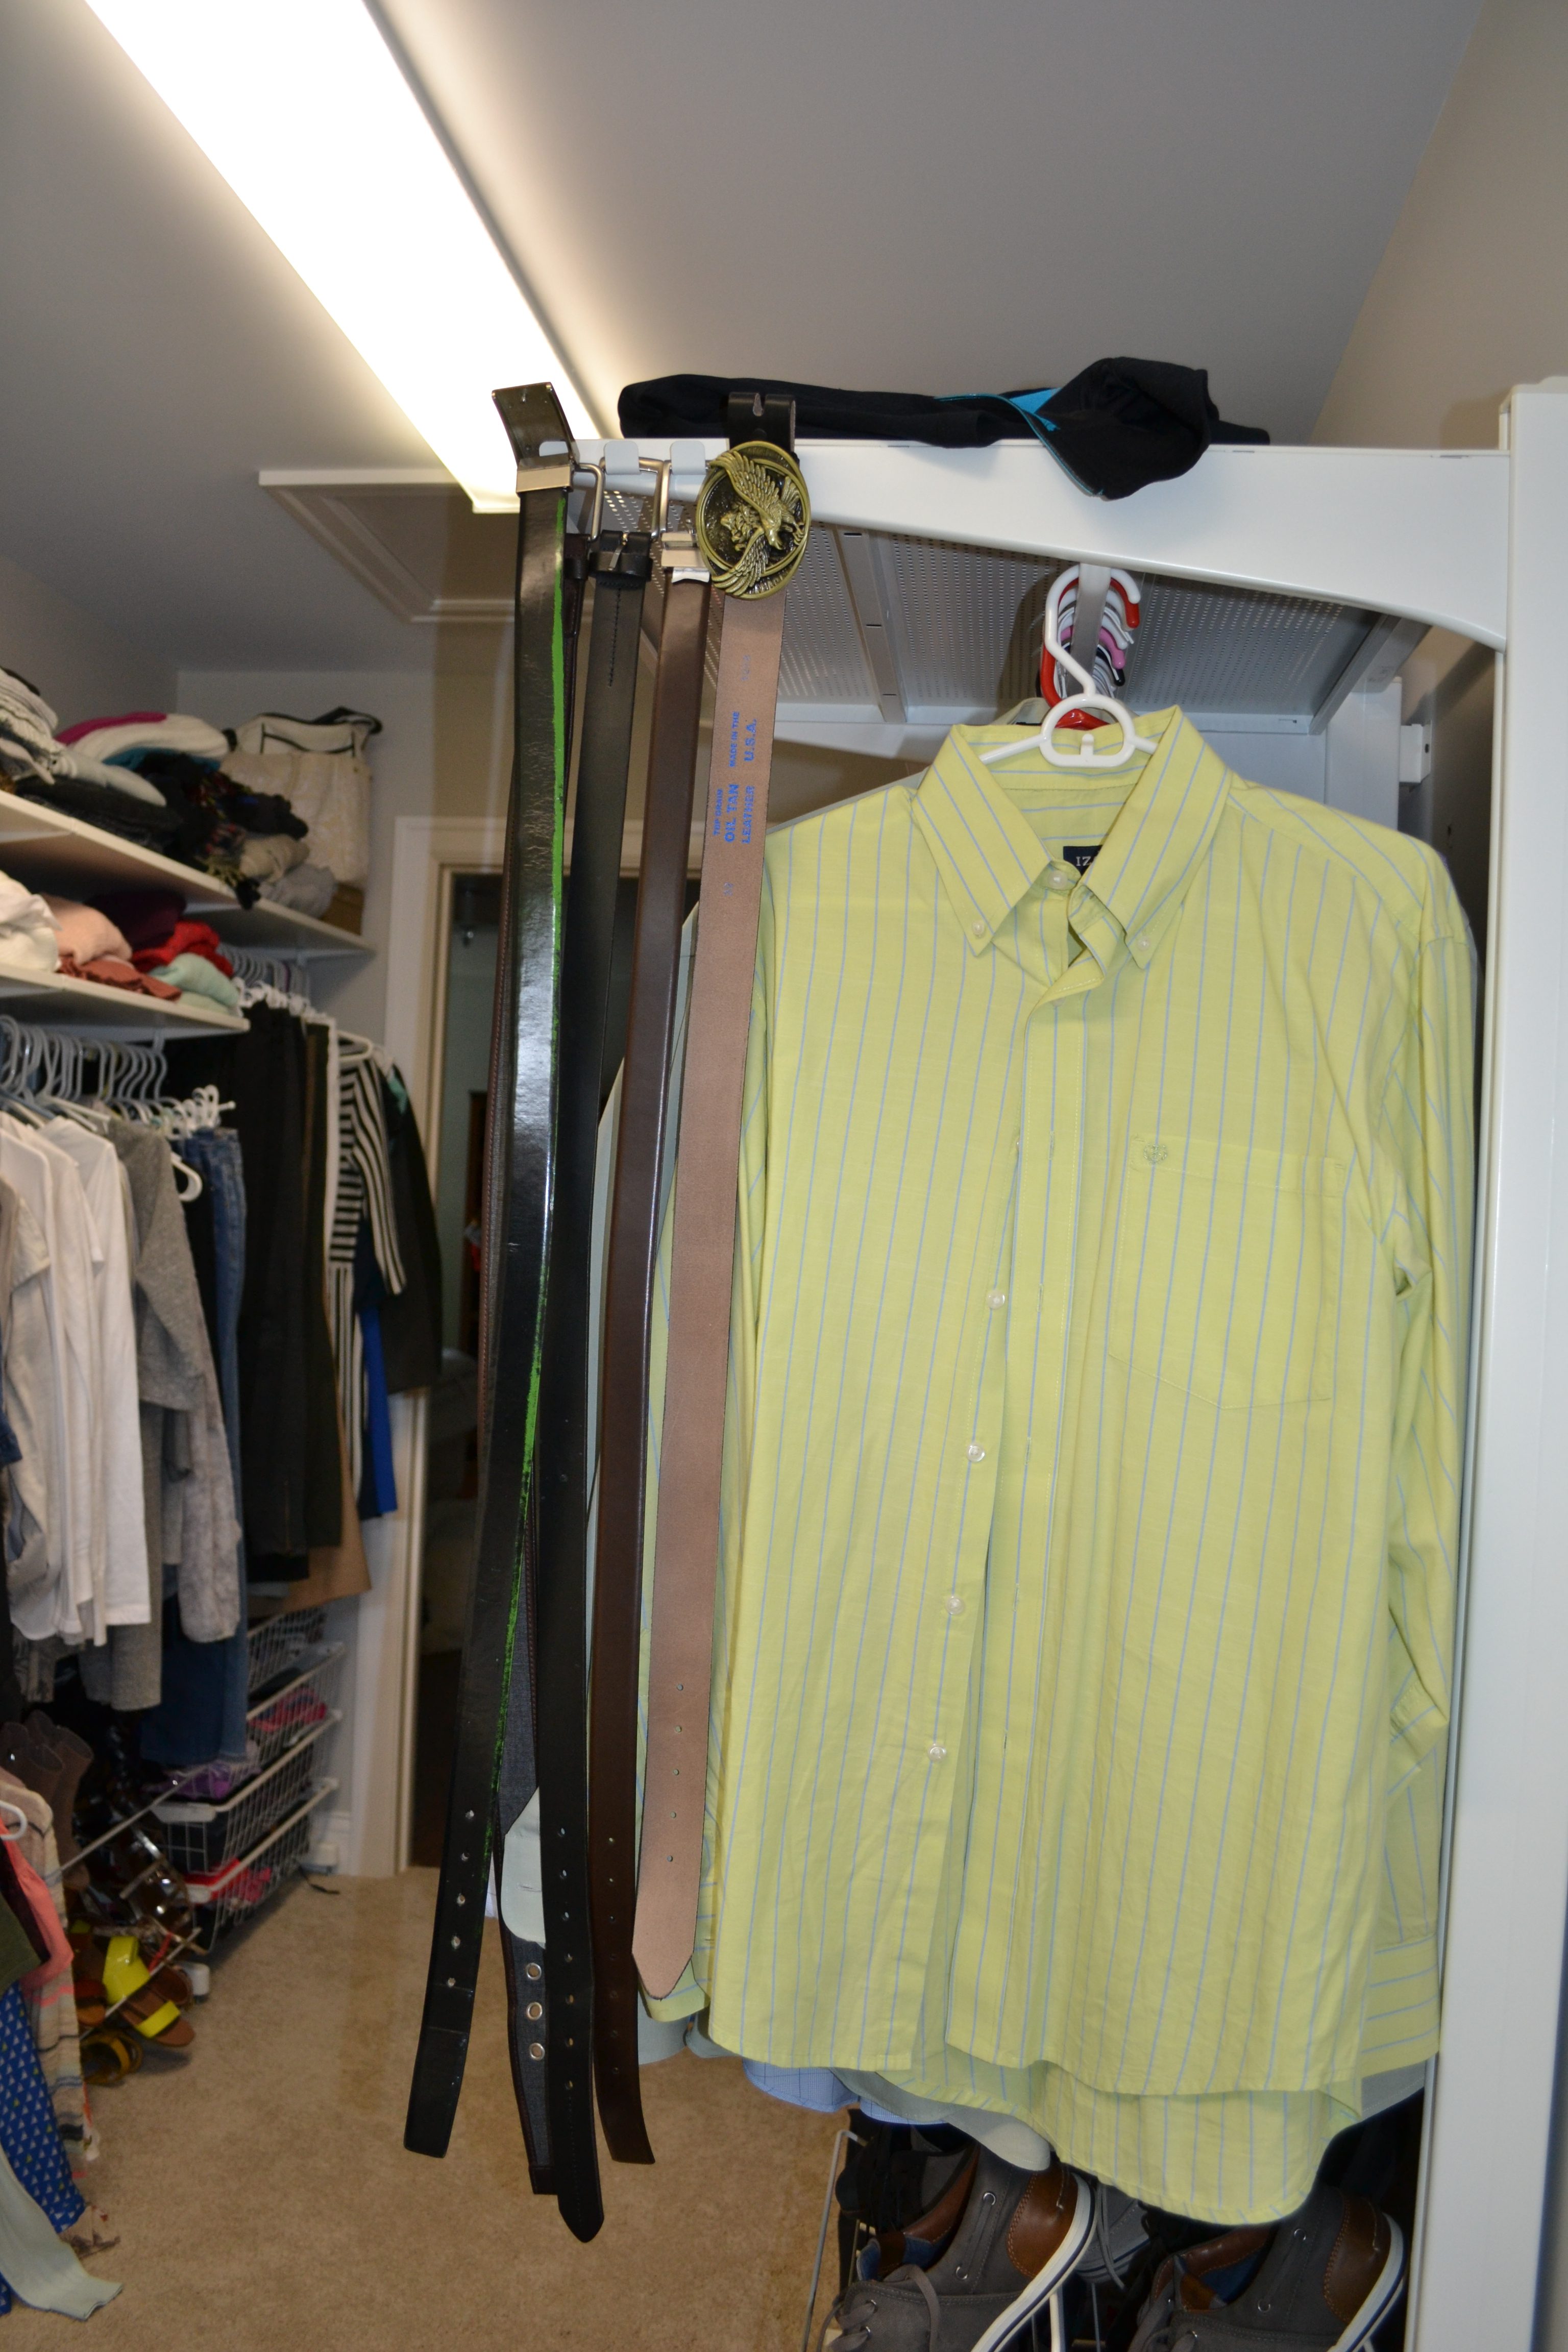
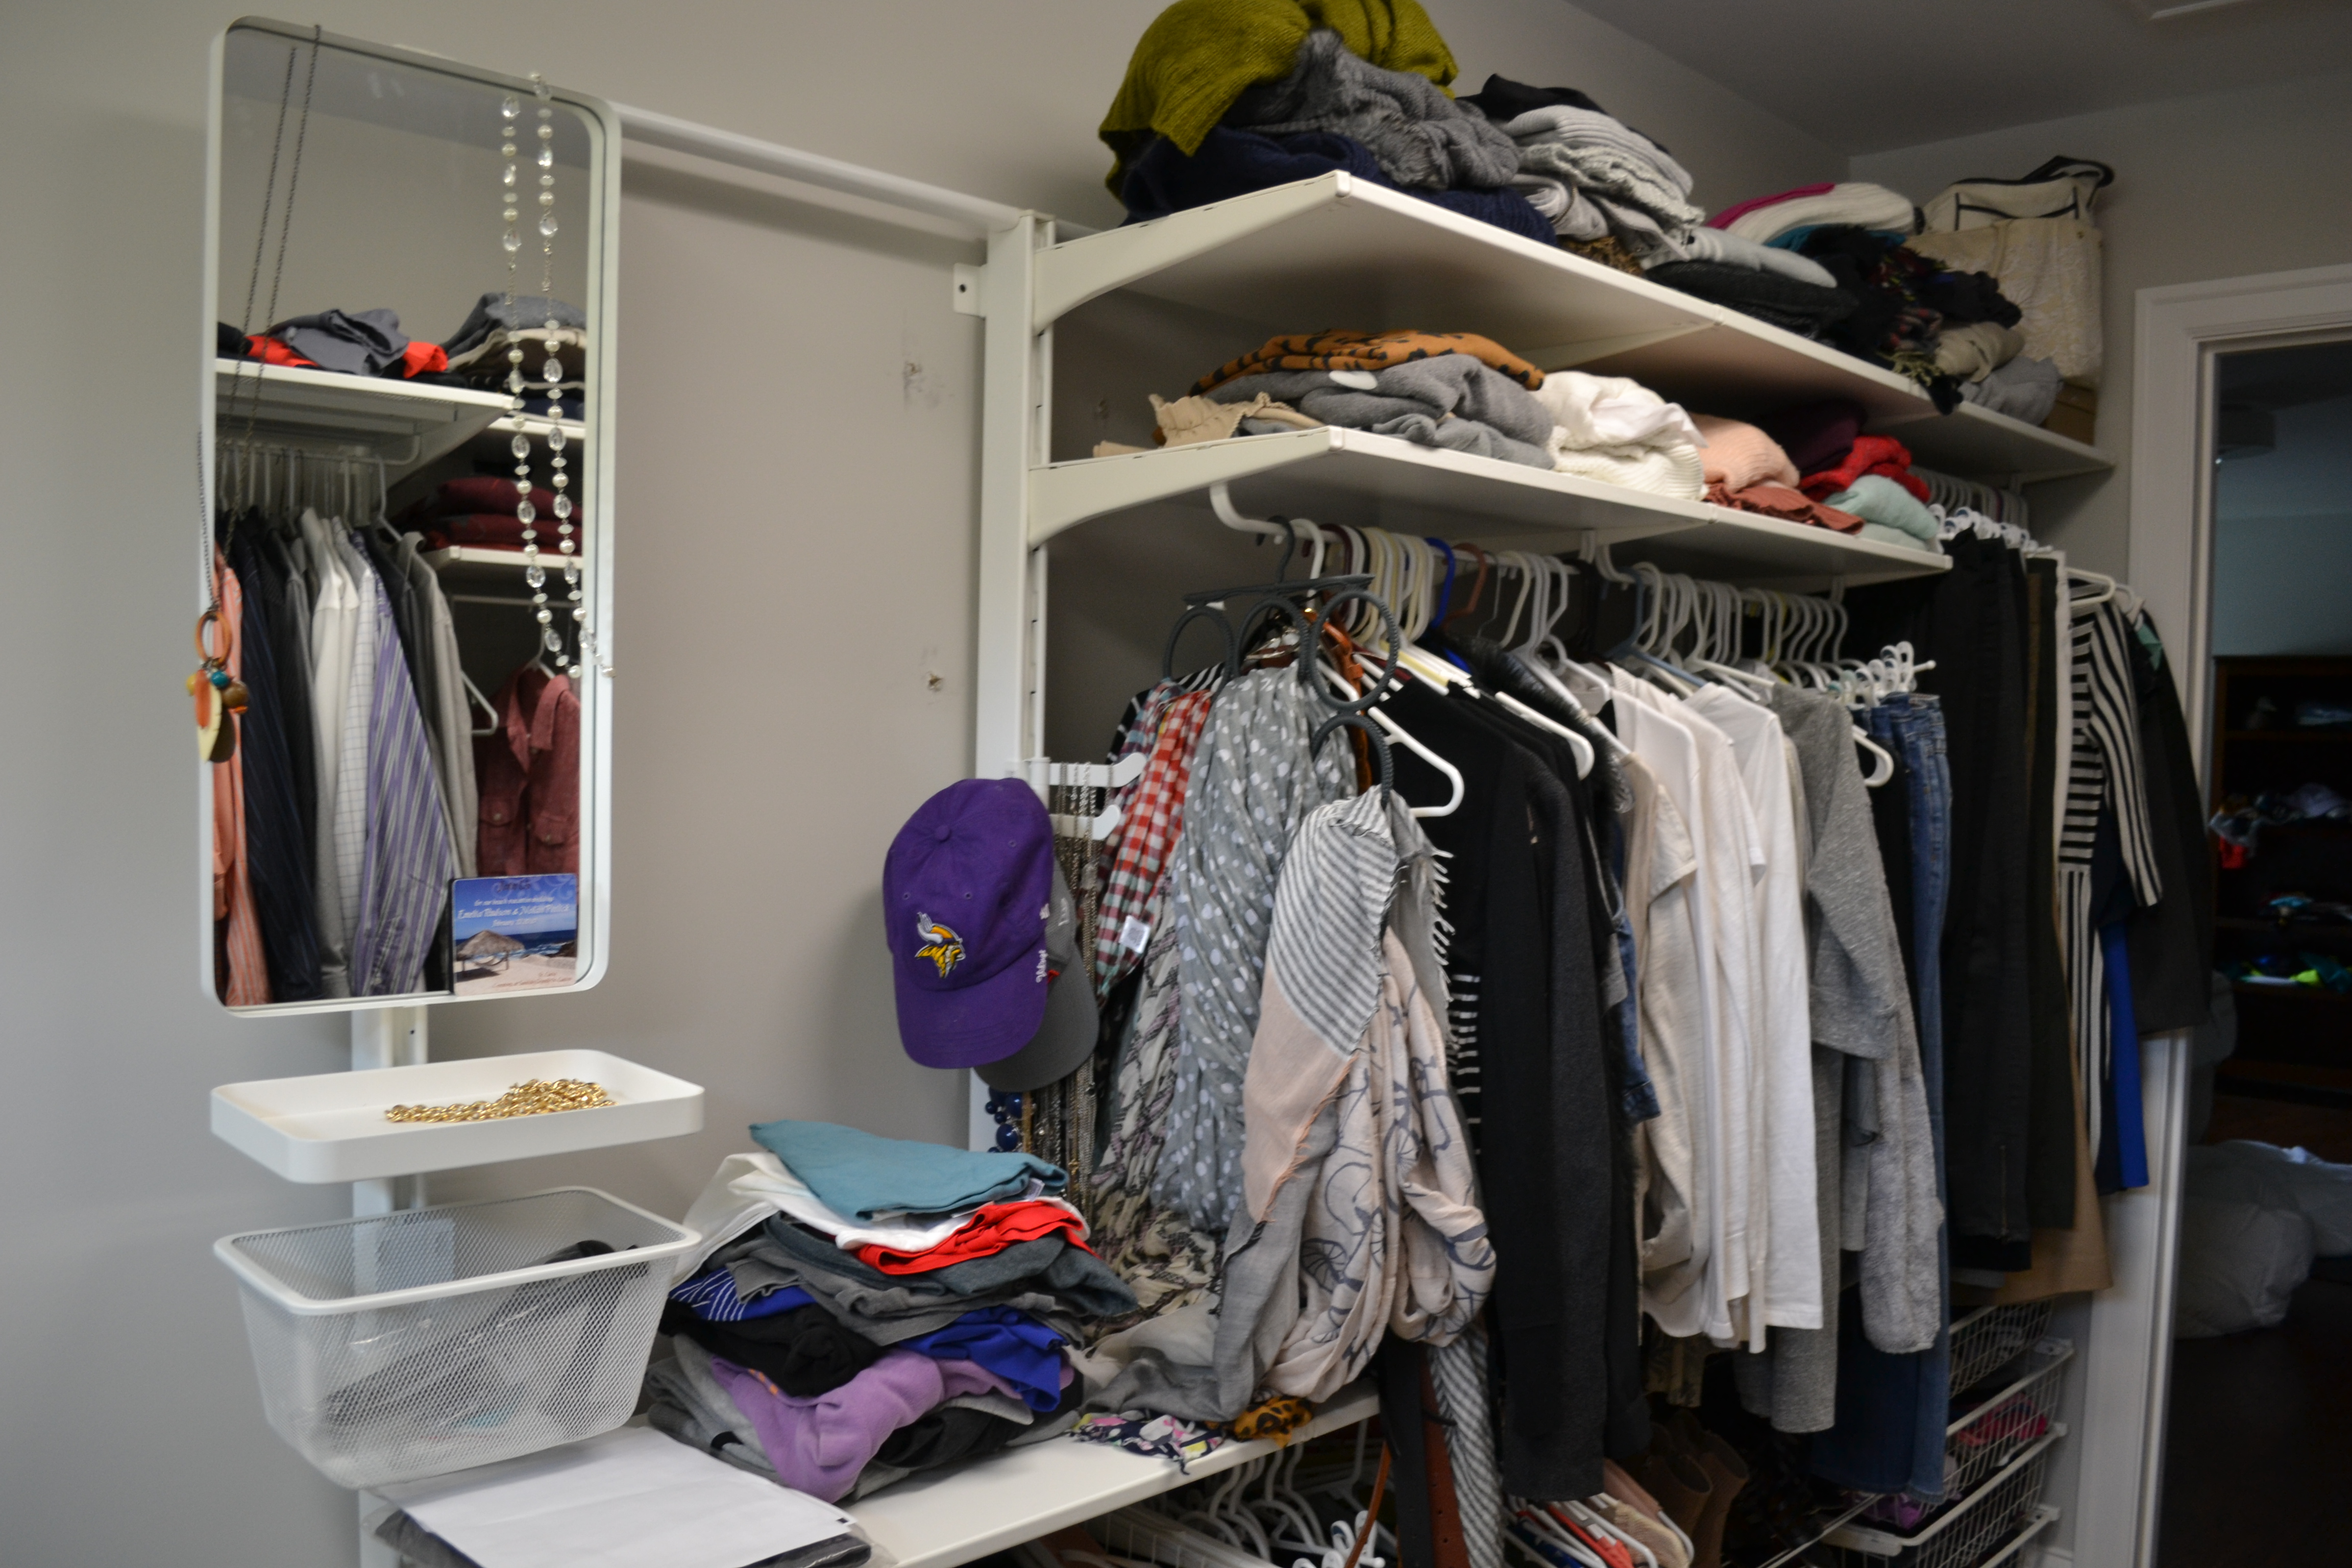
My Side
The following day we tackled my side! I have way more clothes and shoes!
We are now pros at putting these things together! My side took less than 2 hours to get all the framework put together and attached to the wall.
I had to do a sort-of mirror image of my original design. I didn’t account for (aka I didn’t tell Nolan to account for), the space needed on the right side for the mirror. He put the first column directly against the wall, leaving no room for the mirror.
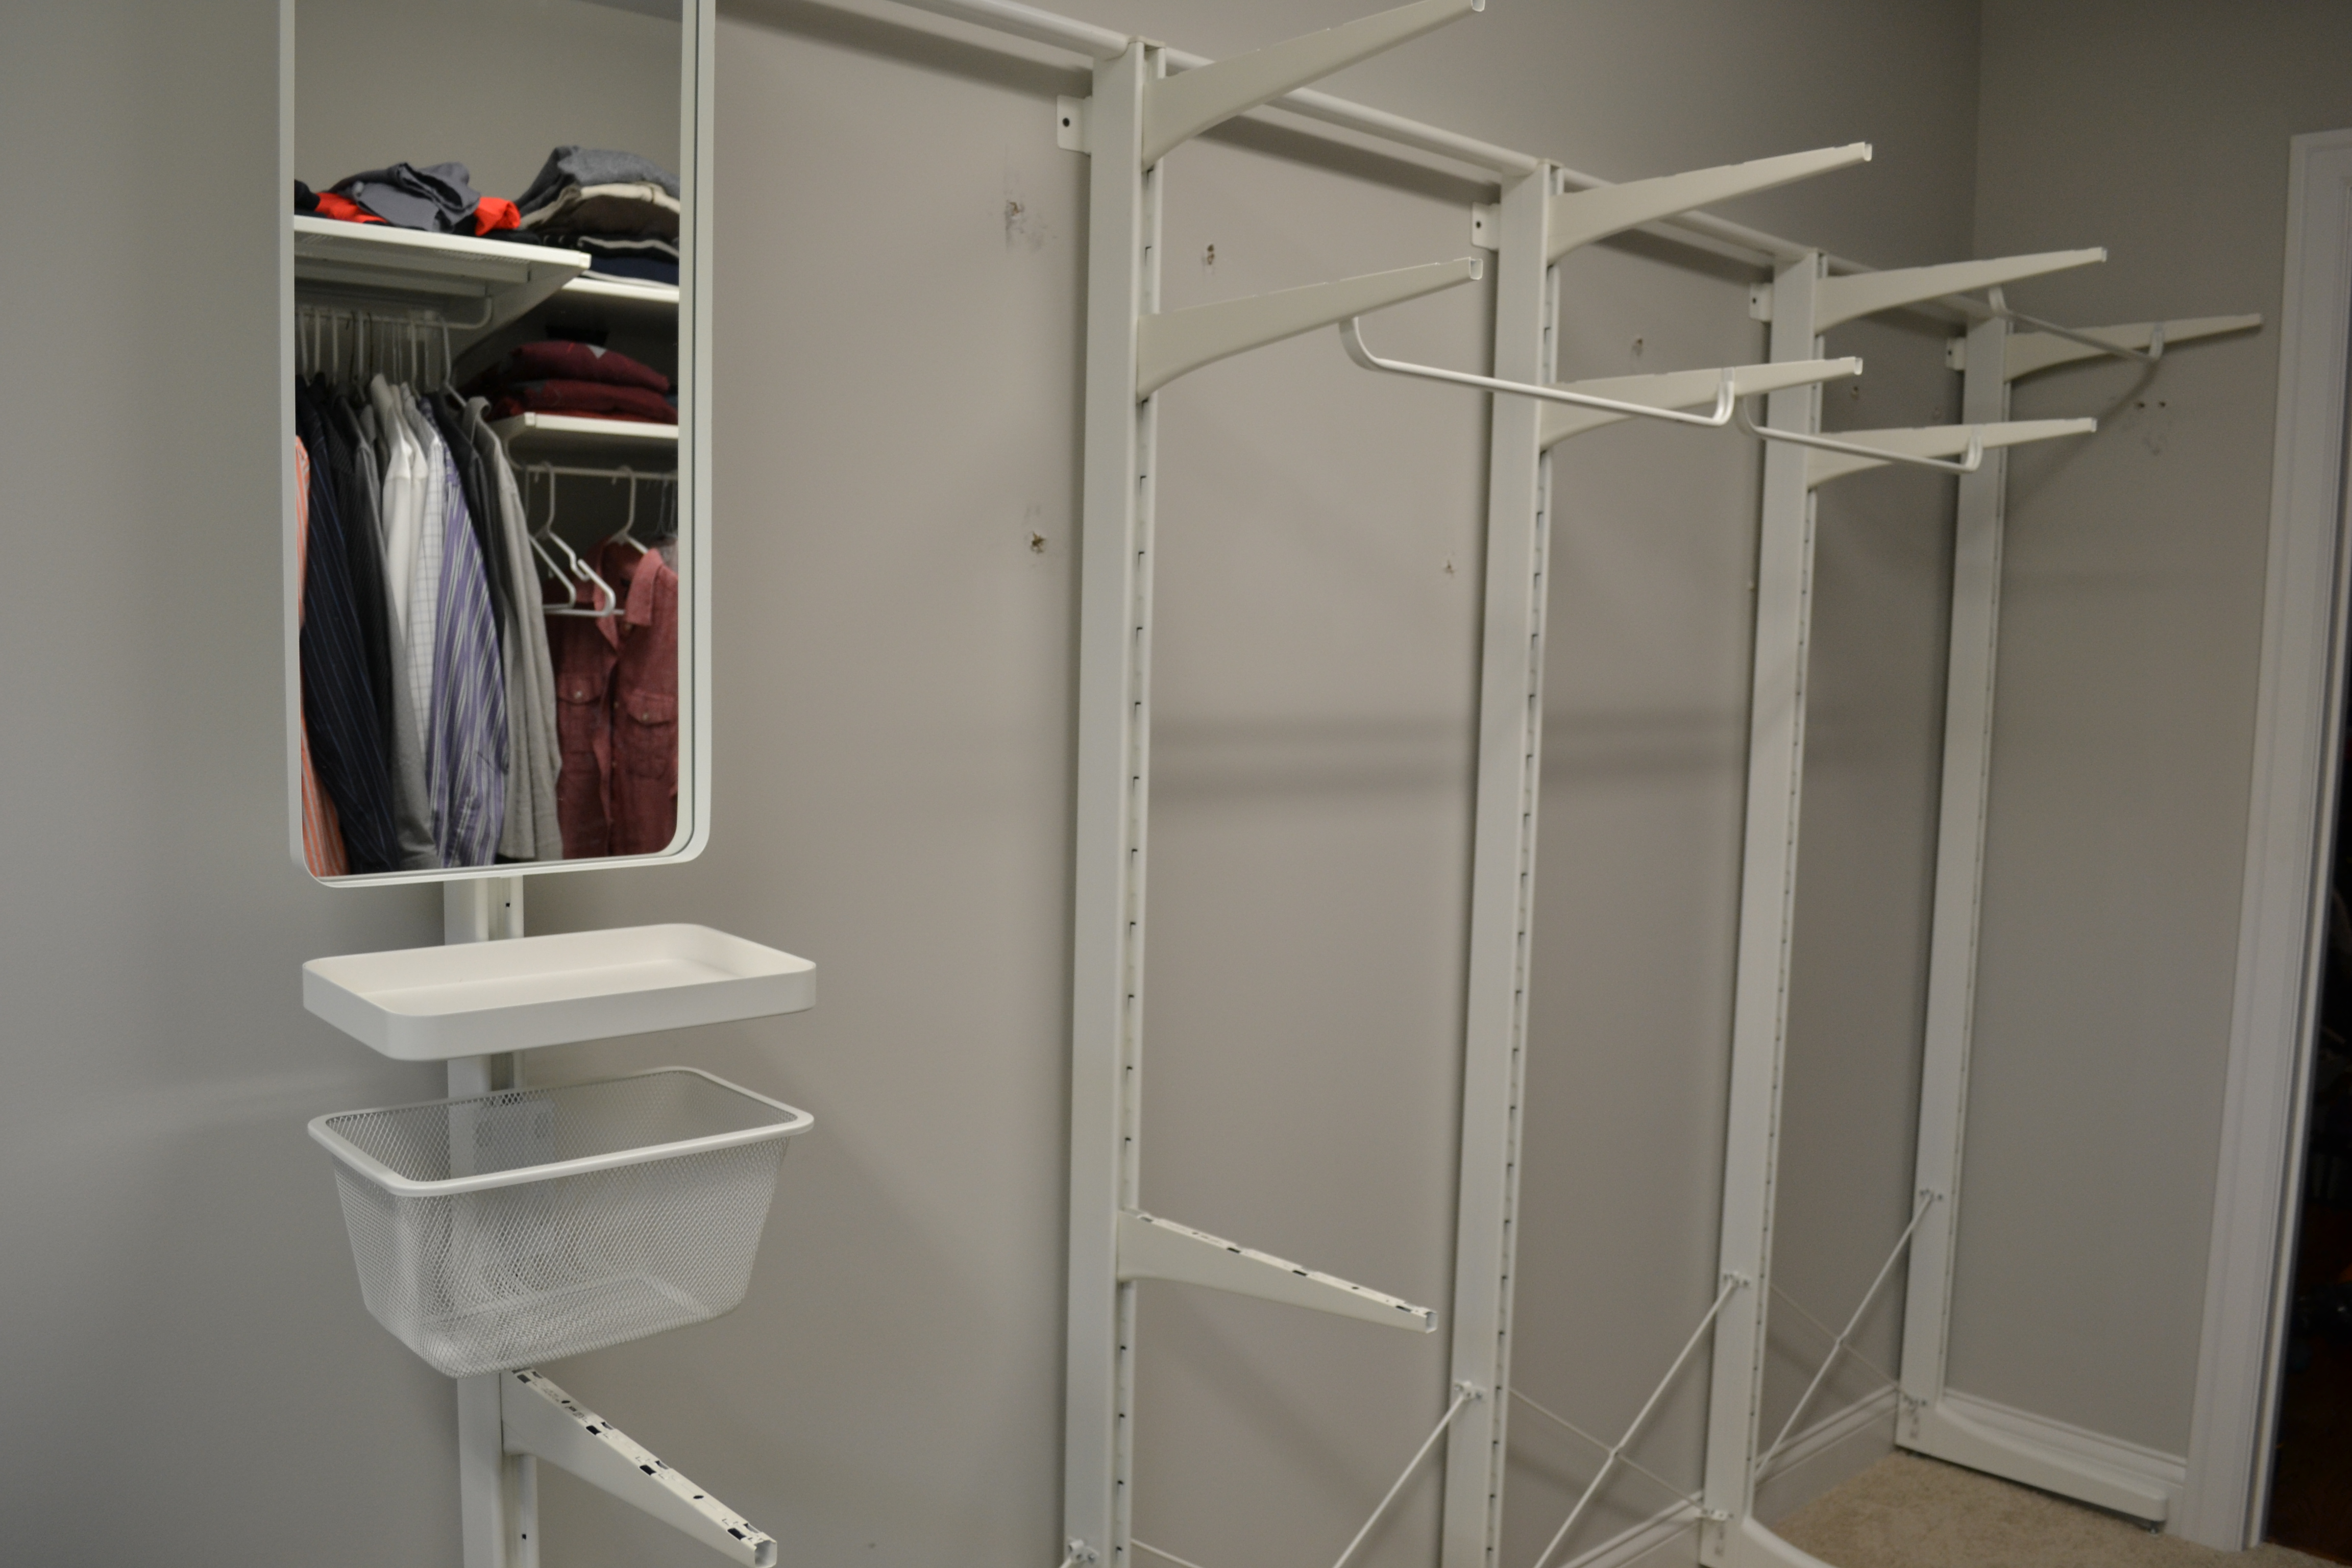
The mirror-shelf-basket is my favorite!! The rest of my side took maybe an hour to finish putting together and another half hour for me to load my clothes.
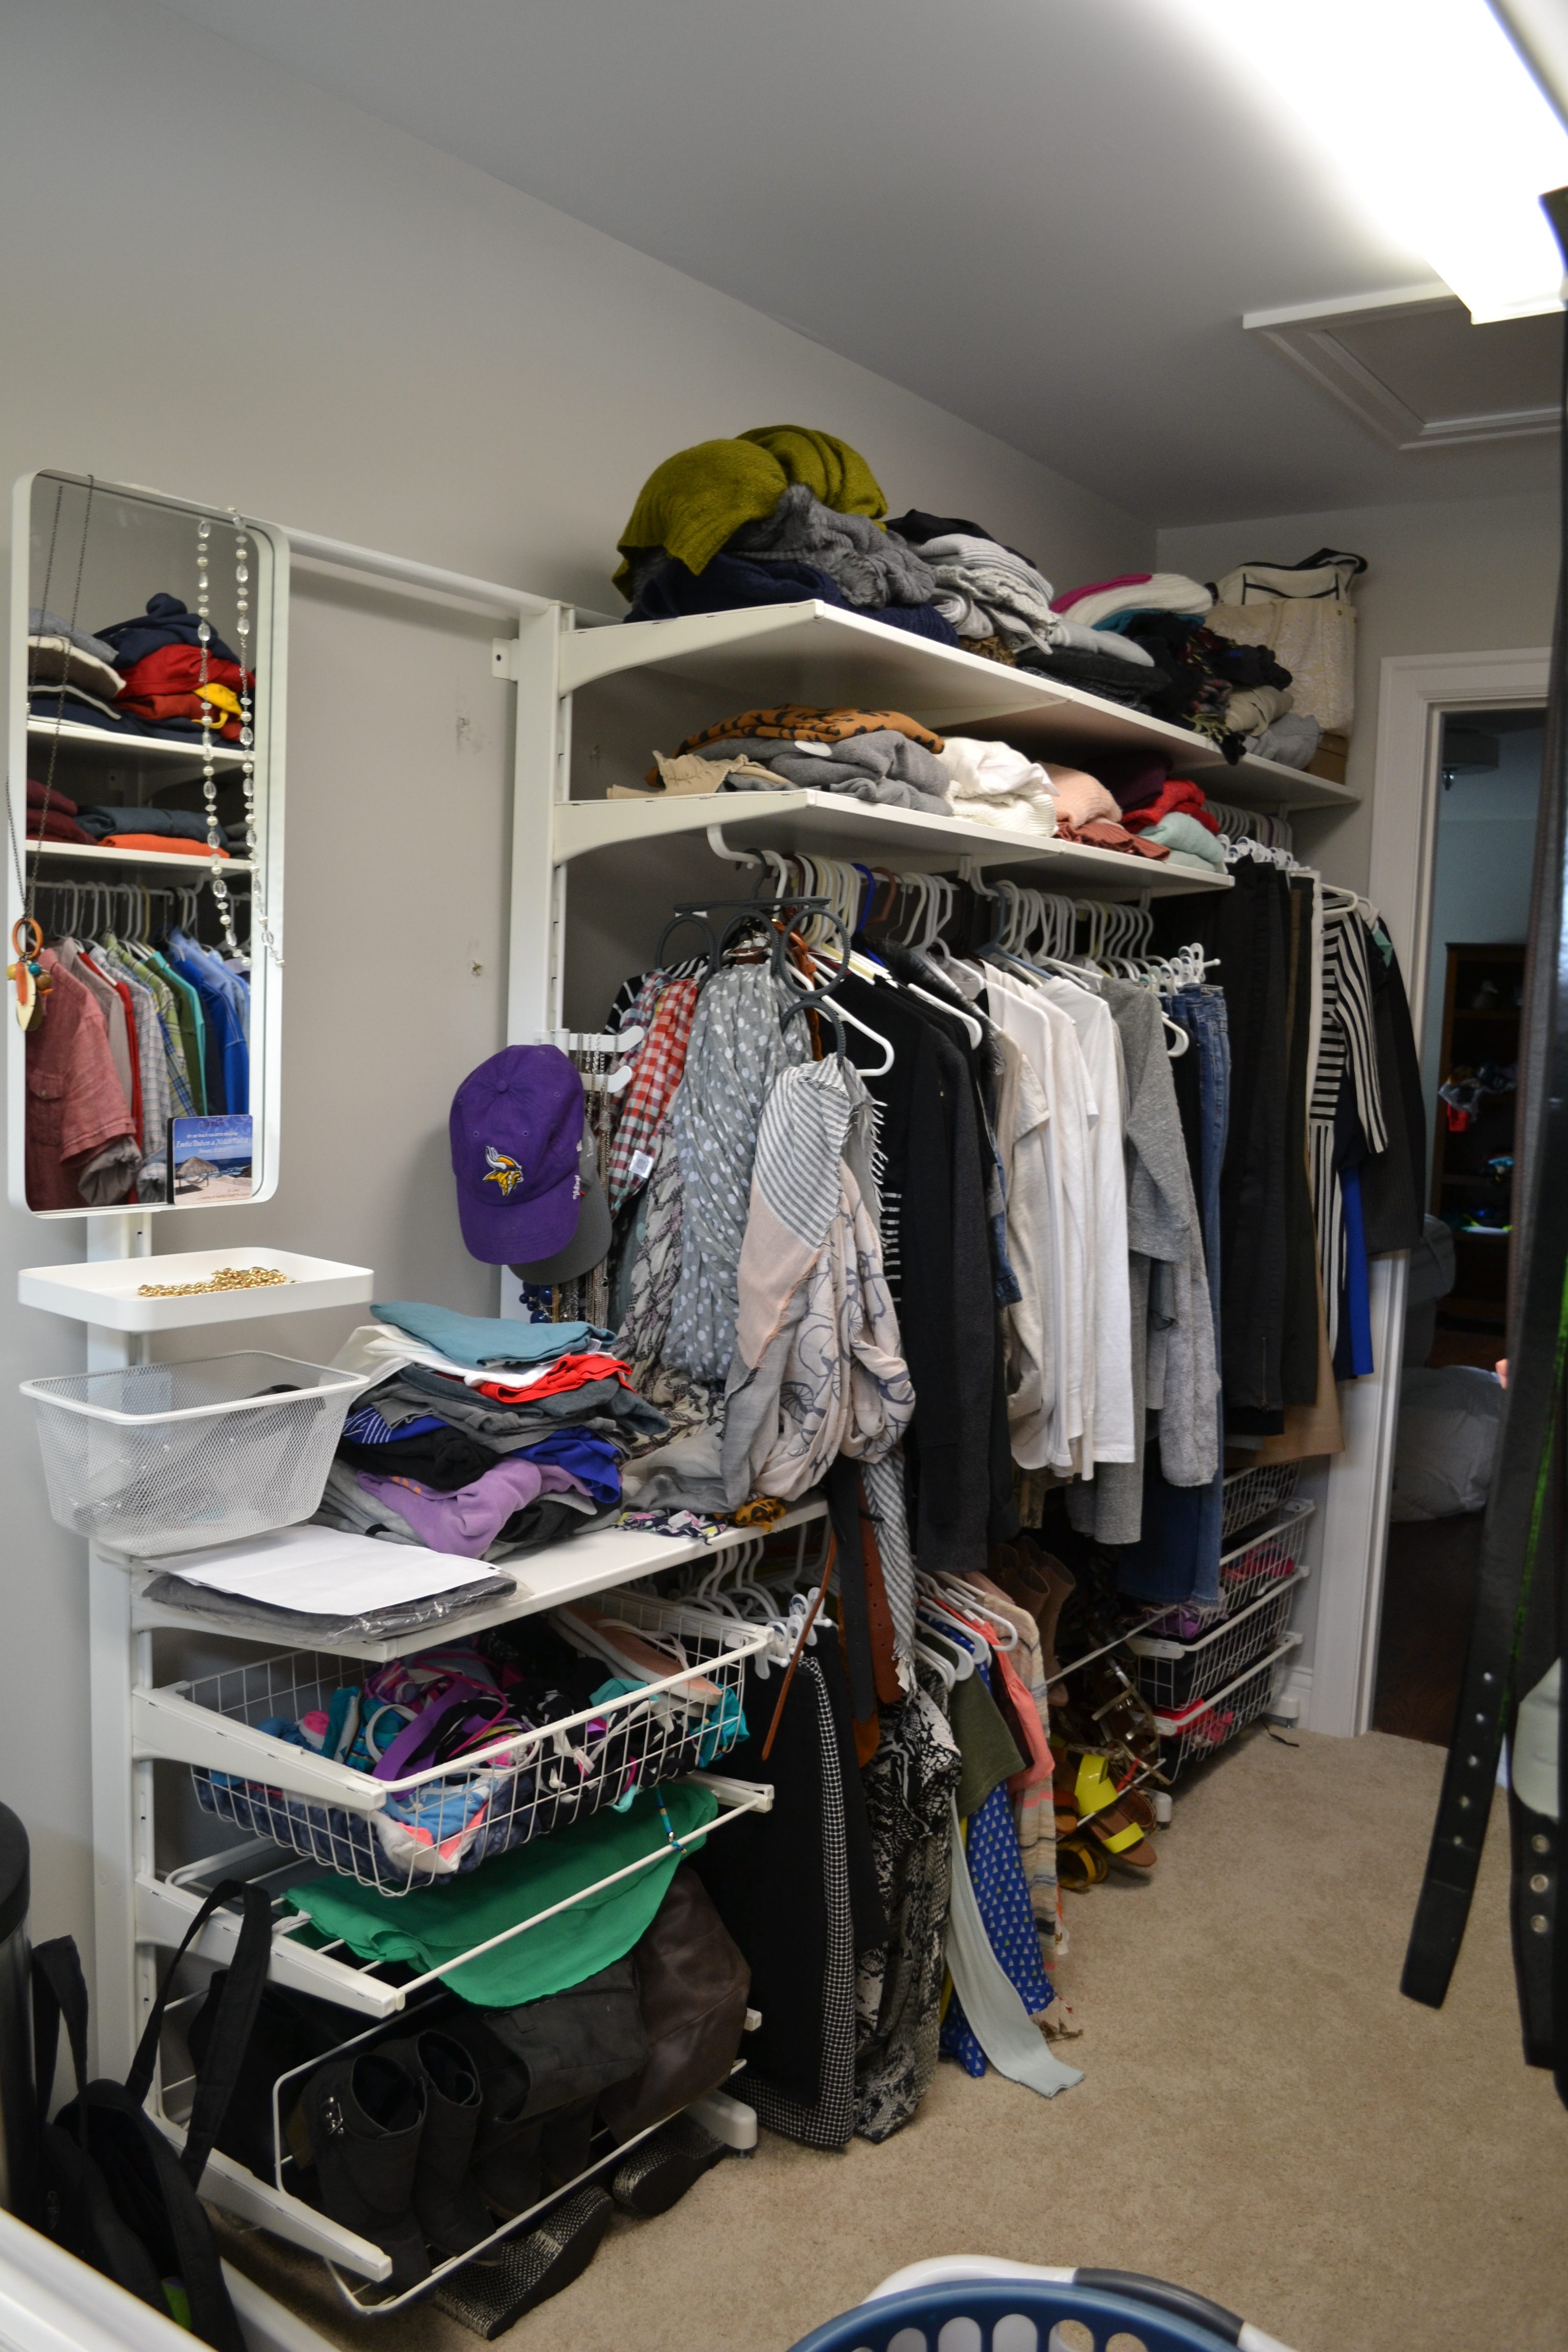
The closet is long and narrow, i.e. hard to photograph! To the far right is a longer section for all my dresses and pants. Next to that is two sections with my black/white/gray tops and scarfs, below that are my shoes and colorful tops.
I love all the baskets! The rolling mechanism isn’t the best, but still a great improvement! I put all my swimming suits/beachware in one and the other four hold all my work-out clothes! I almost ditched the drying rack because it needs more room to be functional and I needed the space for shoes!

Speaking of shoes… remember how we thought we ordered way too many shoe racks? We were wrong, each of the rows has two racks. I have three rows and Nolan has two. What is 5×2? And I still don’t have enough room! I put some shoes underneath and some just next to the rack.
Let’s not get too excited though, we still need to build some cabinets/shelving around the washer and dryer… always something, amiright?

2 thoughts on “Ikea ALCOT Closet System”
Comments are closed.